
 I’m a big believer that everything tastes better when it’s made from scratch. It’s just a matter of finding the right recipe. That said, I’m also a big believer that sometimes you NEED a caramel brownie and you need one now. Having to wait while you make the caramel, melt the chocolate, mix the batter and so on, is just not gonna cut it. I don’t know about you, but I am NOT fast when it comes to baking. When at all possible, I break up the steps of whatever I’m baking and spread them out throughout the day or even over a few days. Sometimes, it’s worth skipping that perfect made from scratch recipe so instead of having to wait through an hour or so of prep work before that pan goes into the oven, you’re only waiting 5, maybe 10 minutes if you’re reeeeeally slow.
Sure, you could just run to the store and buy some pre-made brownies, but if boxed brownie mix is a step down from scratch brownies, store bought brownies are about 6 steps down from that. Don’g get me wrong, there’s always a time and place for grocery store bakery brownies or those little plastic wrapped brownies with the colored chips on them, but when I start craving brownies or think about what kind of brownies I want, pre-made brownies don’t even come to mind. It’s like they’re in their own separate category of grocery store baked goods or pre-packaged lunch box desserts, not brownies.
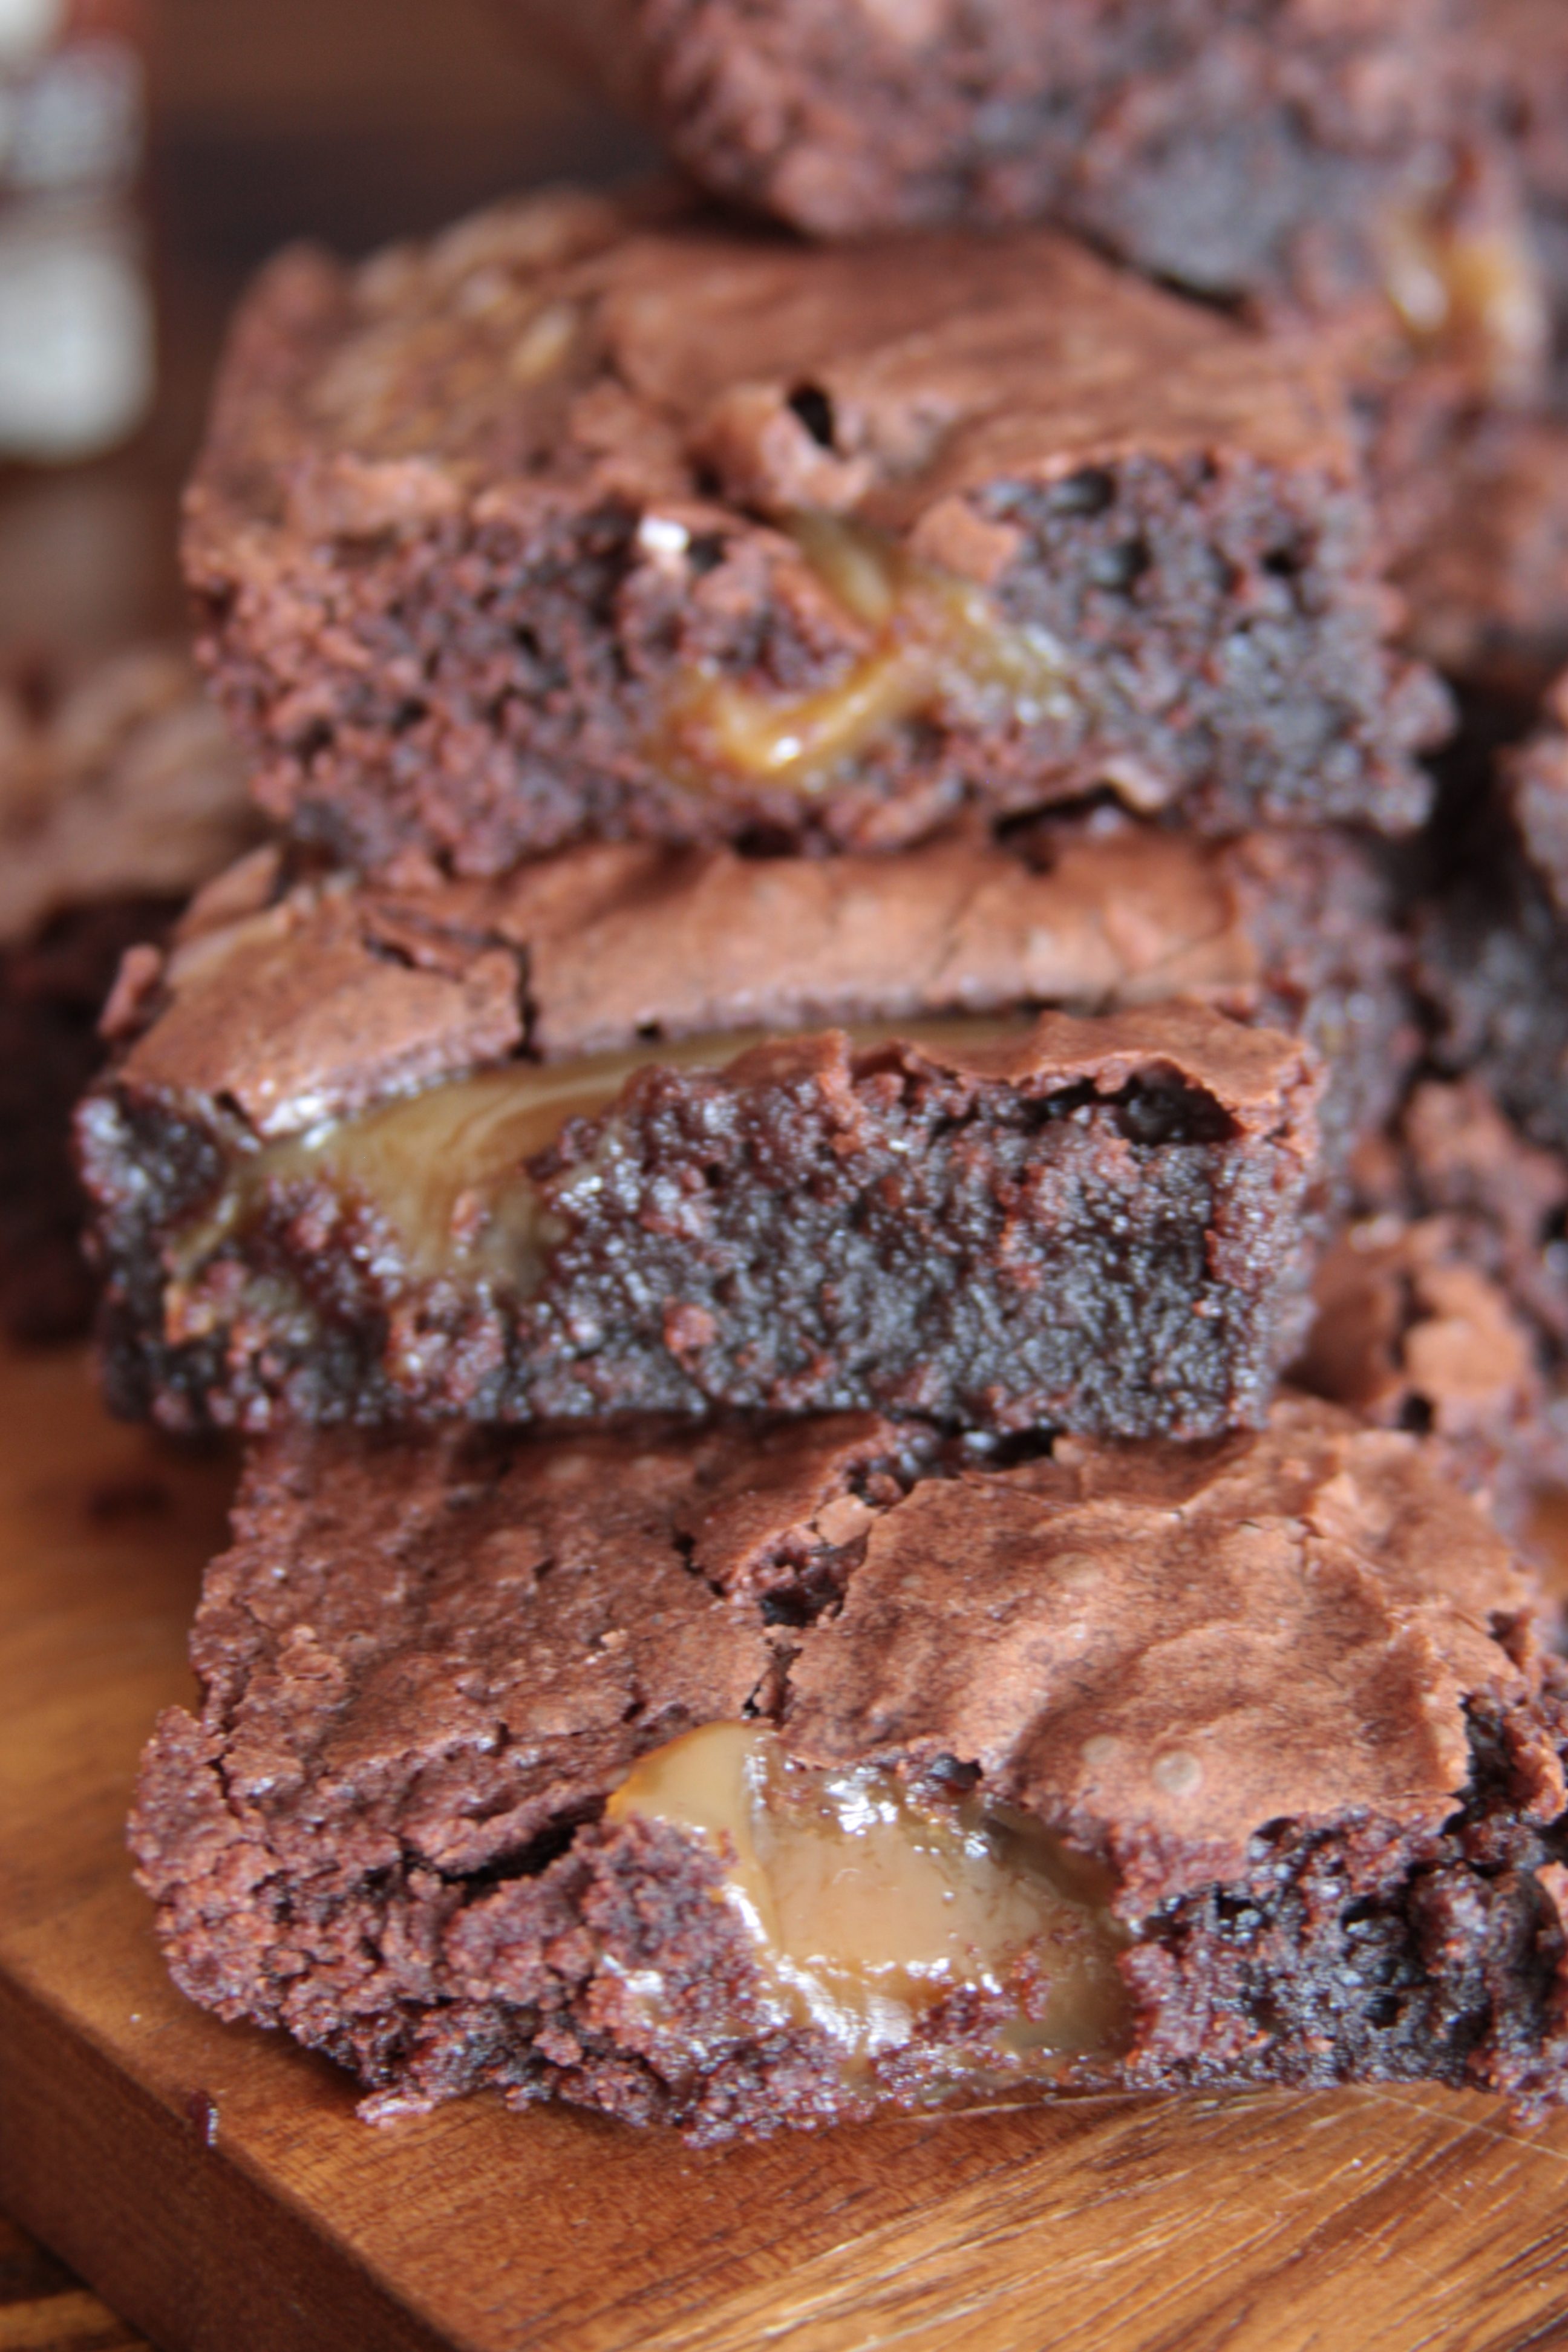
Anyway, on to the recipe adjustments. Actually, one more side note. These tips are catered to those who prefer their brownies gooey. Cakey and fudgey brownies need not apply. If you can hold a decent sized brownie on its edge and it doesn’t start to droop down and instead sticks straight out at attention, it’s no good. I like my brownies so gooey that you basically need a spoon to eat them. There’s a reason brownie sundays are on every chain restaurant’s dessert menu. They’re warm and soaked with chocolate sauce and creamy ice cream WHICH MAKES THEM GOOEY. If you’re the type that prefers a cakey or chewy brownie to gooey ones, sadly these are not the recipe adjustments for you.
Now on to the recipe adjustments:
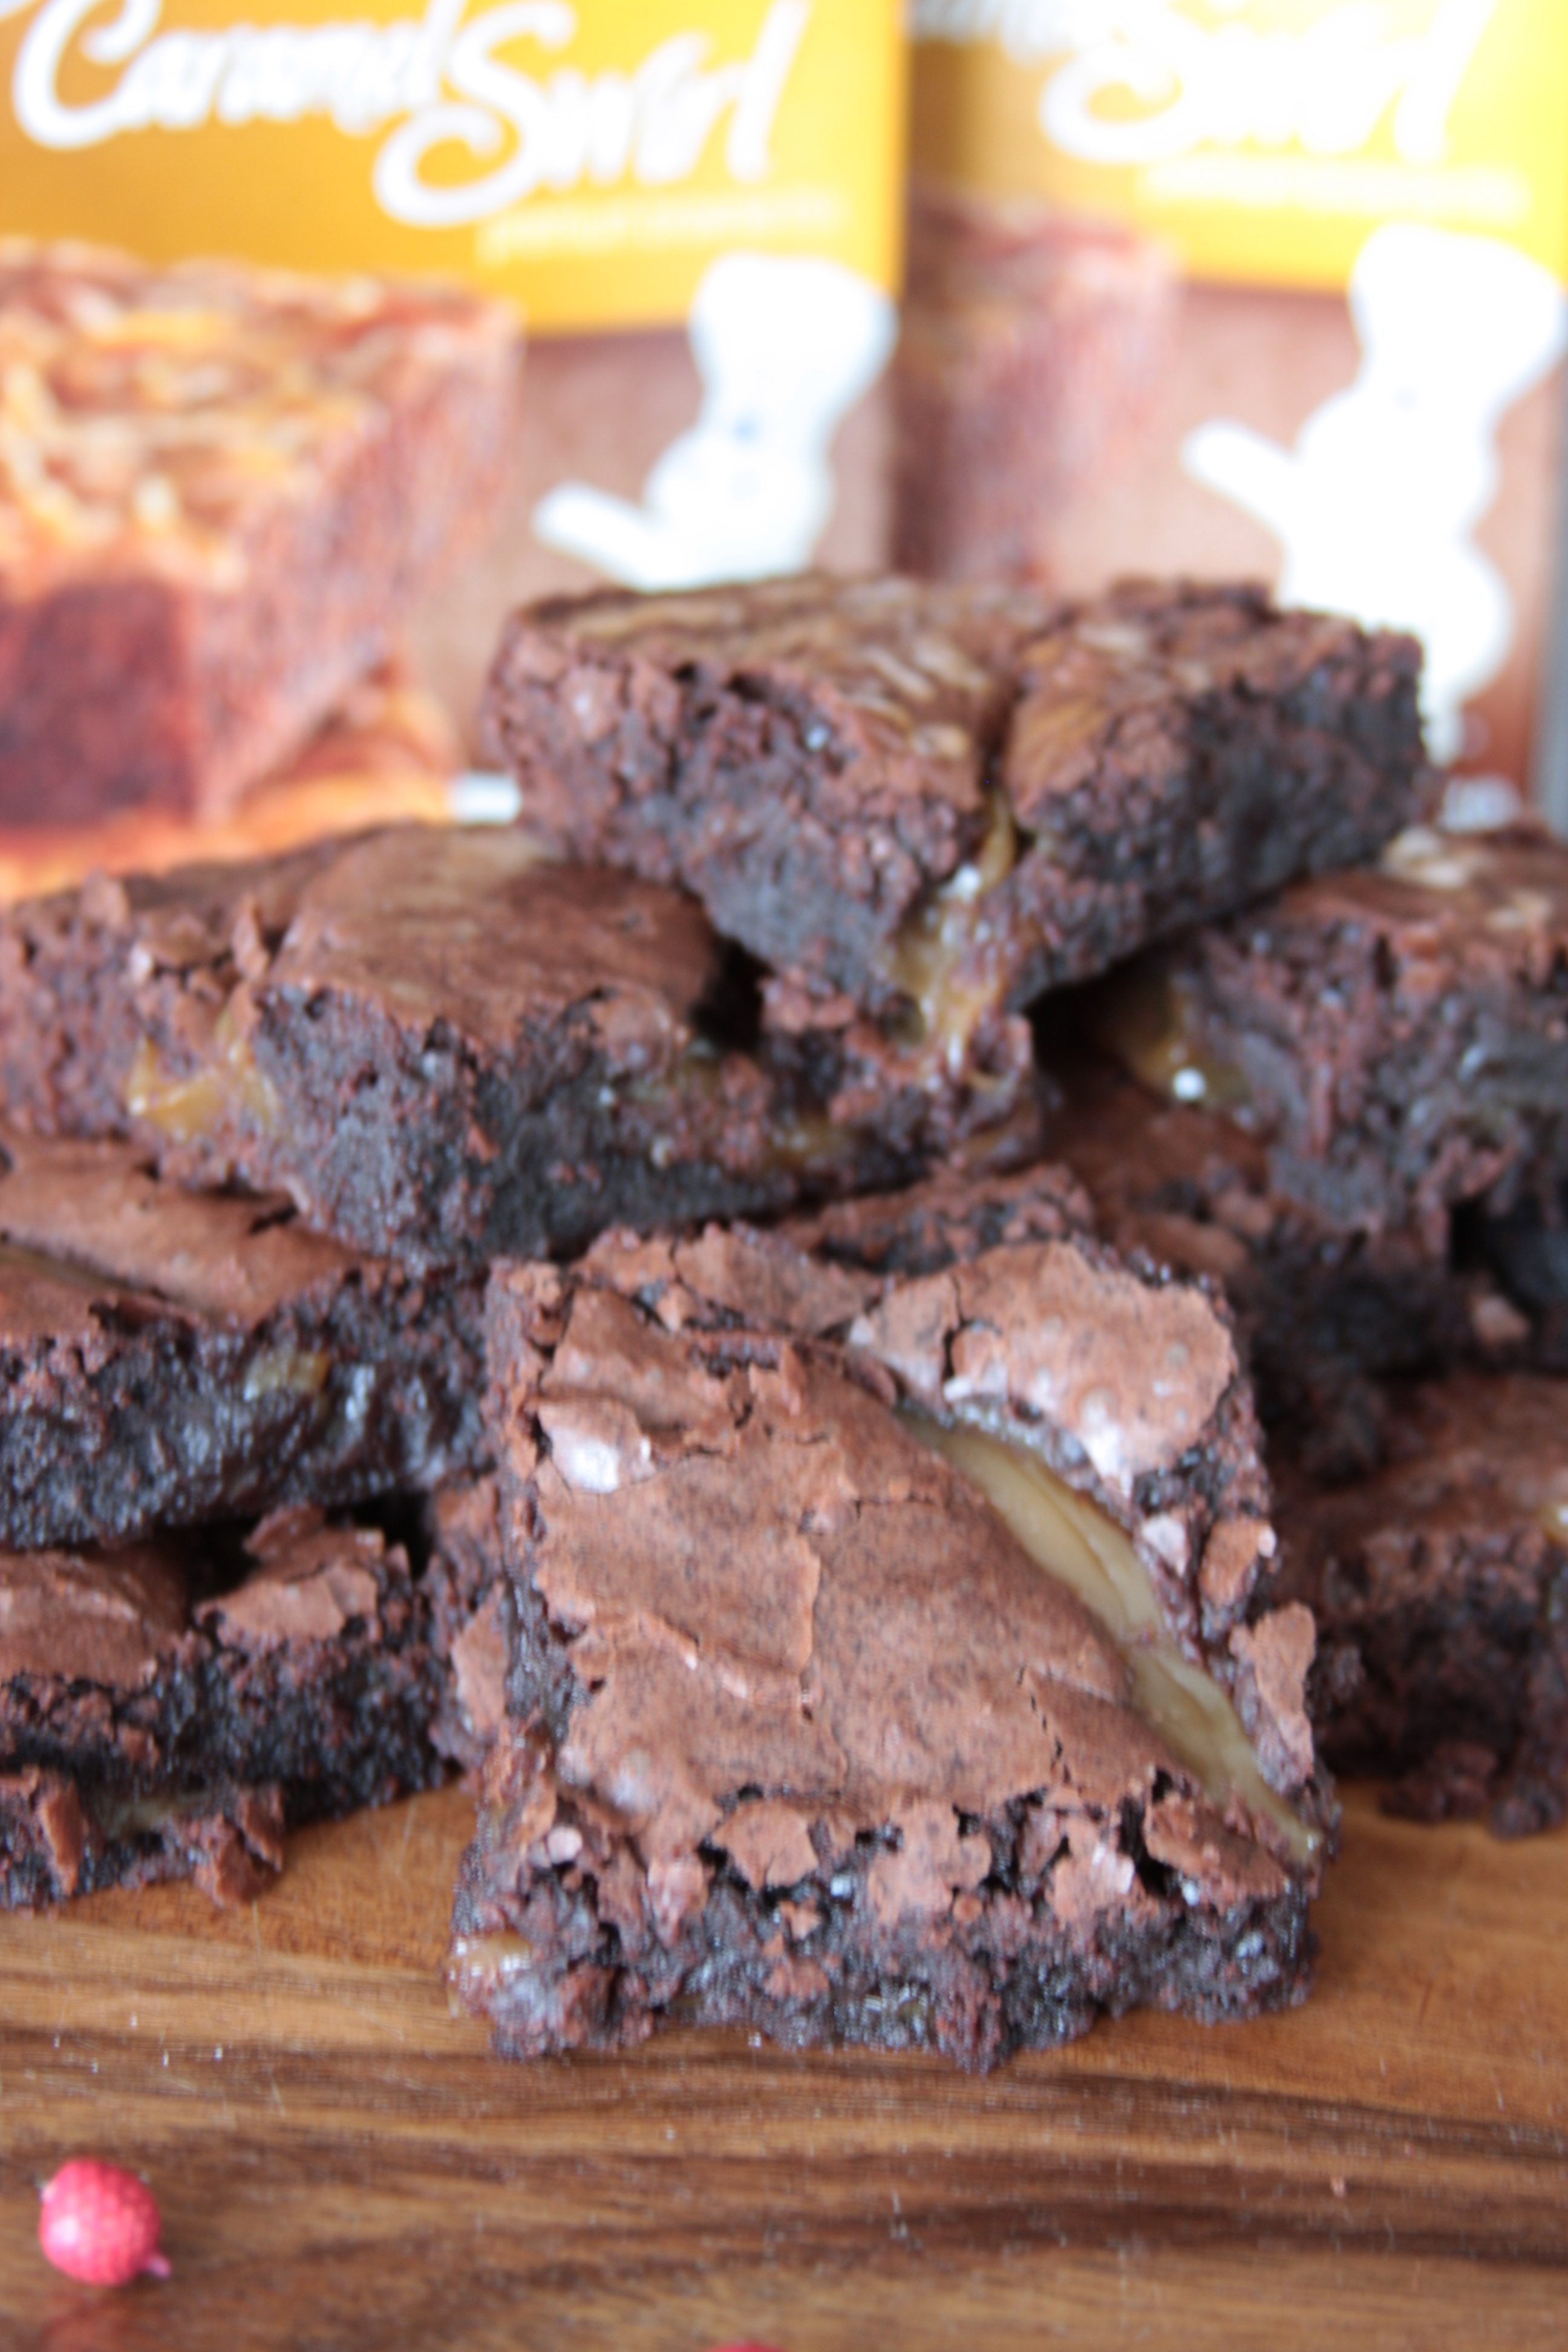
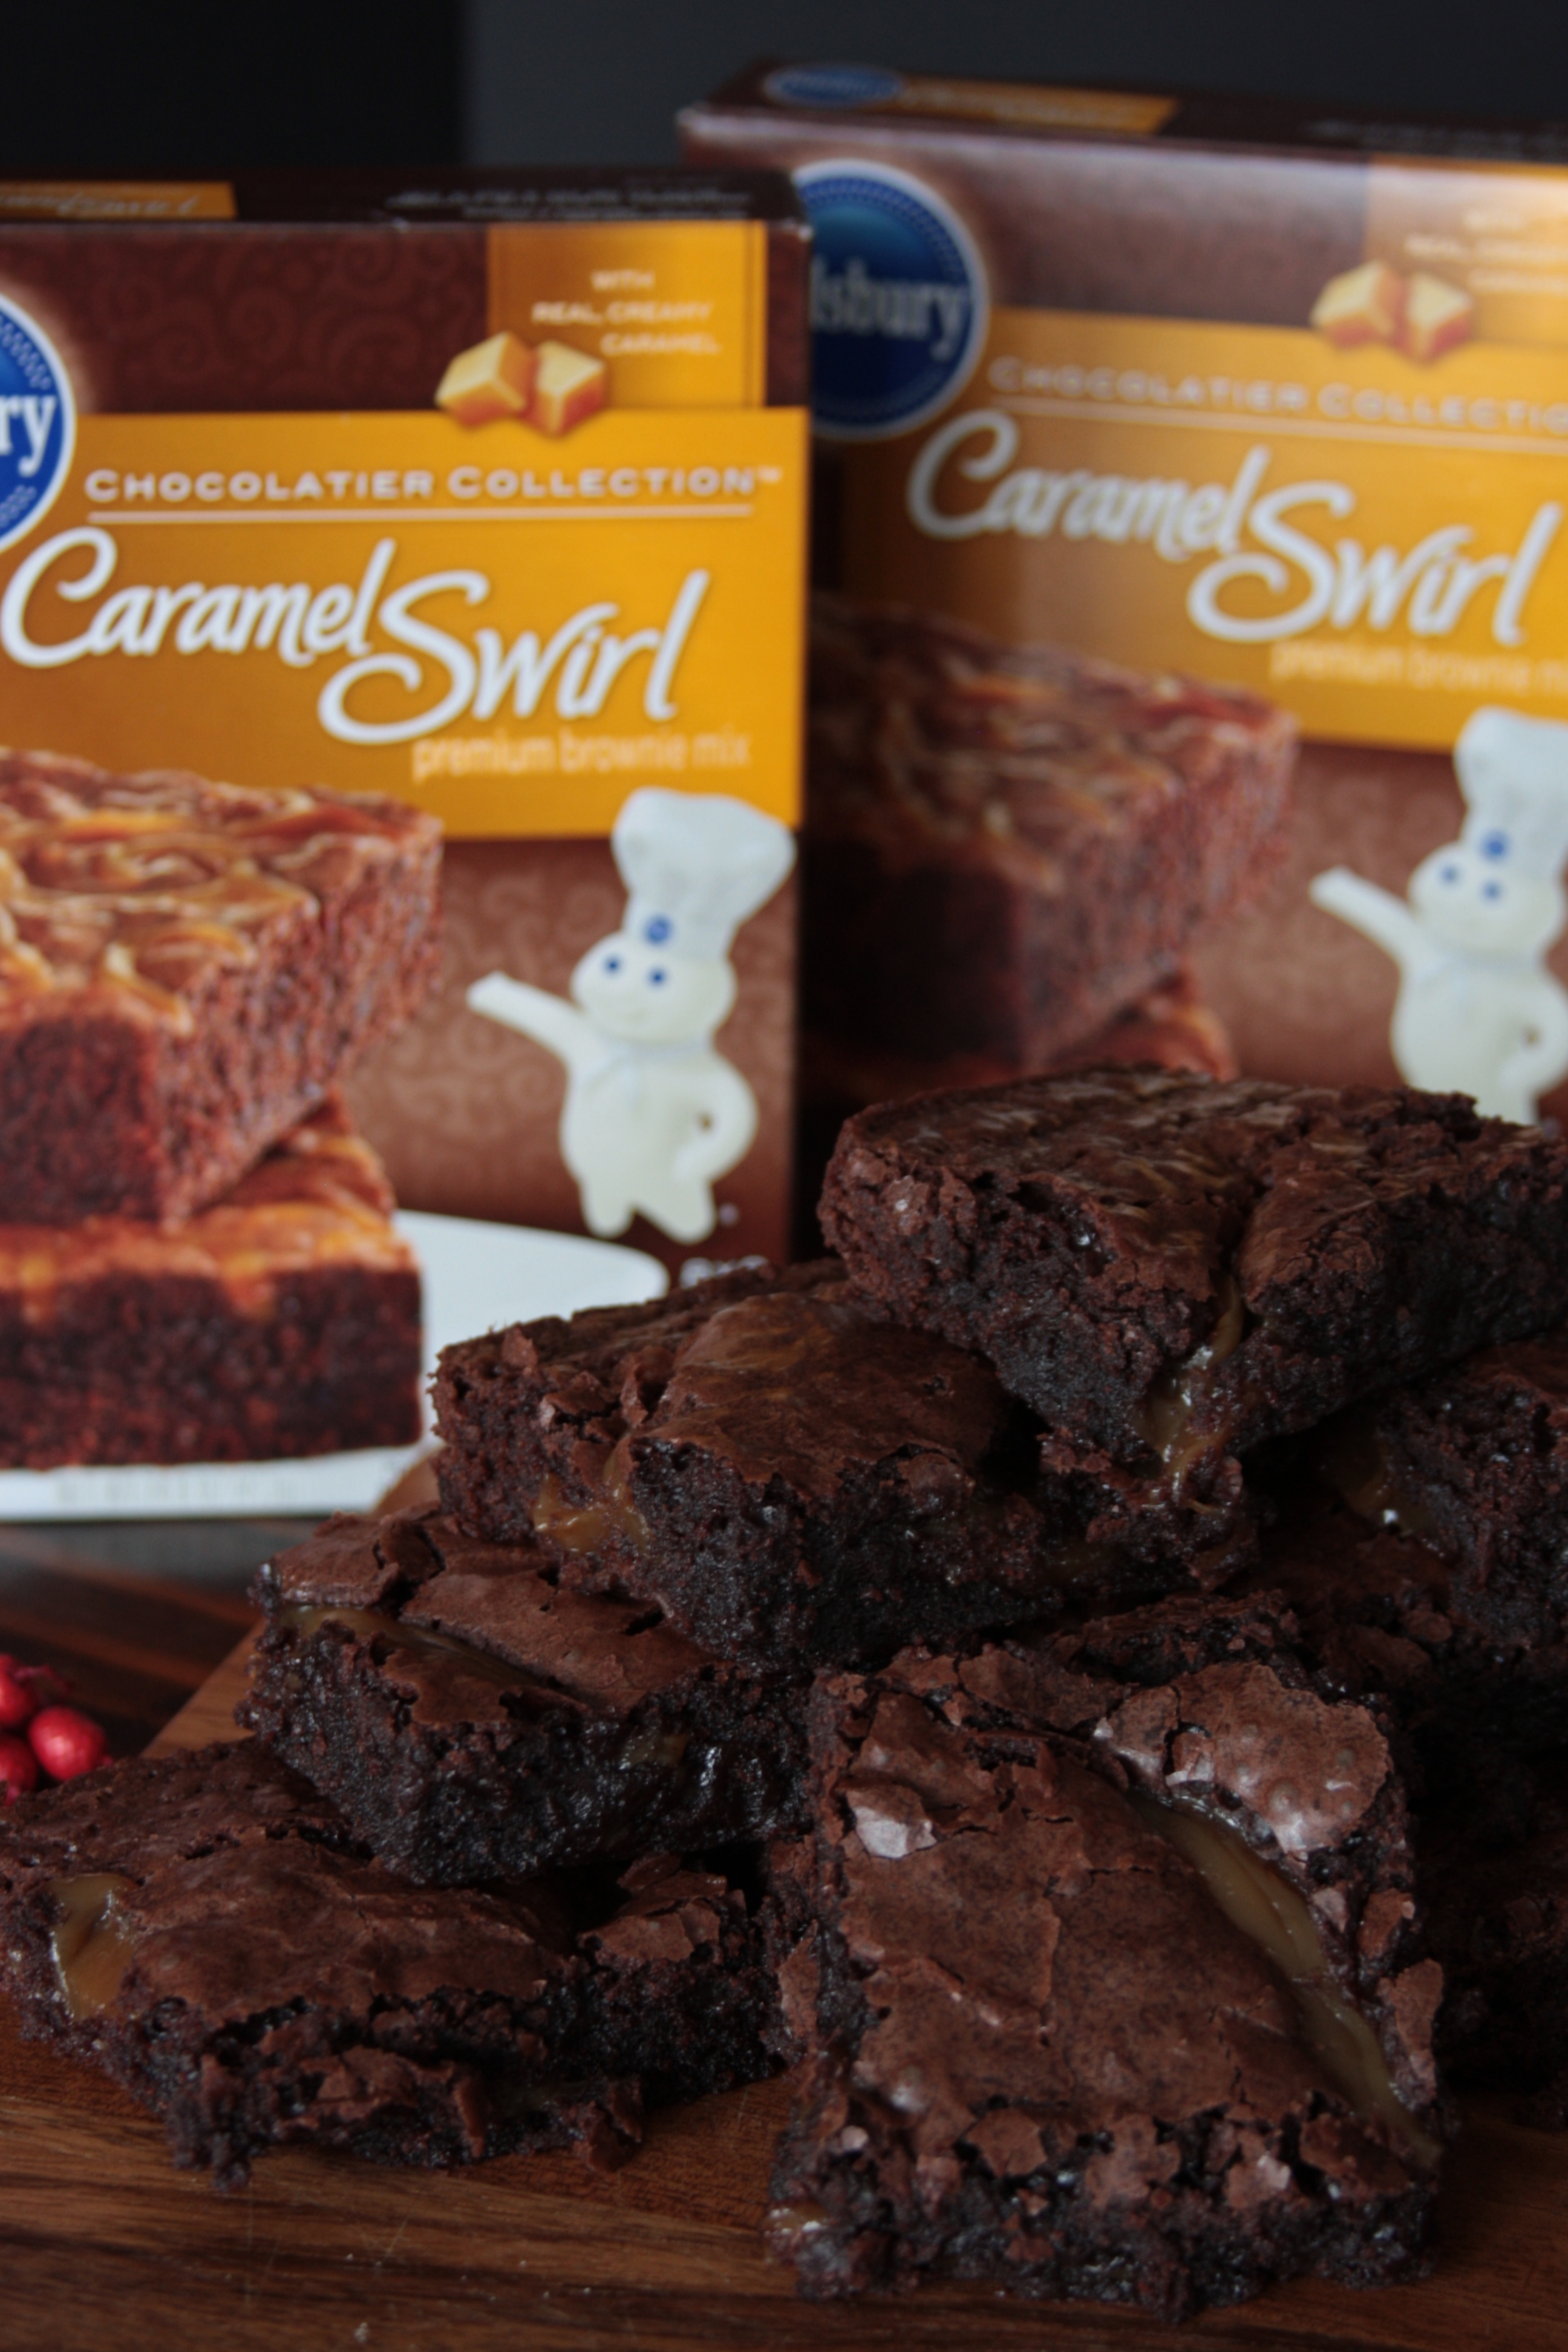 Start with Pillsbury caramel swirl brownie mix. I’ve tried a lot of brownie mixes, and a lot of them are good. Ghirardelli makes a good caramel brownie, I think even Betty Crocker does. Anytime I see a mix I haven’t tried, I try it and they’re all pretty interchangeable but for some reason Pillsbury is the one I’ve used since the beginning and so it’s the one I keep coming back to. I’ve been using this mix for a LONG TIME. Since before they made the caramel swirl a “premium” mix and started charging more for it. Since before they changed the suggested swirl design. Since before they made the little bags of caramel smaller. (It’s possible they just changed the shape of the bag from rectangular to square so it just looks smaller and there’s actually the same amount of caramel inside but I don’t think that’s the case. Normally, big companies are very cognizant of changing the shape of packaging to make the item look bigger than it is, not smaller so I think there’s just less caramel than there was back in the day. They’re still really good though.) All that to say, you can pretty much use any caramel swirl brownie mix with these tips, but the one I’m specifically talking about here is the Pillsbury version.
Buy TWO boxes of brownie mix. They will not come out the same if you use one box and make it in an 8×8 pan like the box suggests. Doesn’t matter what you do or how hard you try, they just won’t come out the same for several reasons. Buy two boxes of mix and use a 9×13 pan. Even if you’re just making them for yourself and you’re thinking “But I don’t want to eat that many brownies myself so I’ll just make one box.” DON’T DO IT. Make friends with your neighbors or something and give away the other half but make the double batch in the bigger pan.
Preheat your oven to 325 degrees. The package says to heat it to 325 for dark coated pans and 350 for clear. I use 325 for both. Know your oven though. If your oven tends to run hot or things tend to get extra crispy faster than expected, you may want to even go a hair under that. This is a great reason to have a working thermometer hanging in your oven.
 Mix according to package instructions, doubled. For Pillsbury, that’s two bags of powder mix, two eggs, 2/3 cup of oil and 6 Tbsp of water.
Don’t use a stand mixer. Mix these babies by hand, wooden spoon, spatula, whatever. You DON’T want to work a lot of air into these so the fewer strokes you can get everything combined with the better. The powder mix always tends to hide out at the bottom so just as you go to pour it into the pan, a pocket of powder will be revealed. Super annoying. Be sure to scrape up from the bottom of the bowl. The package suggests 50 strokes and that’s usually about right. The batter will be a little lumpy but the eggs should be completely broken down and worked in and there shouldn’t be any large pockets of unmixed powder left.
Spray down your pan and pour in the batter. I use butter flavored cooking spray and I always lick the spatula and remaining batter from the bowl. You really shouldn’t, because there are raw eggs, but I do. Every Single Time. For YEARS. And I’m still alive. So there’s that.
Soften the caramel and stripe the brownies with it. Squish the bags a few times to soften up the caramel and make it easier to squeeze out. Snip off one corner of one bag. I prefer the old method Pillsbury used to use for their brownie swirl. It gives you bigger pools of caramel in certain areas instead of a thin drizzle all over the brownie. There’s nothing better than biting into one of those pockets of caramel. Sooooo good. And you don’t get that if you just randomly drizzle the caramel all over. To do the old method, Set the pan in front of you horizontally so the longest dimension sits side to side across you on the counter. Squeeze out the caramel in four stripes, two stripes per bag, from back to front across the shortest dimension of the pan. So one bag of caramel will make two stripes. Try to evenly space them. Really squeeze out every last drop of that caramel. This is kind of a pain but the more caramel, the better so the little extra time it takes is worth it.
Pull a knife back and forth across the stripes to form a staggered swirl pattern. Start in one corner, pull a knife, or spoon, or fork, or whatever, across the longest length of the pan. Move the knife over about an inch and pull it across the caramel stripes in the opposite direction. Do this 4-5 times in total.
 Repeatedly drop the pan on the counter. If you have a metal pan, this isn’t a problem. Just hold the pan about a foot above the counter and drop it. Of course, be careful to drop it evenly so you don’t flip it over. I often use a Pyrex pan though so you can’t drop that on the counter without the risk of breaking it. In this case, just hold the side of the pan with one hand and then with the other, whack the bottom of the pan repeatedly. Switch back and forth between holding and whacking hands so the whole pan is covered. Using either method, you’ll start to see a few tiny air bubbles pop out through the surface of the batter and the caramel swirls will start to sink down into the batter. This is what you want. It takes a few minutes of dropping/whacking the pan, but it gets some of the extra air out of the batter, packs everything down and settles your caramel down into the brownie so you have more of a caramel filled brownie instead of caramel drizzled brownie where the caramel just cooks on the surface and isn’t as gooey.
Pop the pan in the oven. Center of the oven, center of the rack. If your oven is anything like mine, it will finish preheating just about when you finish with the swirling.
Watch them like a hawk. Start with 25 minutes and depending on how done they are at that point, start checking every 2-5 minutes. A fork or toothpick stuck in the center should just barely come out clean. As in, one minute ago you checked and it still had wet batter on it, now you’re checking and there are no/hardly any crumbs clinging. It’s really a super tiny window of error between super delicious gooey brownies and dried out cake like brownies so watch them close.
 Pull them out of the oven and cool on a cooling rack. You can put them on a hot pad too but my theory is that the hot pad just holds the heat in where the pan touches the pad. A trivet or cooling rack lets air circulate all the way under the pan so it will cool faster, which is the goal.
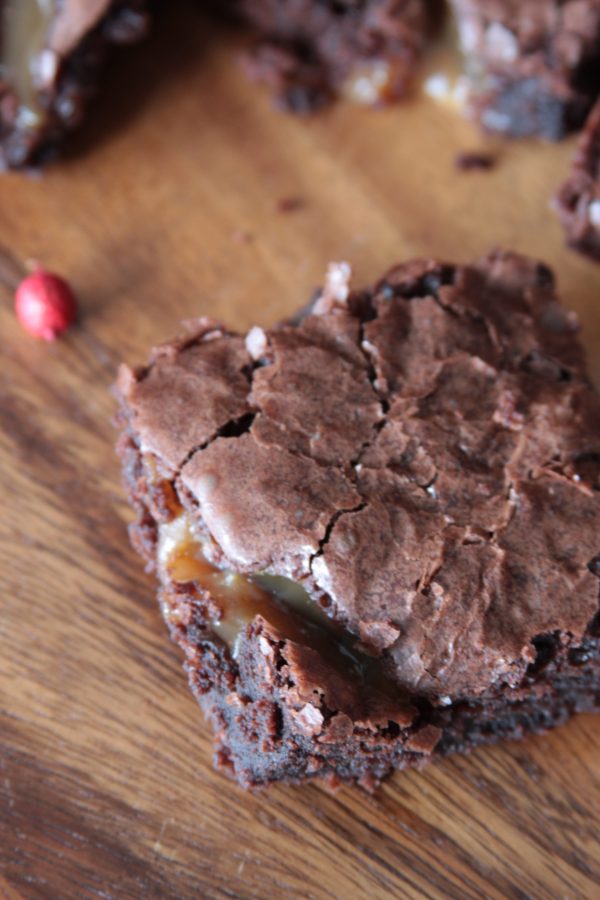
Wait for them to cool. Usually, at least one brownie gets eaten while they’re hot but I’m always disappointed when I do because they do taste kinda cakey when they’re still warm. The brownies go through this weird transformation while they cool. First, the surface looks more cakey and dried out and I start to think “dang it, I cooked them too long.” Then after another 20-30 minutes, the surface starts to cool and get a bit of a sheen and when you gently touch it, you can tell it’s really dense and not at all cakey in the center. Even better is if you cover it after they’re cool and wait until the next day. Somehow they seem to get more moist and gooey overnight but let’s be realistic, we’re making brownies from a box mix because we don’t want to mess with all the work of scratch brownies and we want them now. Have one when they’re warm, one when they’re cool and one tomorrow and judge for yourself.
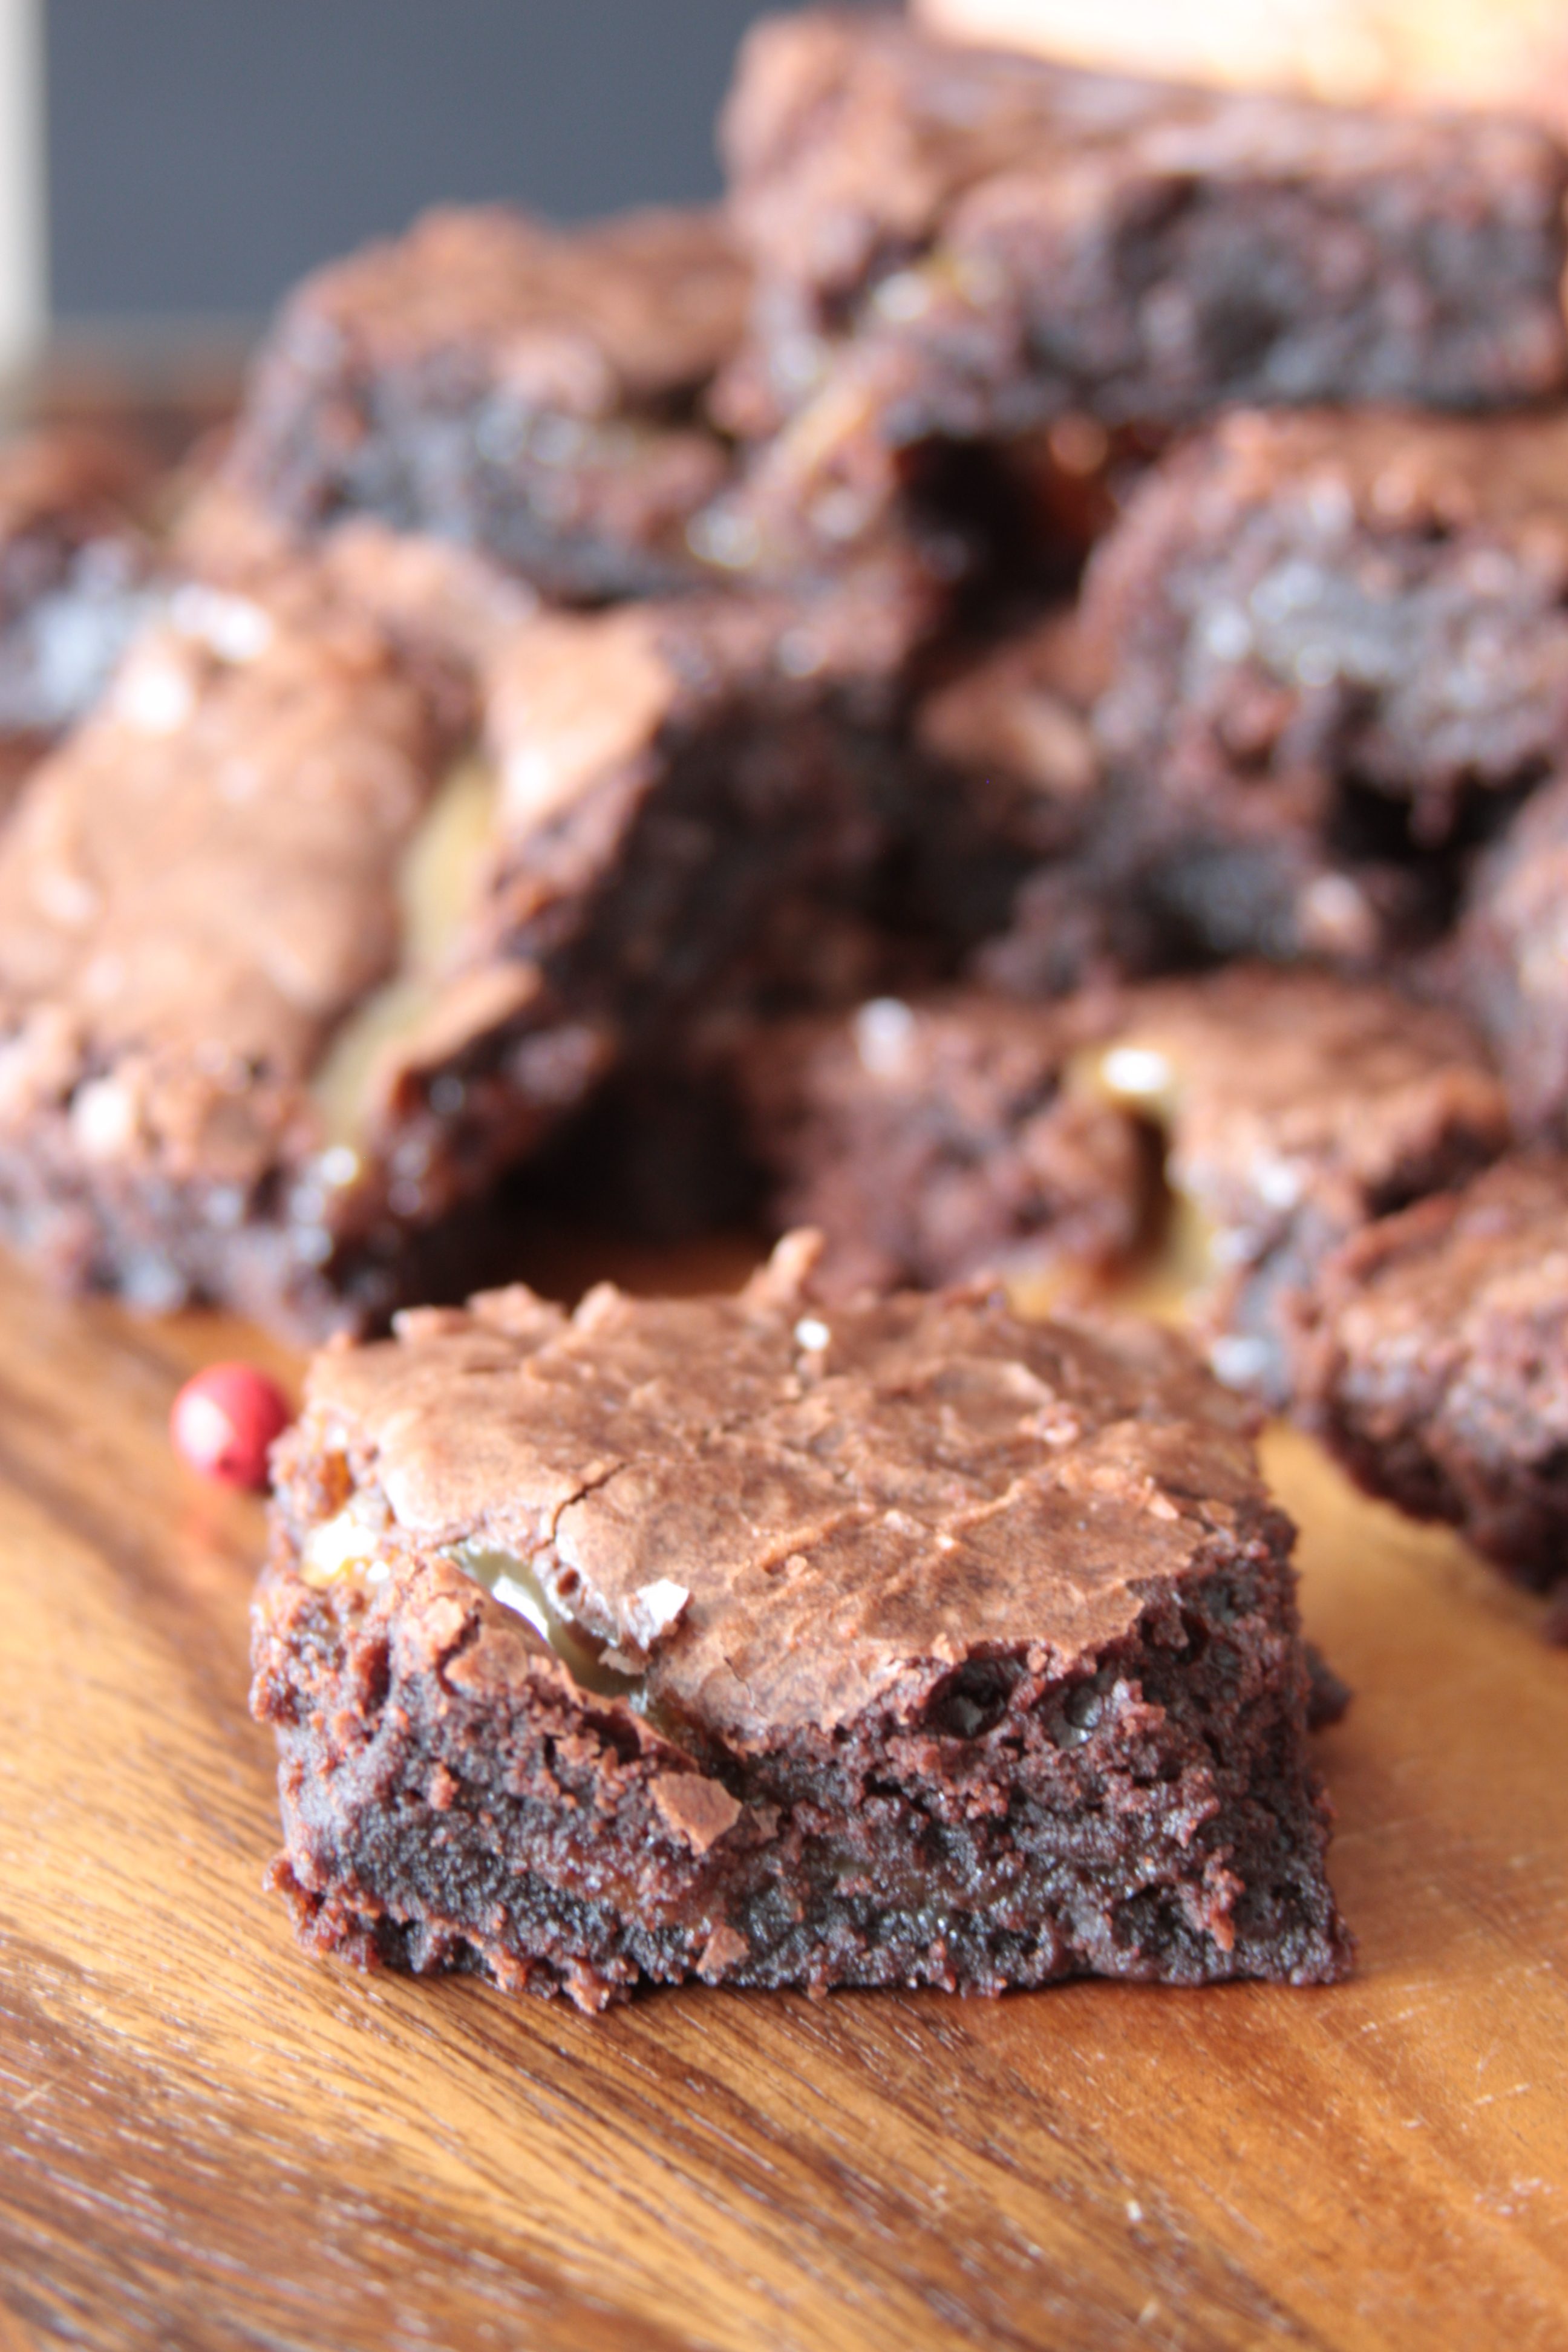 The edges will still be chewy. There’s really no way to get around this. If you don’t want anything to do with even parts of chewy brownies, you can easily go around the pan and cut off the outside 1/4 inch so that every one of your brownies is gooey. If you happen to know or live with someone who prefers chewy brownies or if you don’t mind dealing with an occasional bite of chewy so long as the other 90% of your bites are gooey, you’re in luck. You could also cut off the edges, chop them up and use them as an ice cream topping.
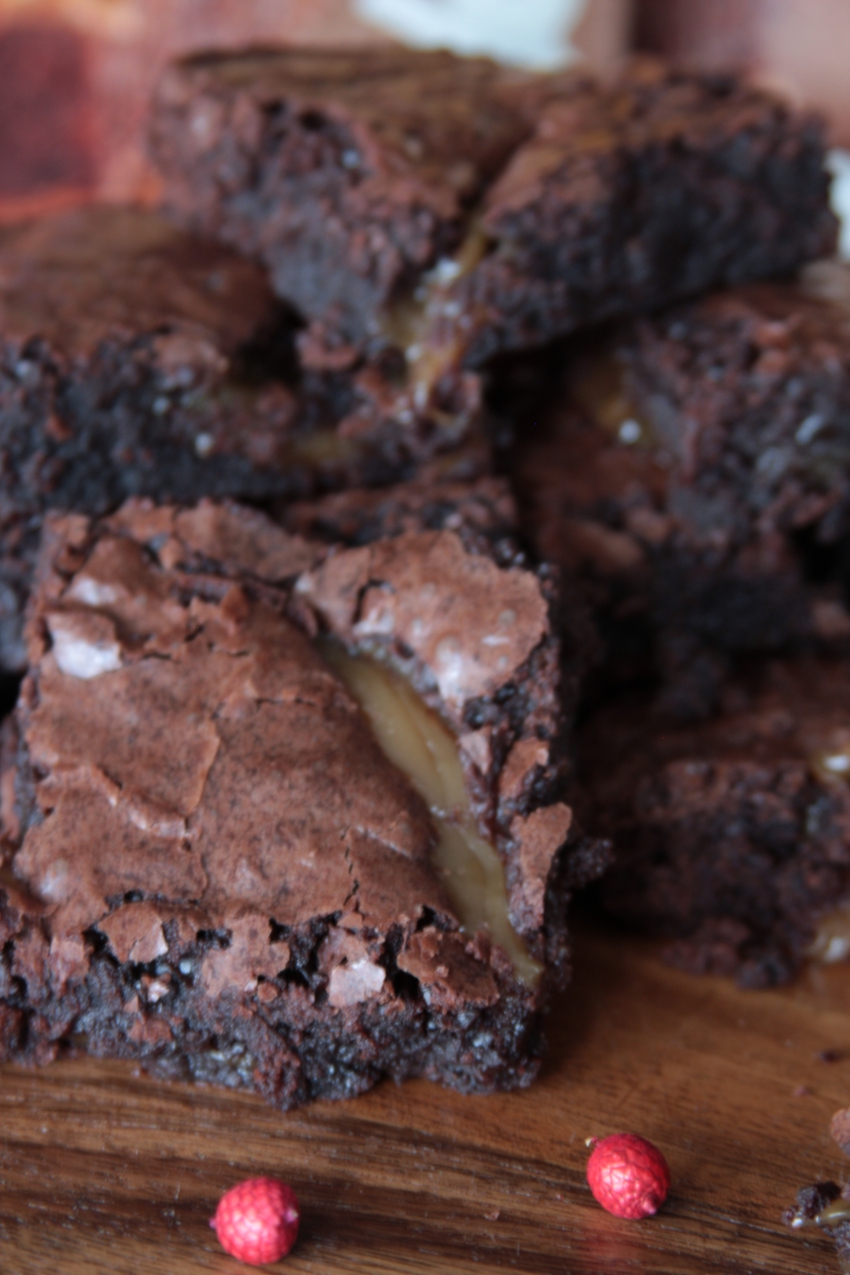
Dig in! Have you ever used any of these tips? Any others you would suggest? What do you think about scratch vs. box mix brownies? Chewy, fudgey or gooey? Comment below!