
 Spun sugar is another recipe that came about thanks to The Great British Baking Show/The Great British Bake Off. It is often used when the participating bakers are required to use sugar work in their creations and is almost always used when they are asked to make a croquembouche.
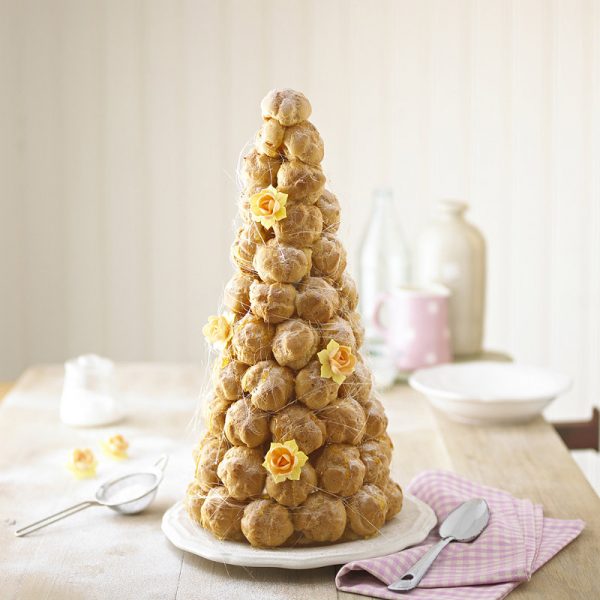
One day I will have the courage to attempt a croquembouche, but until then, I can practice the pieces of it. Spun sugar generally adorns the cone and the melted sugar, which is what the spun sugar is made of, is the glue that holds the entire structure together.
Spun sugar is very versatile and can be sculpted into whatever you can dream up. It’s feather-light weight and flexible, slightly sticky texture allow it to hold itself in just about any position. Its kryptonite, however, seems to be moisture/humidity.
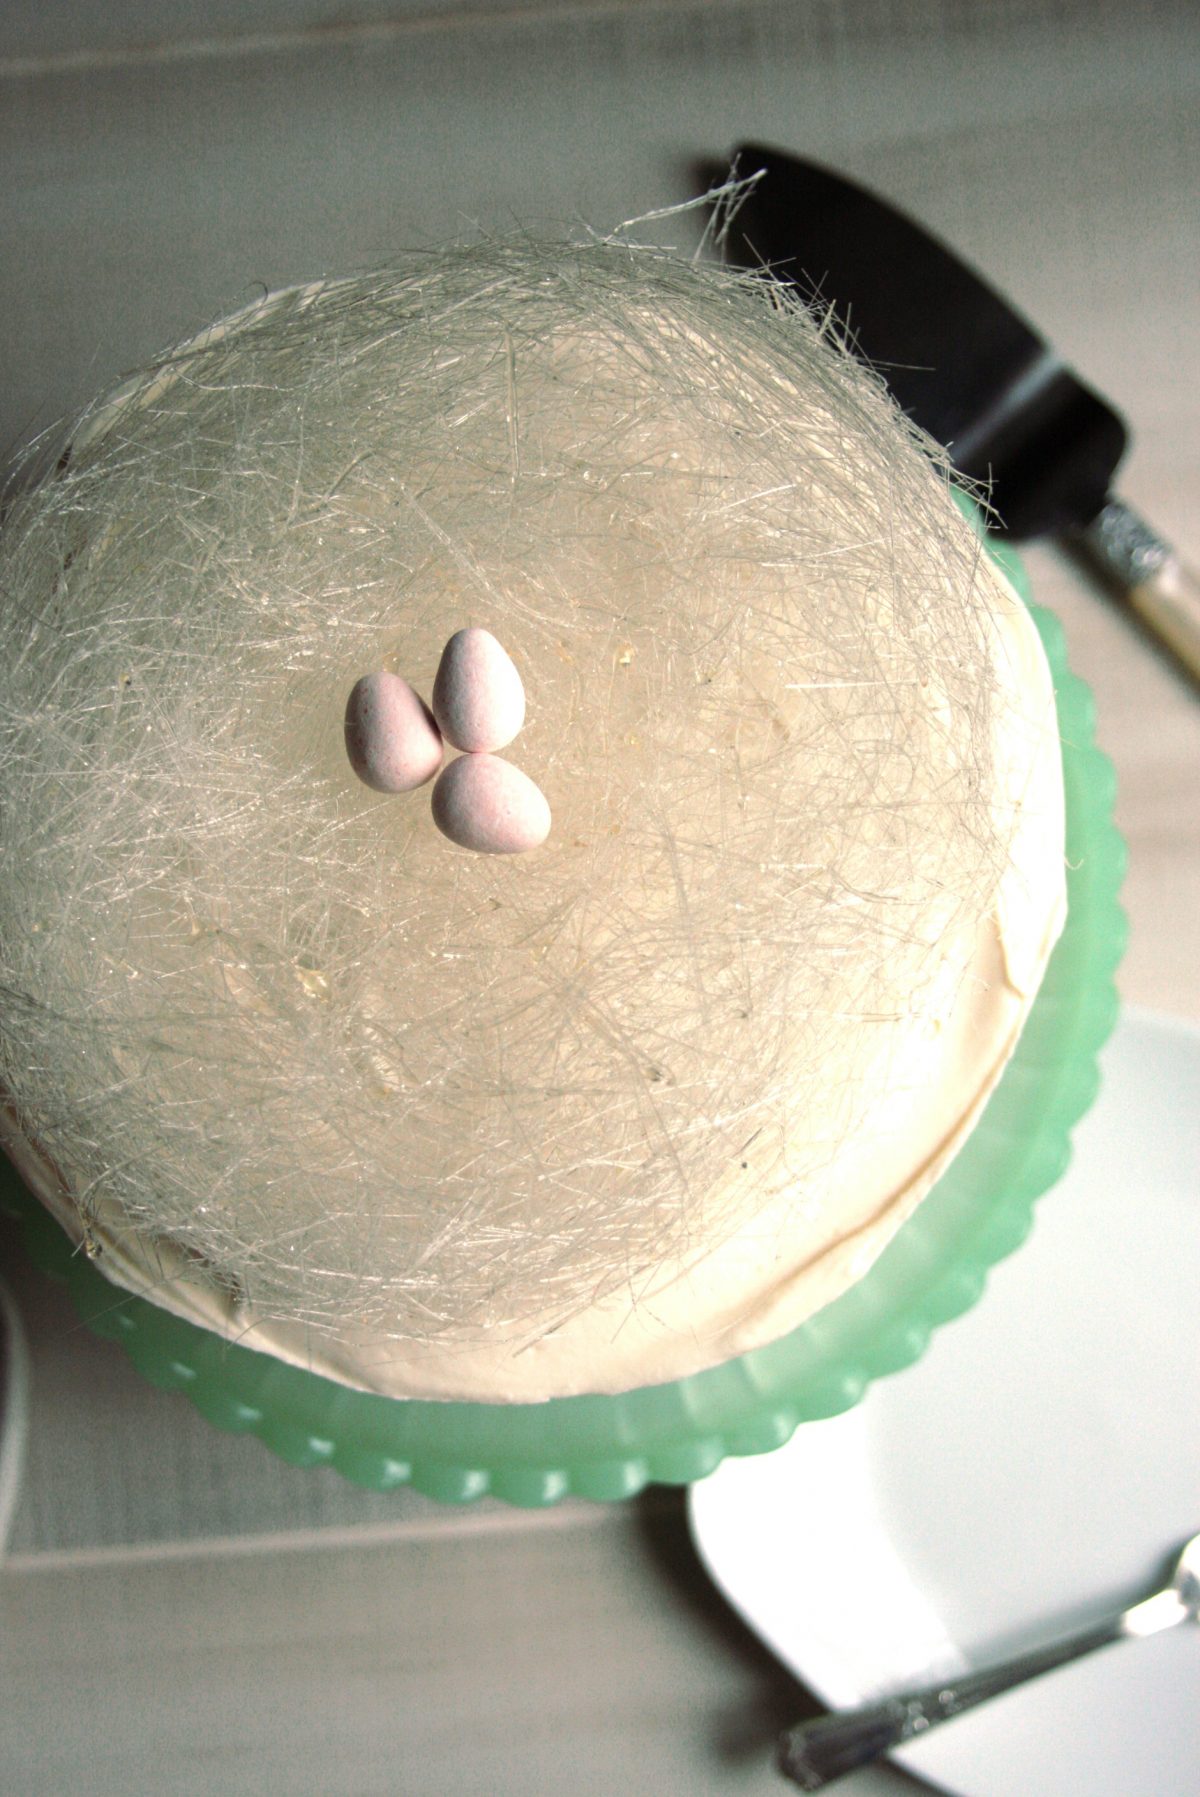
It can hold up for several hours in humid weather or atop frosting, but I discovered the hard way that it won’t make it overnight, and don’t even think about putting it in direct sunlight or next to a heat source. My first attempt completely disintegrated into the frosting by the following morning. The cake was still edible, the top just tasted of caramel, but had I prepared everything the day before intending to serve it the next day, I would have been sorely disappointed. Keep your spun sugar separate, in an air tight container for as long as possible prior to serving, or more ideally, don’t even make it until a few hours before you intend to serve it, and you’ll avoid disaster.
Spun sugar won’t last long. If left to sit overnight, it will soften and completely flatten out.
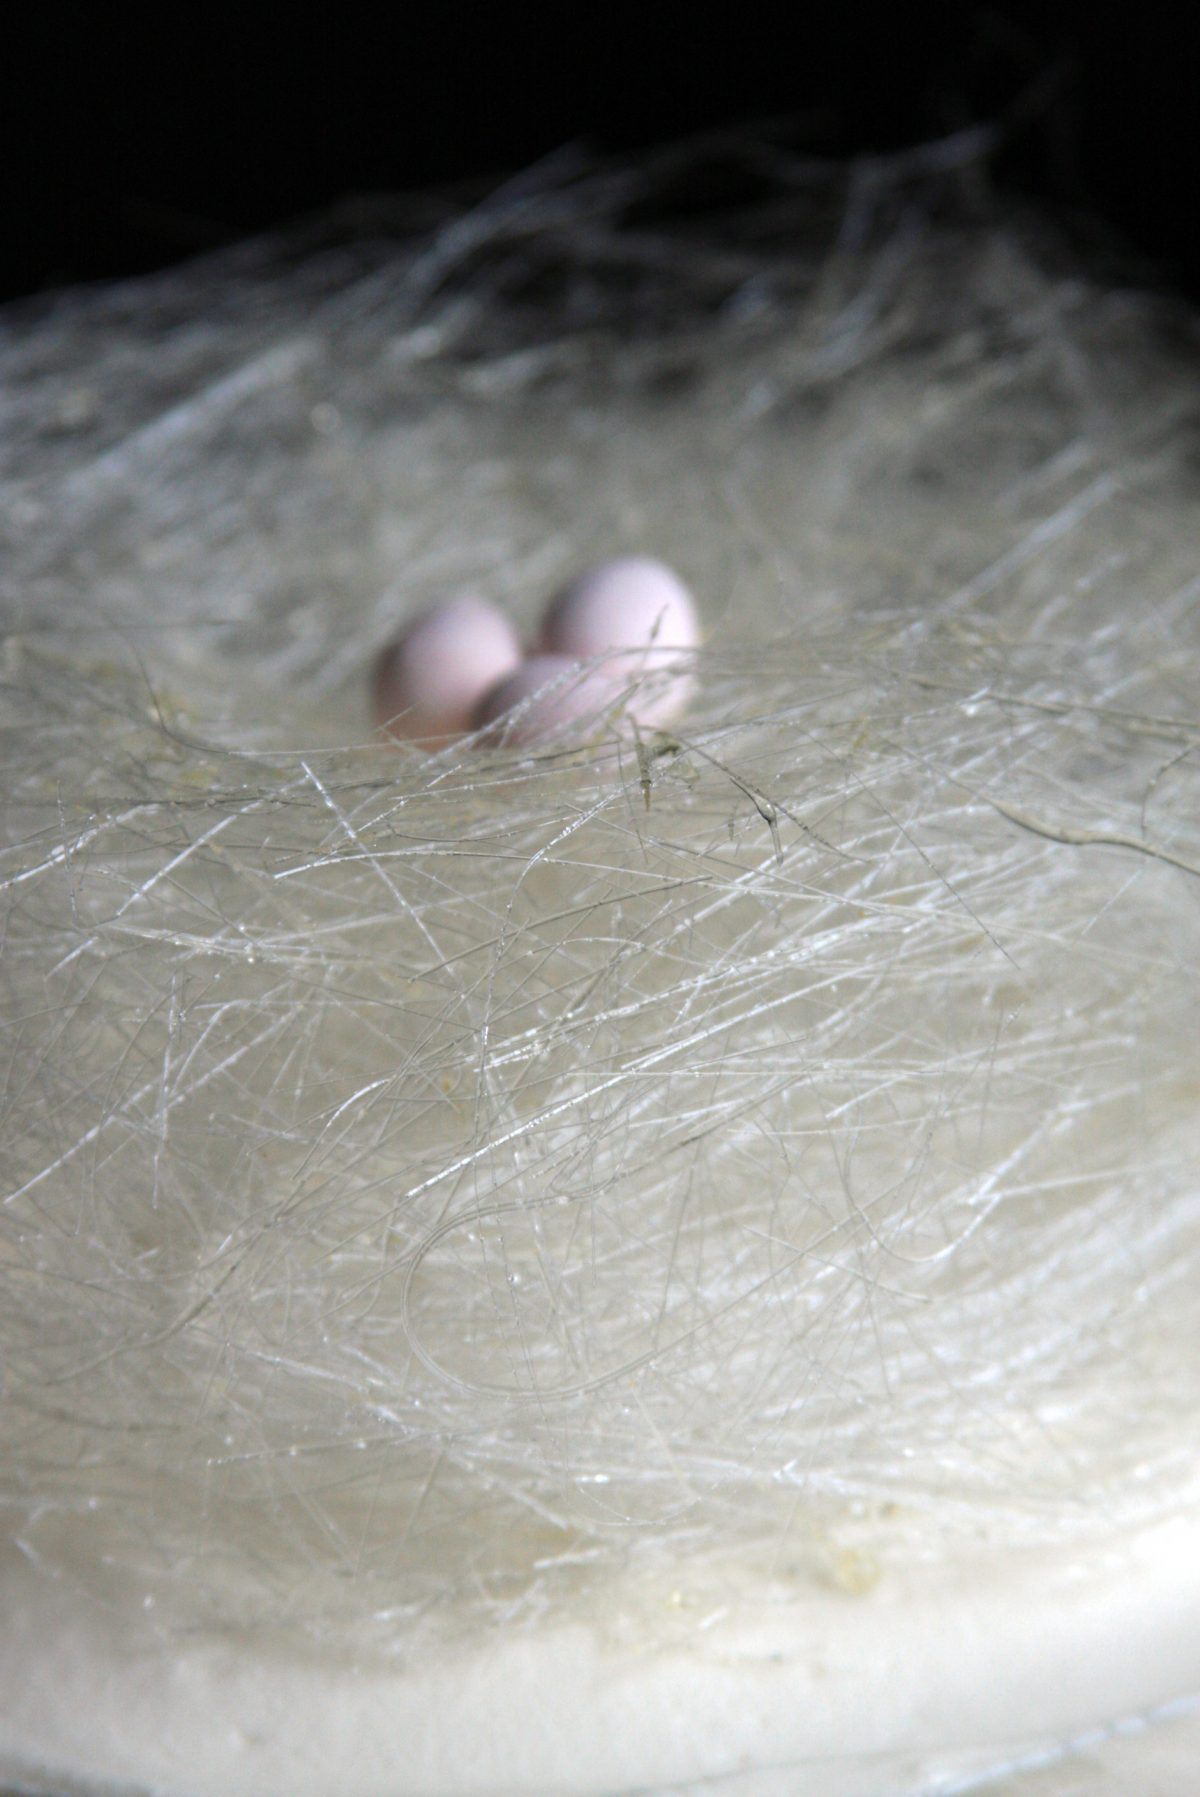
Another important thing to note about spun sugar (that I again, learned the hard way) is the fresher it is, the more rigid it is, and the tougher it can be to eat. For the first few hours after the sugar has cooled, it’s basically super thin, rigid wires all balled up that snap in half when you push on them. I tried scraping some leftovers off of the end of one of the wooden spoons with my finger and basically gave myself a splinter. Then, when we ate it, you really had to gently take a piece in your mouth and let it melt. If you chomped into it like you would the rest of the cake, you got stabbed in the mouth a million times with all of the tiny ends of the sugar threads.
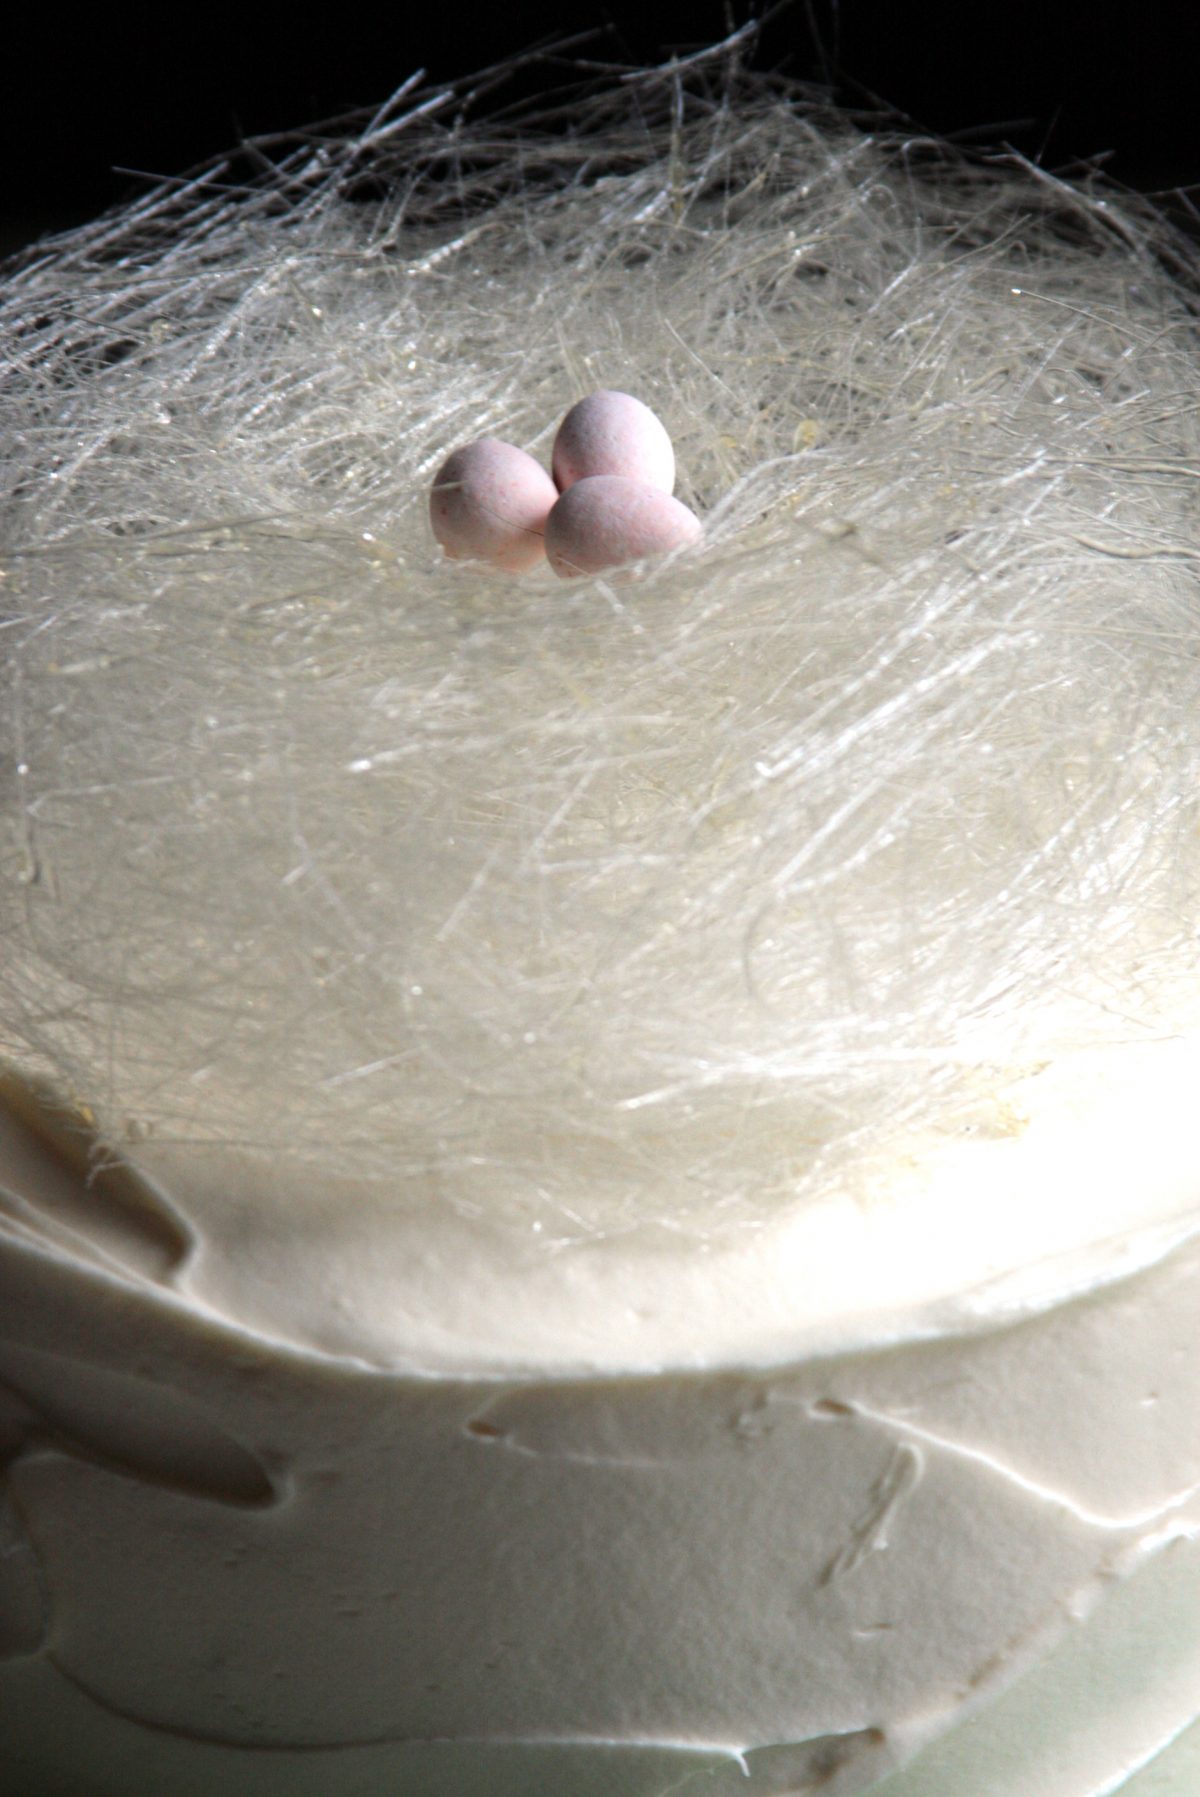
I hope this doesn’t discourage anyone from attempting it. It really was fun and pretty to look at, and the stabbing danger can be avoided by simply eating it more slowly and with a little more care. Ideally, you could make the nest, put it on the cake and wait for that perfect moment when the sugar has started to soften and get stickier but it hasn’t lost its shape yet and serve the cake at that precise moment. Of course, timing that perfectly would be incredibly difficult because how quickly the nest softens depends on so many things: from the temperature the sugar reached, to the humidity in the room, to the moisture content of whatever it comes into contact with. There are just so many variables that it seems easier to me to simply give your guests a fair warning and adjust the way you eat it slightly to ensure you have a beautiful cake topper that won’t injure anyone. 😉
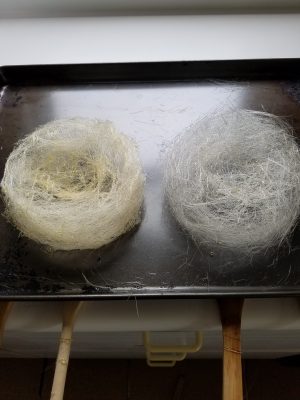
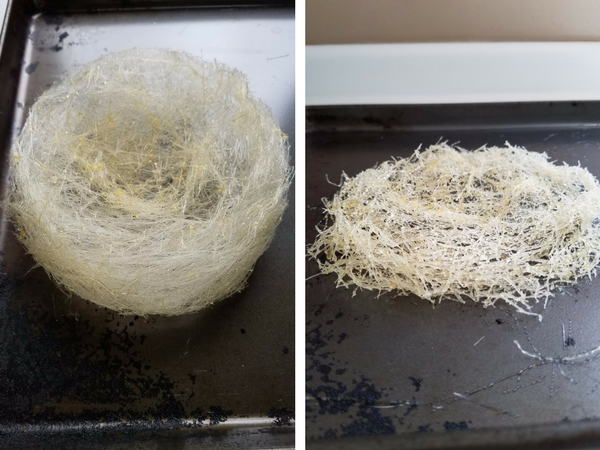
The nest on the left is more dense because I spun most of the sugar in one go and then formed it. The nest on the right is looser and more airy because I spun a small amount of sugar, started to form the nest, spun more, and added on. I did this probably 3 or 4 times.
| Prep Time | 20 minutes |
| Cook Time | 10 minutes |
| Servings |
6 inch nest
|
- 198 grams granulated sugar 1 cup
- 2 tablespoons light corn syrup
- 2 tablespoons water
- 3 Cadbury Mini Eggs optional
Ingredients
|
|
- Spun sugar does not do well in humidity or when it comes into contact with any moisture and does not last long in general. It will be fine for several hours on this* cake but it will completely melt into the frosting if you attempt to leave it overnight. I recommend not placing the spun sugar onto the frosted cake until just before serving. It can be stored in an air tight container on its own or just out on a baking sheet until it is needed. It takes no time at all to quickly place it on top of the cake when the time comes.
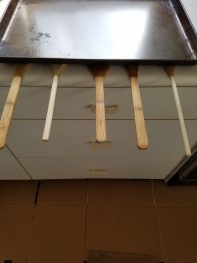
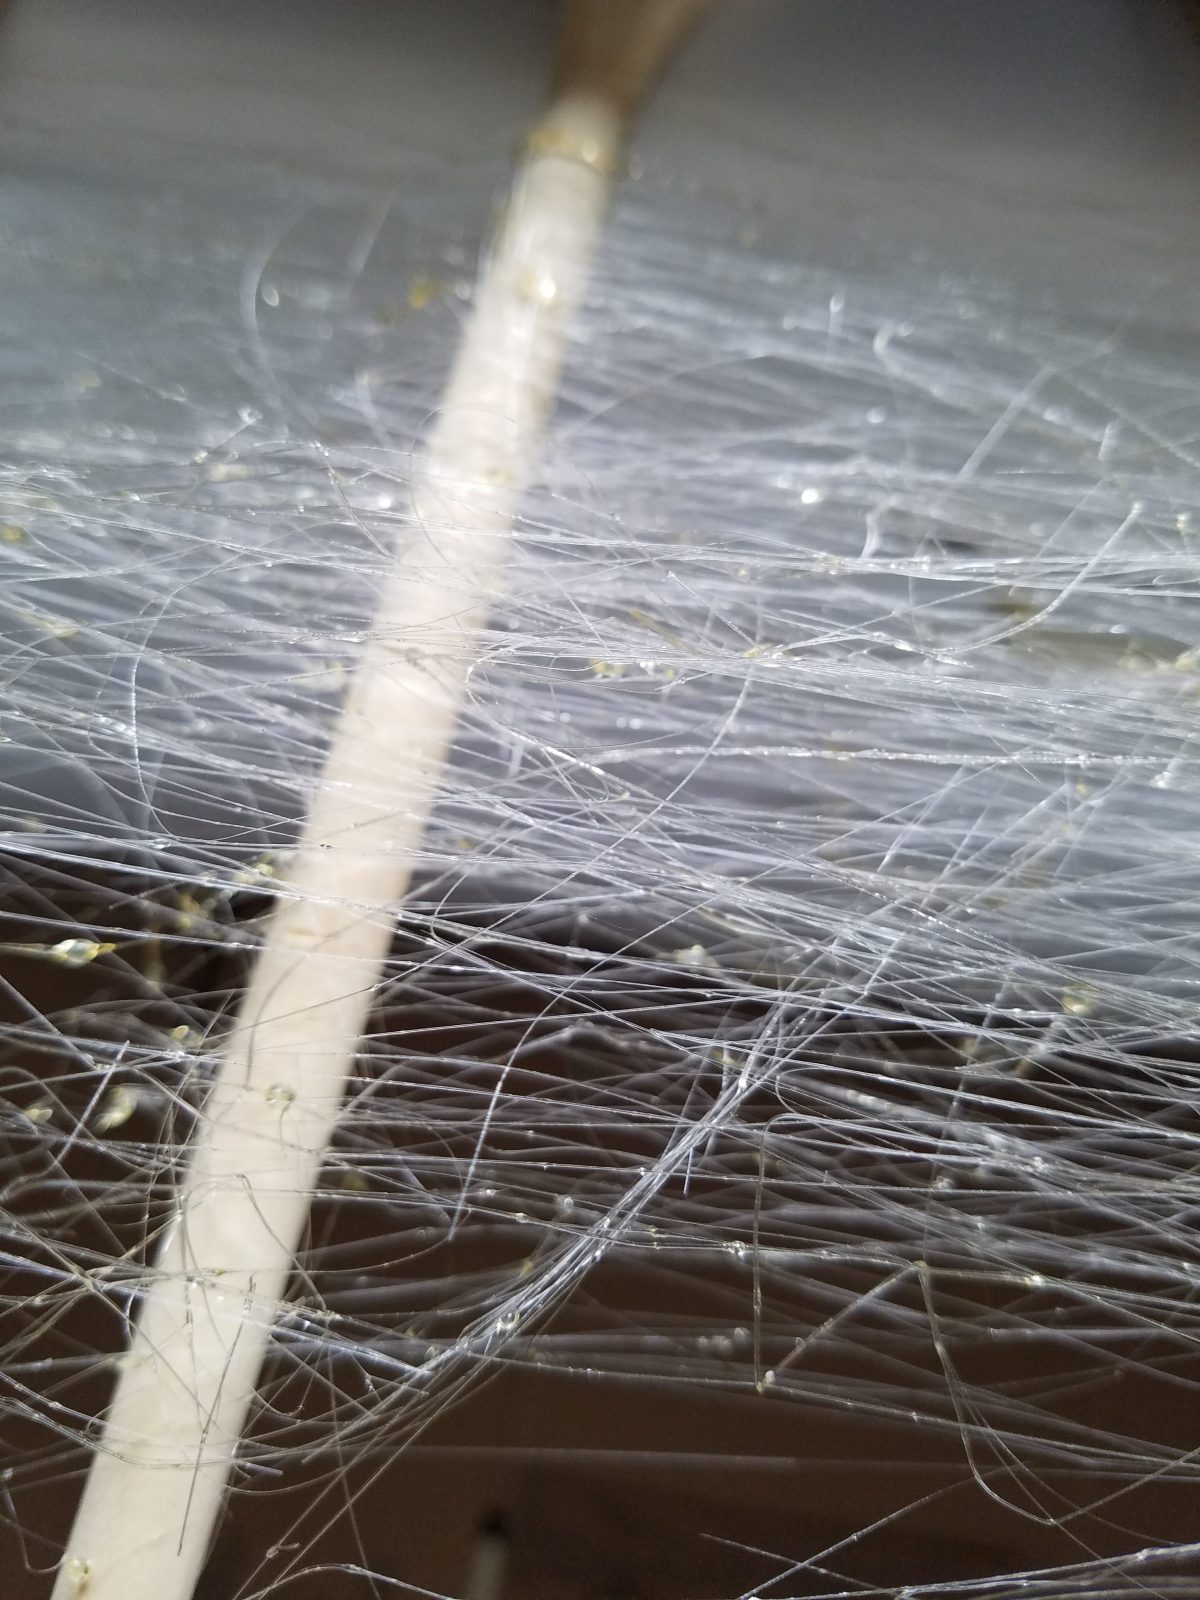
- Gather a rolling pin and/or several wooden spoons. Set them on the edge of your counter, 3-4 inches apart, so they hang off the edge as far as possible. You can tape or weigh down the ends so you can hang them farther out. The sugar weighs next to nothing so you don't need a lot of weight. I used a large baking sheet.
- Cover the floor under the spoons/rolling pin with newspaper, paper towels or cardboard. Things are gonna get messy!
- Gather a few forks or knives. This is what you will use to dip in the melted sugar and the strands of spun sugar will drip from the tips. I taped the forks together, back to back, so I wouldn't have to worry about them sliding around while working with the hot sugar. You will need to work quickly once the sugar gets to the right temperature.
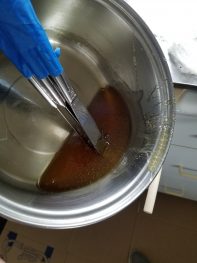
- Add all ingredients to a medium sauce pan and stir to evenly combine. I don't recommend using a non-stick pan. I always have trouble with the sugar crystallizing in non-stick pans and it's harder to see the color of the sugar in a dark coated pan. Use a VERY clean stainless steel pan if possible.
- Cook on the stove over high heat. Do not stir. Just watch it. The edges will start to bubble, then the boiling will start to move towards the center. After a few more minutes the edges will start to turn a light golden color. This is where you really need to keep an eye on it. Again, do not stir or touch the sugar at all. You want to turn off the heat when it's a few shades lighter than where you want it to end up at. I lean towards a light to medium golden color so I can be absolutely sure it won't burn as it continues to cook.
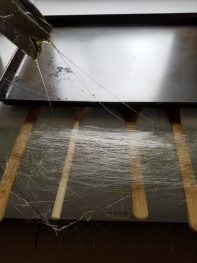
- Let the sugar cool slightly, You're looking for the sugar to thicken up just a bit so it doesn't flow super quickly off of the forks/knives, but also not so slowly that you get thick strands and clumps. The best way to figure this out is just to test it. Dip the tips of the forks/knives in the hot sugar and start flinging them back and forth, very quickly, across the ends of the wooden spoons. If they're not hardening before they reach the spoons**, the sugar needs to cool a bit more. If the strands are coming out sort of thick with globs in it, it has cooled too much. Put the pan back over high heat*** for a few seconds so the sugar can soften up a bit.
- You can do just a few passes and collect the strands to shape them right away, perhaps into a bunch of smaller nests or balls, or you can continue to dip and fling the sugar to build up a bigger bulk of strands. The more you build up, the more dense the structure will appear. A large nest is very forgiving because it is meant to be sort of messy. Bend your spun sugar into a circle and press in the center slightly. Continue to fling the sugar, add more strands to the nest and shape as needed until you've reached the size you'd like.
*Here is the recipe for my Easter Carrot Cake that is topped with this Spun Sugar Nest.
**A tip I found useful when flinging sugar that was flowing a little too quickly was to hold my hand as high as possible so the sugar had a longer distance to fall and therefore had more time to cool before hitting the wooden spoons. This allowed me to start using the melted sugar earlier and I was able to get more strands out of it before having to reheat it.
***The more you reheat the sugar, the more grainy it becomes. The first heating of the sugar is always the prettiest. I found after heating it for a third time, it really wasn't nice enough looking to use any more. Work quickly, but be safe about it, and try to get as many strands out of the first melting as possible or make a new batch if you have to melt the sugar more than twice.
A few important notes:
1. Hot sugar can be very dangerous if it touches your skin. Use hot pads and be aware of where you are flinging the melted sugar.
2. Spun sugar hardens to a very rigid, fine thread. When these threads break as you shape them or bite into them, they can actually feel pretty sharp. Handle the strands slowly and you won't have any problems. Bite into it slowly and it melts in your mouth. It is, after all, just sugar. Taste test it yourself beforehand so you know what to recommend to your guests and children.
3. Cleanup: Your pan and forks may appear ruined at first. The sugar will harden into a rock and seem impossible to remove but remember, it's just sugar. Fill your pot with water, put your sugar coated forks in it and just let it sit. It may take several hours and you may need to change out the water a time or two but the water will do all of the work for you and will eventually dissolve every last bit of the sugar away and leave your pan and utensils perfectly intact.
Inspired by Martha Stewart's Spun Sugar
Have you ever tried to make spun sugar? I’m thinking I may try to shape it into Easter eggs next year. What other shapes would you sculpt it into? Comment below!