
This has a lot to do with personal preference, but in my opinion there are a lot of ugly door knobs in the world. Sadly, the vast majority of knobs you can find in all of the big box hardware stores, I find incredibly ugly. I’d estimate about 80% of the time, brass colored knobs are not pretty. Yet most of the least expensive knobs you can find are often brass colored. I have serious beef with brass colored fixtures.
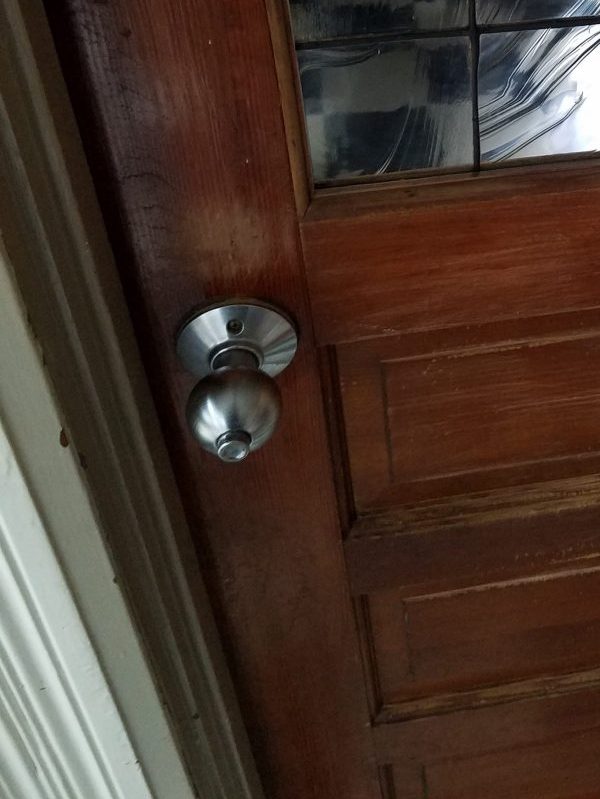
I’m really not a fan of this type of knob. 🙁
Don’t get me wrong, there is a time and a place for everything. I’ve definitely seen examples of brass fixtures used beautifully in home decor. Most of the time though, the brass fixtures I see are either out of date, or were never in date to begin with.
Sometimes, out of necessity, you have no choice but to buy the cheapest and most readily available knob you can find. Other times, you’ve simply inherited knobs you find less than appealing. Luckily, if you’re willing to put in a little time and minimal effort, you can update all of the knobs in your house for about ten bucks.
Keeping it Simple
If you want to keep it as simple as possible, a screwdriver, some newspaper or cardboard and two cans of spray paint will make a vast improvement.
- Choose your color of spray paint. It’s a dollar or two more expensive but I always use the metallic Universal Rustoleum with paint and primer in one. Even though I use a separate primer anyway, this type of Rustoleum always seems to last longer than the regular kind.

- Also get a can of Rustoleum’s self etching primer spray paint. The etching primer is very important. I’ve spray painted many things over the years and if you want the paint to last without flaking off, especially on a metal surface that you’ll be touching a lot, you NEED the etching primer.

This is what happens when you don’t use a self etching primer. This paint even says it is a paint and primer in one. You MUST use a separate self etching primer if you want the paint to last.
- It’s best to do this outside so you don’t have to worry about the fumes in your house, so check the weather and find a day when it’s not going to rain and the temp will not get below 50 degrees or above 90 degrees. Honestly, I’ve done this in my house as well as outside when it was well below 50 or well over 90 degrees but it requires even more prep work or doesn’t turn out as well. Best to just follow the instructions on the spray paint cans for the best results.
- If you don’t want patches of your grass spray painted colors, lay down cardboard, newspaper, tarps or anything to protect the area you’ll be placing the objects to be spray painted on. I like cardboard the best because we always have a bunch of it on hand from ordering from Amazon Prime all the time, and it’s thick enough to press screws into so they stand upright and you can paint the heads of them to match the rest of the knob.
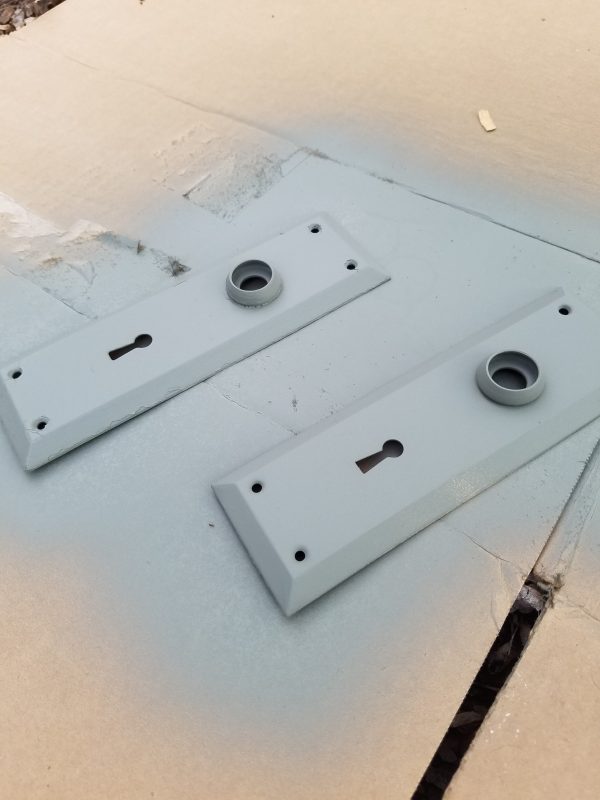
- Disassemble the door knob. Many knobs just require unscrewing a few screws on one of the knobs to pull the two knobs apart and off of the door. Others have a thin, rectangular slit somewhere on the knob where you can insert a flat head screwdriver and pop off the cover to reveal the screws that will allow the knobs to come off. Others have a small set screw that you can loosen and will allow you to unscrew the actual handle from a threaded spindle. It’s pretty obvious on most knobs, but if you’re not sure, a little googling and you’ll be able to find instructions or a video on how to disassemble your model. Also remove the strike plate on the door frame if you want that to match the color of your knob.
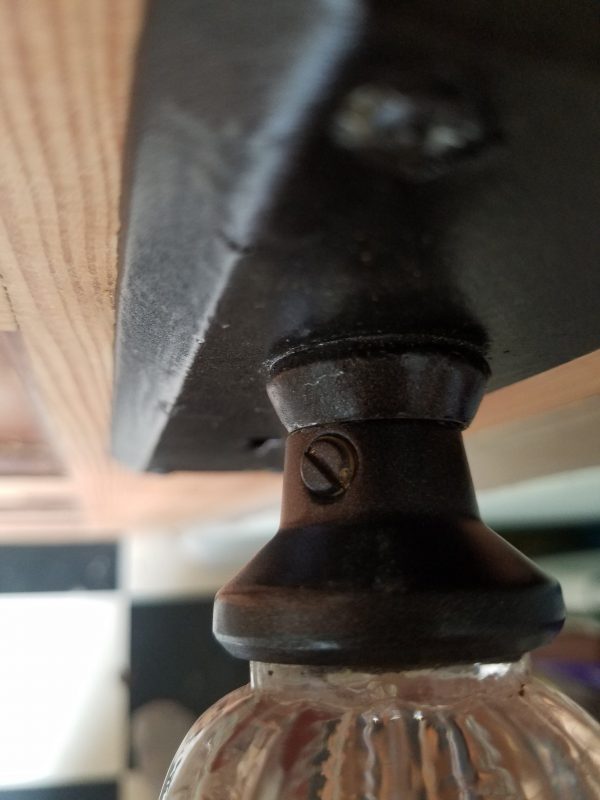
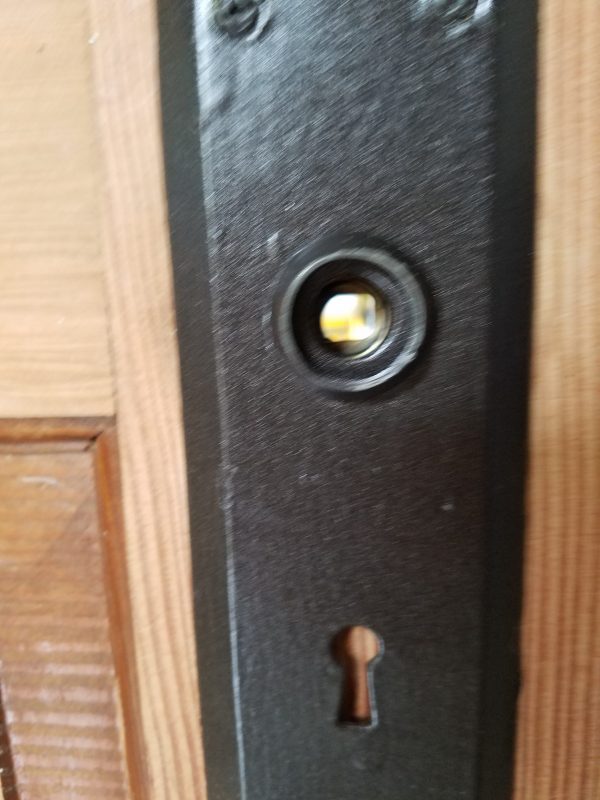
Here is the set screw that you loosen to be able to screw the knob off of the spindle.
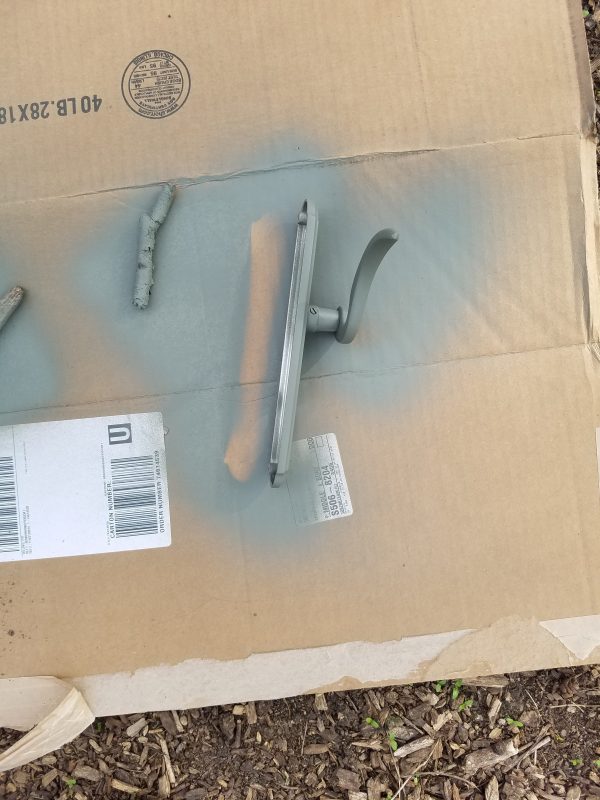
- Press the screws from the knob and strike plate into the cardboard or press them into a grassy area so you can spray paint the heads. Spray painted grass will grow out in a few weeks so it’s really not that big of a deal if you don’t have cardboard. Lay the knobs and strike plates out on the cardboard so you can spray as many sides of them as possible in one go. Otherwise you’ll need to spray one side of them, wait for it to dry, then flip them and spray the other.
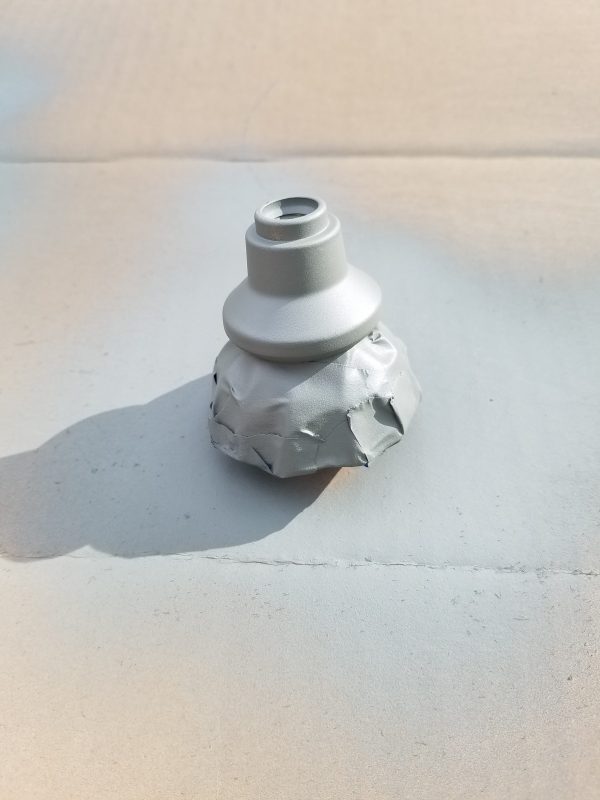
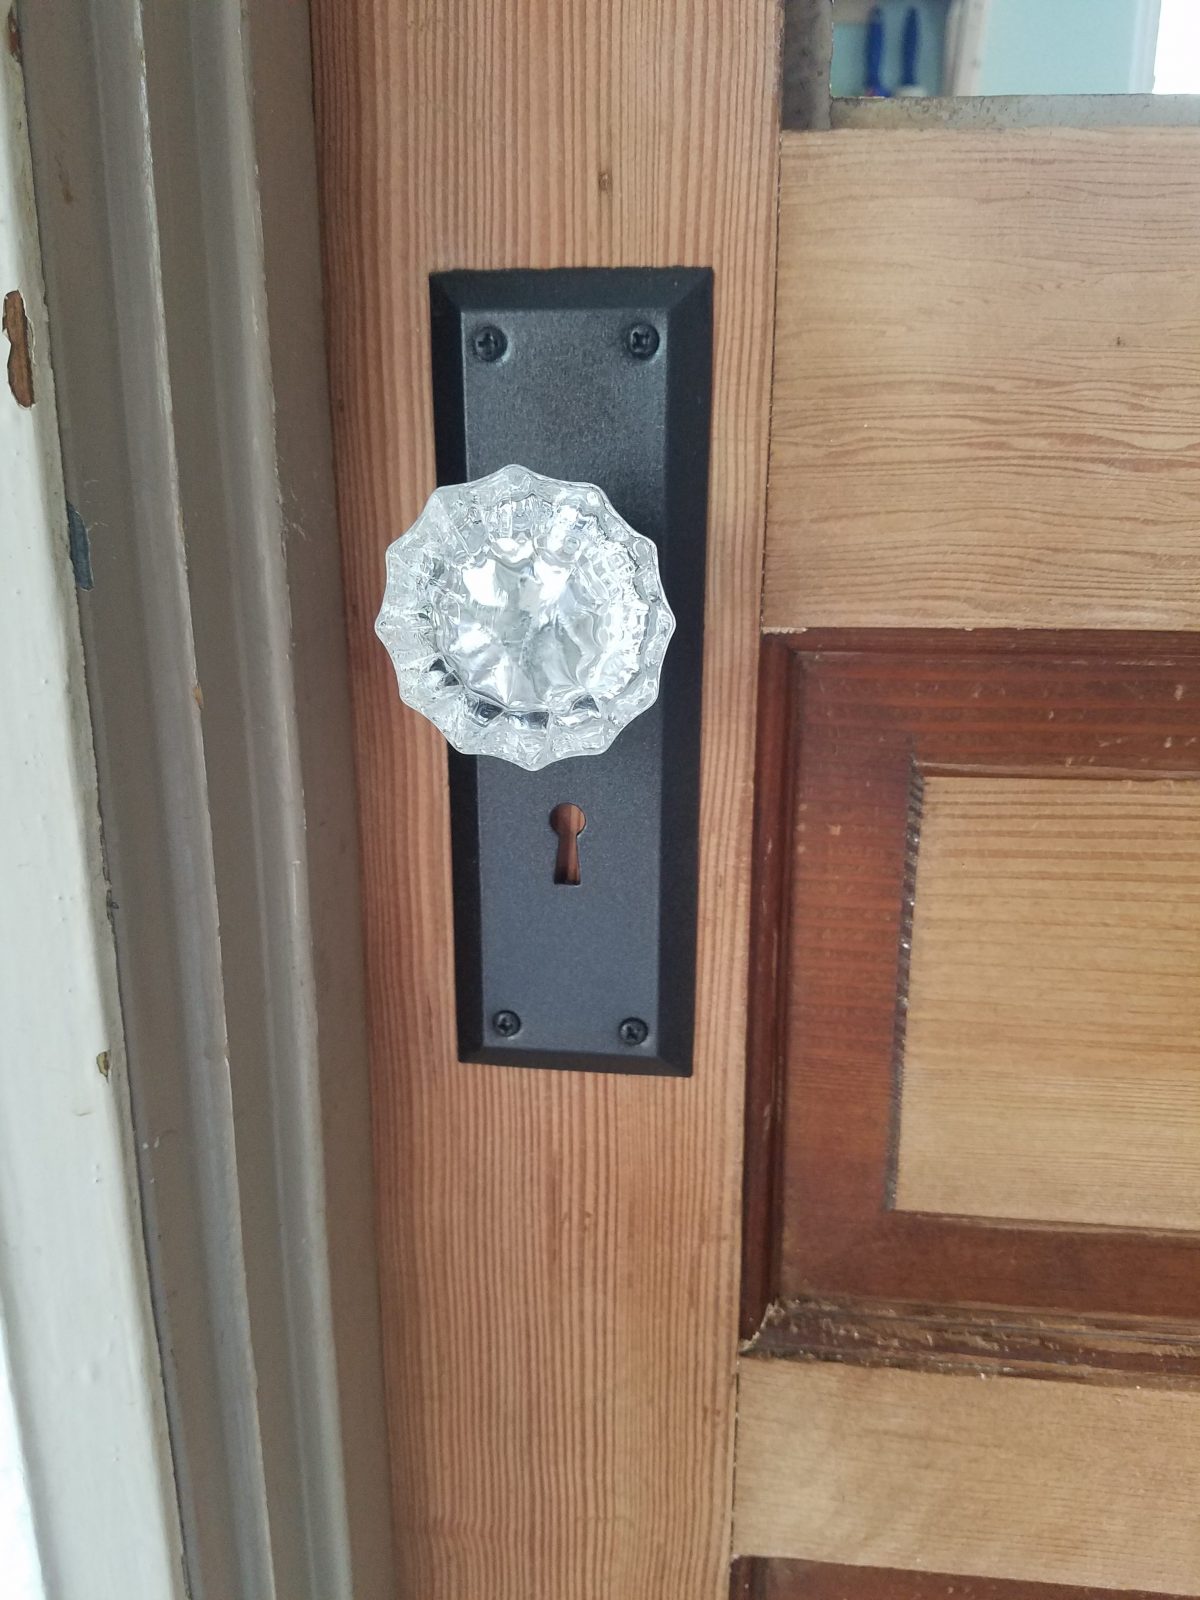
I used masking tape to cover the clear crystal part of the knob so I could cleanly paint the metal part to match the face plate.
- Be sure all of the surfaces are clean and any loose or chipping paint has been scraped off. Then spray each down with a thin coat of the etching primer. The etching primer dries pretty quickly so if you have to paint them one side at a time it shouldn’t take long. Read the instructions on the back of the can to determine exactly how long you’ll need.
- Once the etching primer is dry, spray paint the color onto the knobs, strike plate and screw heads. Same rules from painting with the etching primer apply, though the color will take longer to dry. Even beyond the dry time stated on the can, you really want to let the final coat dry as long as possible, even a few days if you can, then handle it gently for the first few weeks. Not ideal, but it takes time for the final coat to really cure and harden.
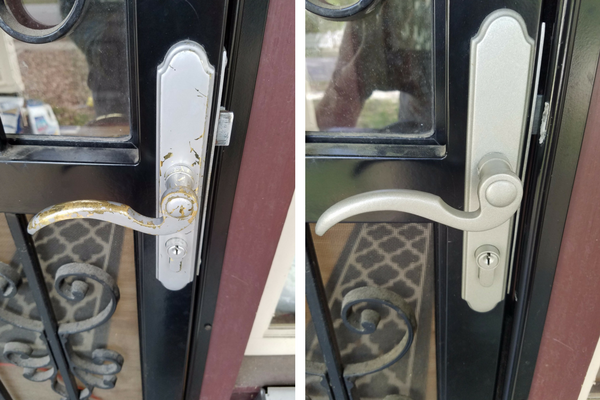
Left photo is the before, without using a self etching primer. Right photo is after, using a self etching primer.
- Reassemble the knobs and strike plate and enjoy your updated look!
Taking it to the Next Level
If you’re willing to spend a bit more (but still not as much as buying a whole new knob set), you can upgrade to a more ornate, interesting knob altogether while keeping the same internal mechanism. Many interior door knobs function similarly and when you take the knob off, a new one can be inserted without messing with anything else.
Blurry photo, but here I used the internal mechanism from a newer door knob. I was able to change it out to a vintage knob and face plate without messing with the inner workings.
The catch to this is you have to have a place to find old, ornate door knobs. I actually have a bunch lying around from when we changed out all of our mismatched knobs for period appropriate matching ones. We also have an architectural salvage warehouse in town where they sell a wide variety of knobs and face plates for anywhere from a few bucks to a few hundred bucks, depending on how crazy you want to get. The clear crystal/glass knobs seem to be pretty prevalent and inexpensive and they do a great job of dressing up any door. Even the most basic, inexpensive face plate looks great when combined with one.
And don’t be afraid to add a face plate to a door that doesn’t have a mortise lock. Most of our interior doors do have mortise lock mechanisms in them so they do actually lock with the old school keys. I can tell you from experience though that it is not fun to retrofit those locks into doors that either had a different sized lock in it initially, or didn’t have one at all. Door knob face plates can be a very inexpensive way to dress up a door and give it character, even if the keyhole isn’t actually usable. I painted and used an old face plate we had on our laundry room door that I’m fixing up, and it looks great. I have no need to ever lock our laundry room door so it’d be silly to take the time to mess with installing the mortise mechanism.
There you have it! Spray paint or a trip to the architectural salvage store and you can have a whole new look for your doors starting at around $10. Have you ever tried painting door hardware for an updated look? Does anyone else share my repulsion of outdated brass hardware? 😛 Comment below!