
AKA Monty Python and the Holy Grail Cake
AKA Three Headed Knight Tea on a Coconut Horse Amongst Shrubbery Cake
AKA Michael’s 2017 Birthday Cake
Yeah, there was no easy way to name this cake. It’s delicious and pretty all on its own but it’s packed full of nerdy Monty Python references. Some people don’t care about the references, others are drawn to the cake because of the references, so what was I to do? Give it a million names and let you decide what you want to call it. That’s what I did. 😛
Fair warning: the ridiculous amount of names is probably going to be a recurring thing. My husband had the brilliant idea of doing a computer game themed dessert so he could share the recipe with the computer gaming community. I’ve already decided on the first one. That recipe will be up in a few weeks and I’m super excited about it! I already had this cake in the works though and I just so happened to be bringing it to my cousin’s themed movie night so it seemed fitting to start the themed dessert naming ridiculousness now.
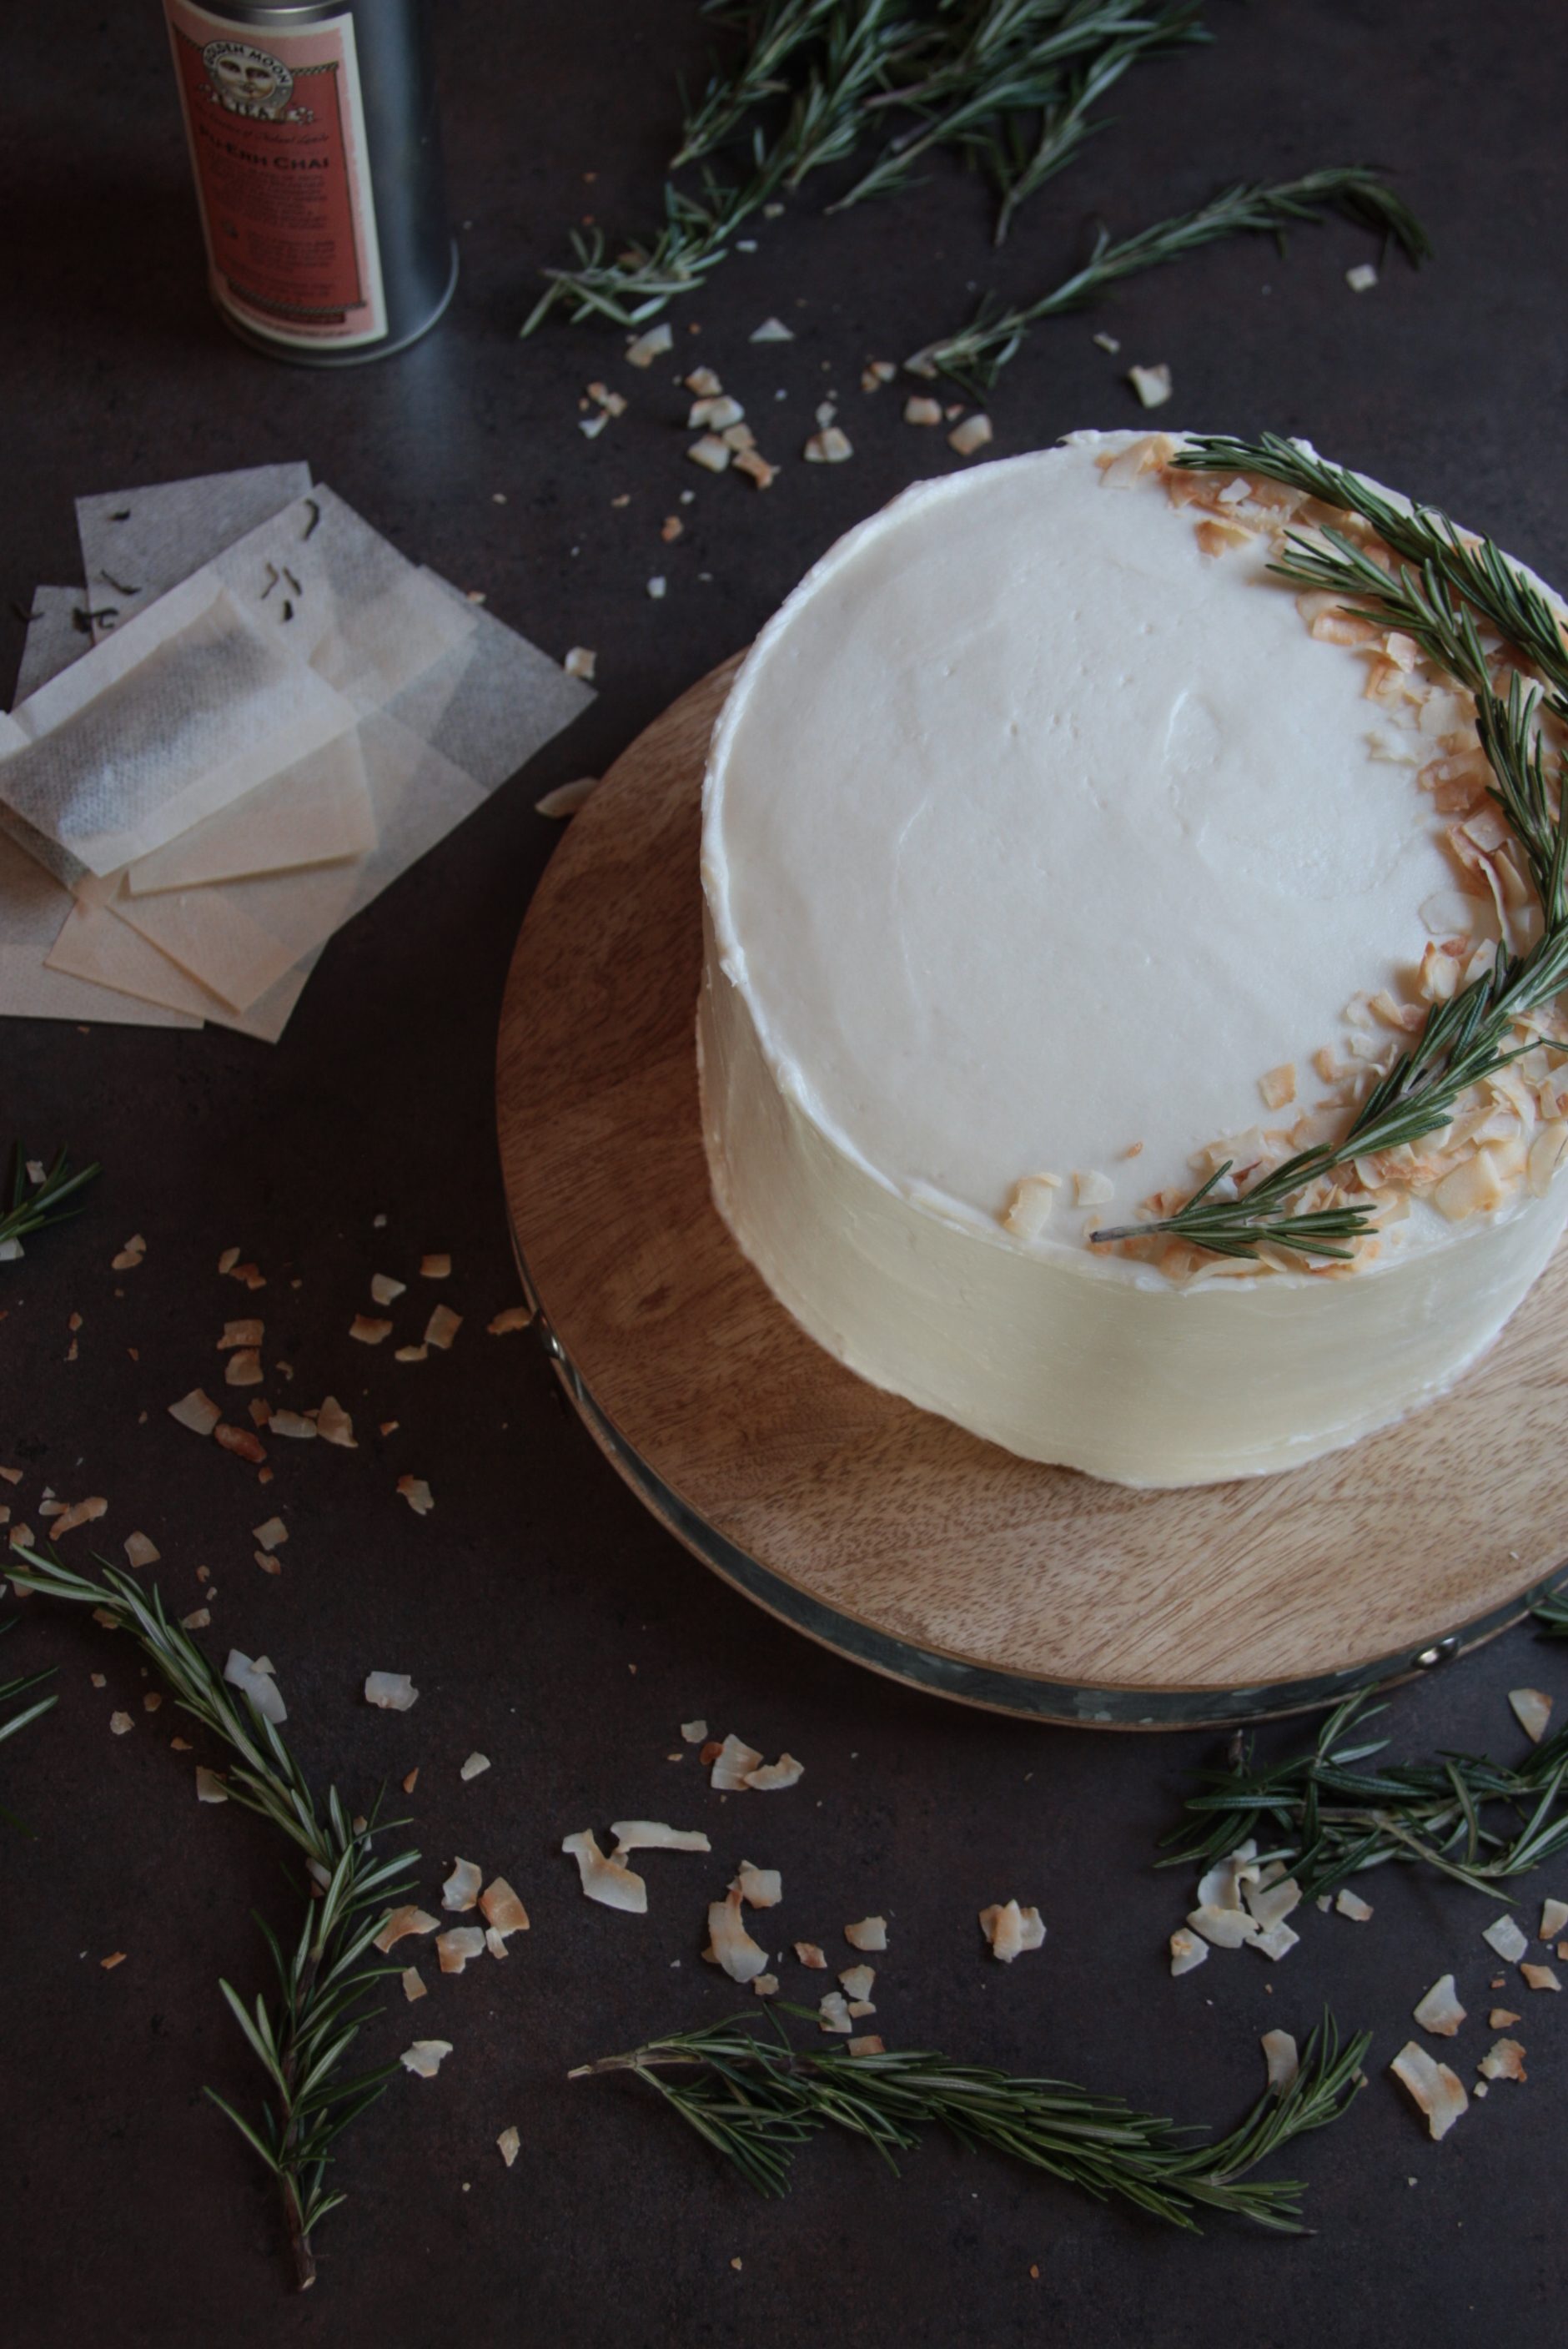
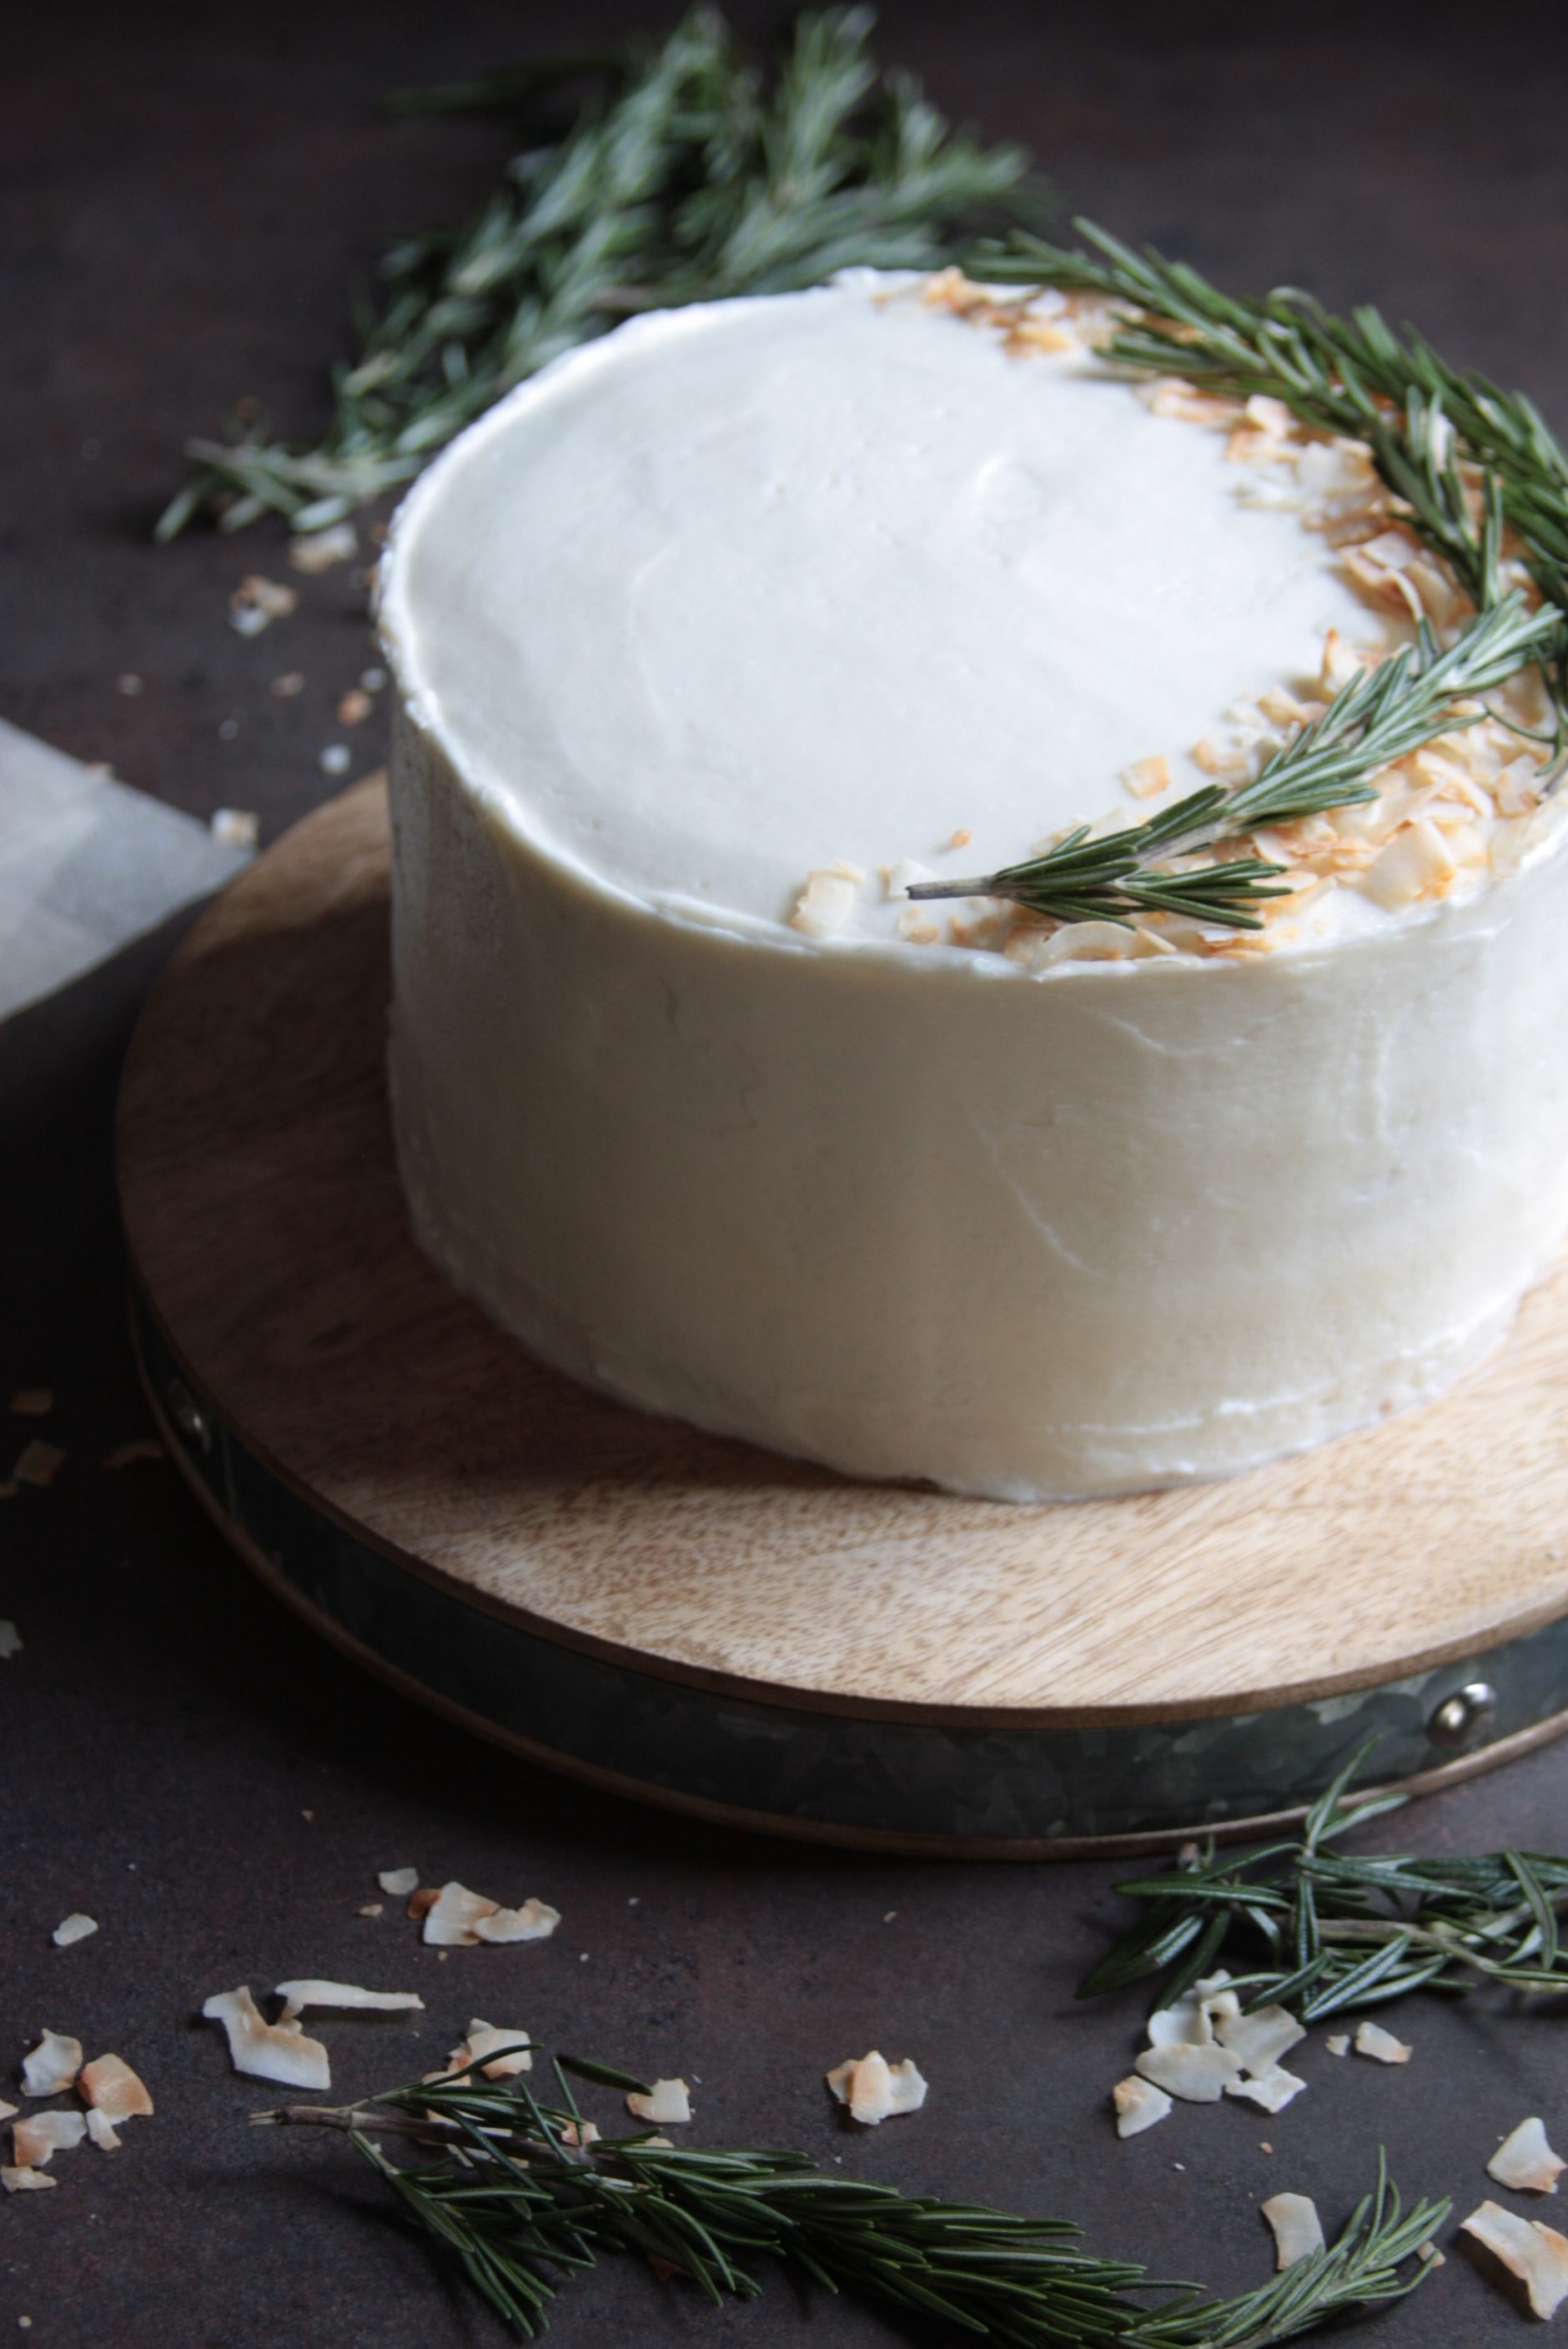
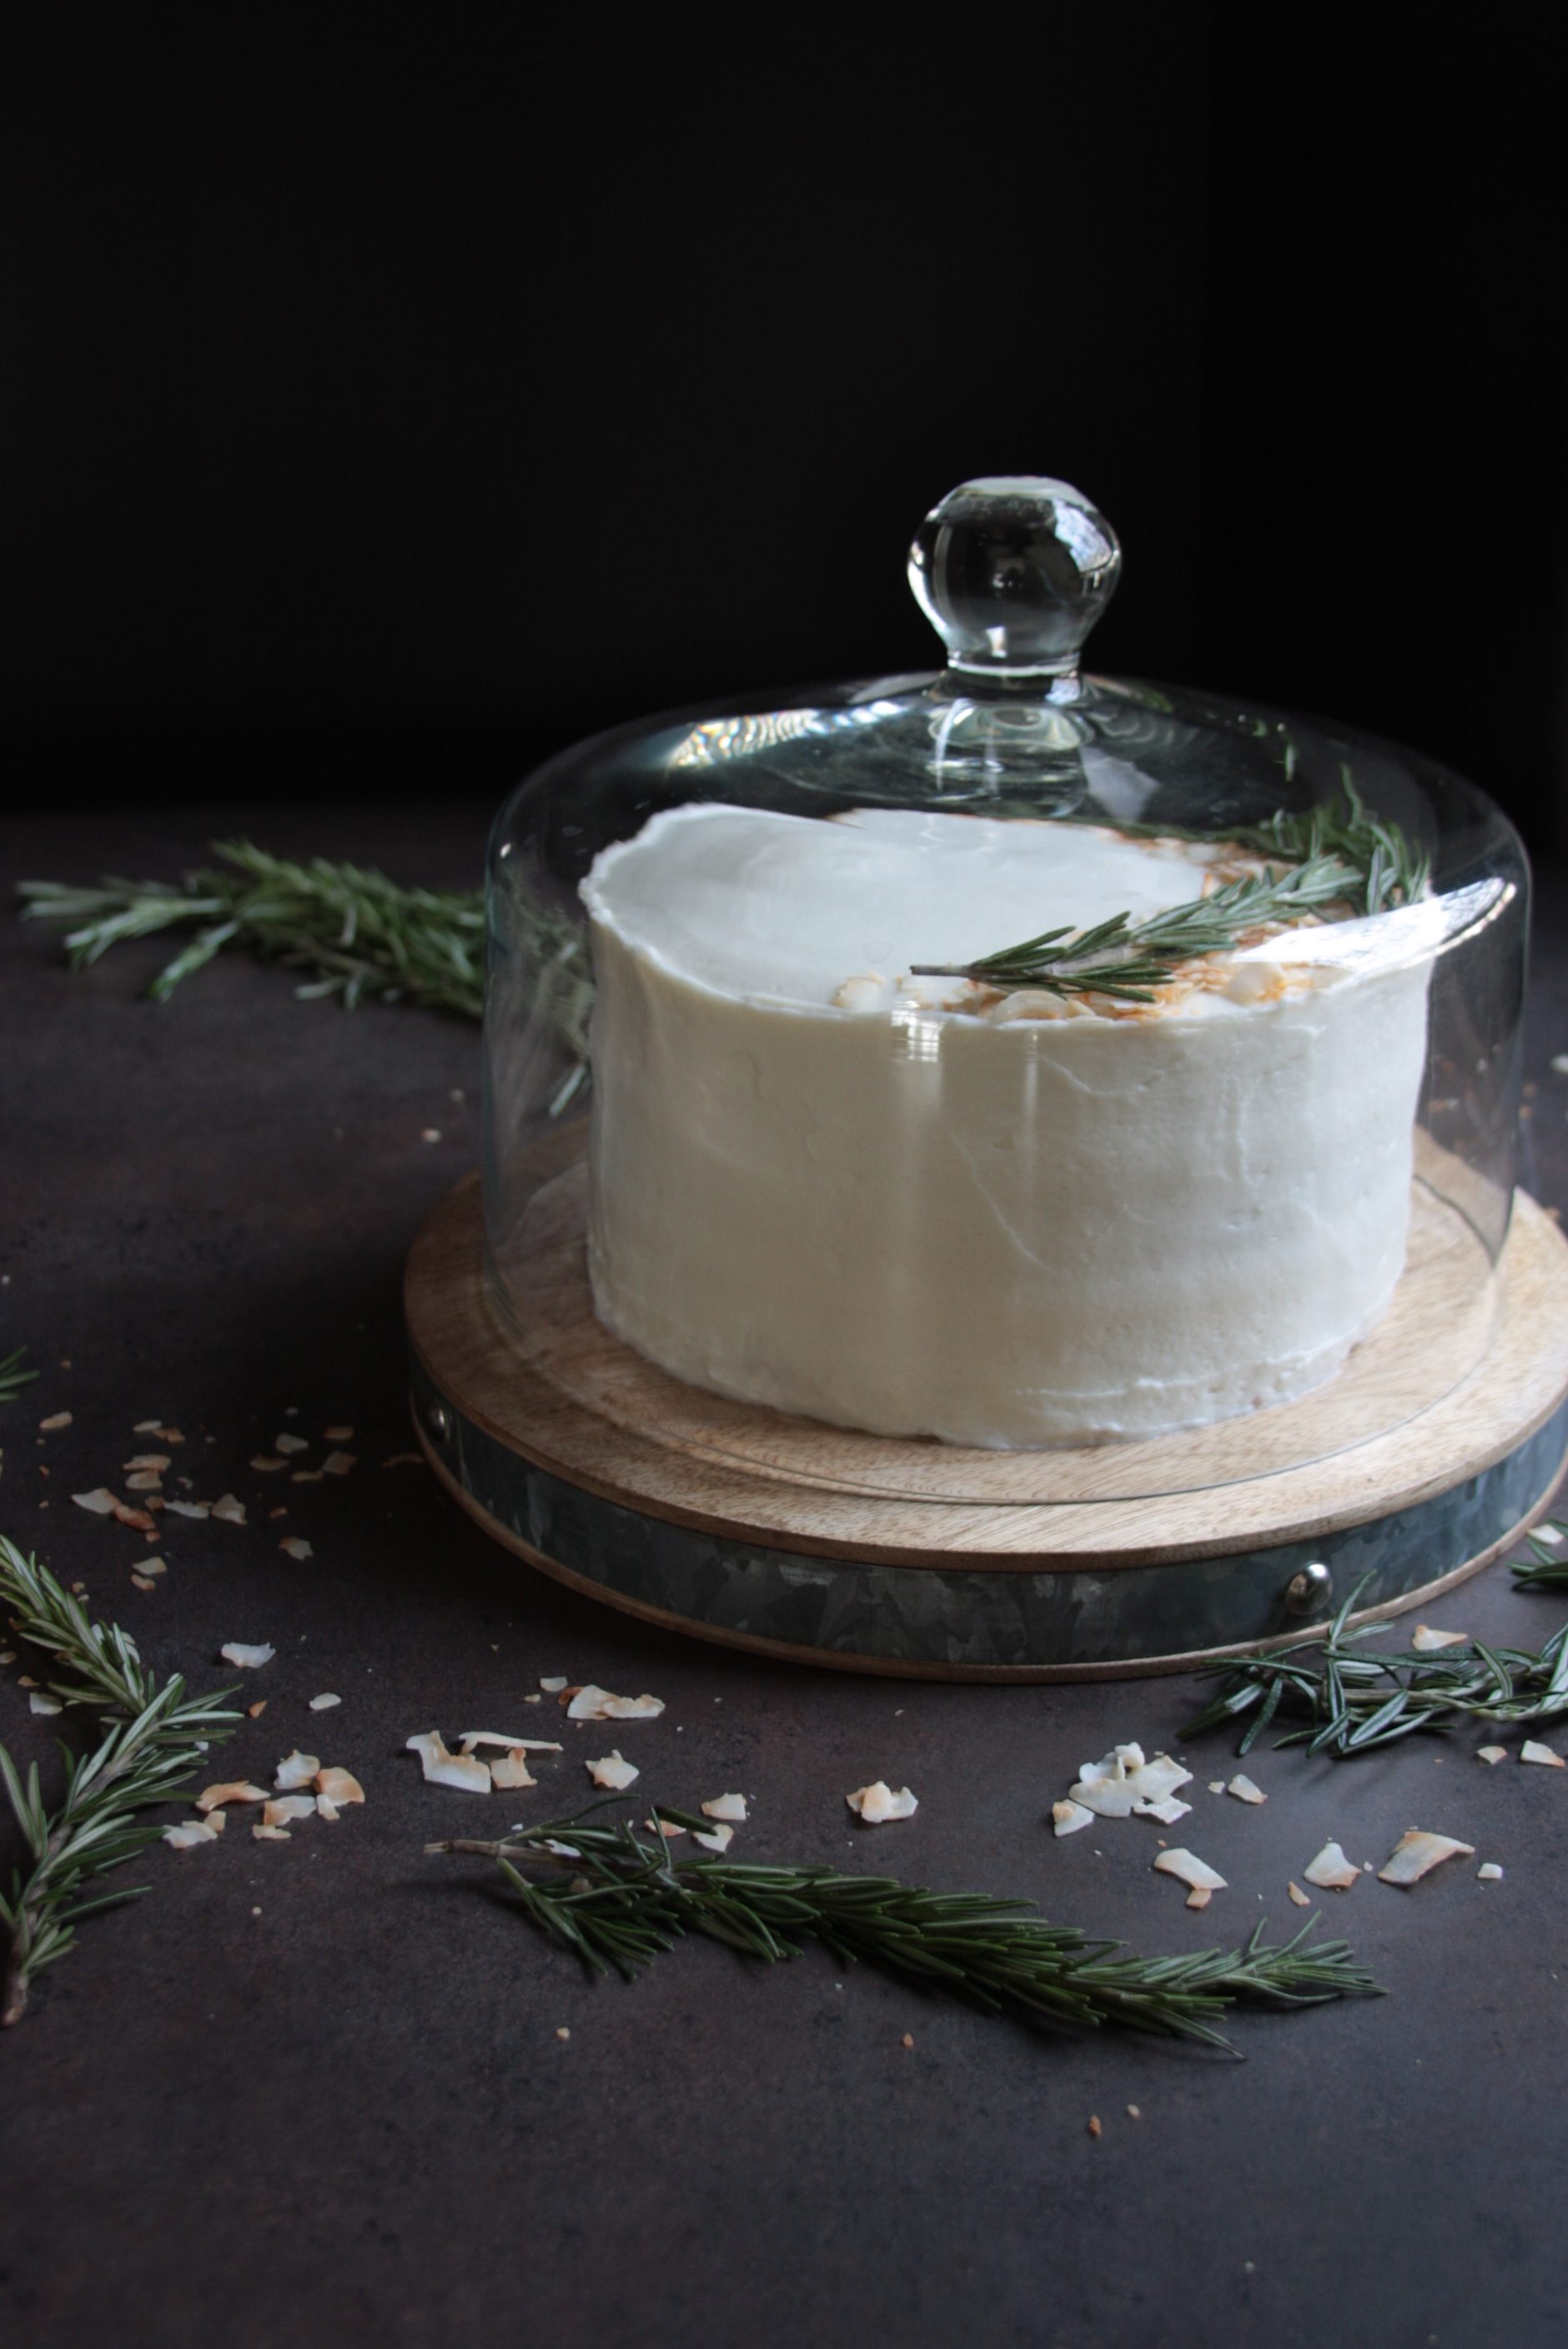
I absolutely love that if you just saw this cake sitting on a table, you might think “oh, that’s a nice cake”, but if you’re a Monty Python and the Holy Grail fan and you’re then told it’s made of chai tea cake in reference to the three headed knight and his/their mention of tea and biscuits, it has coconut buttercream frosting and toasted coconut flakes in reference to the coconut “horses” they ride in the movie, and it is adorned with sprigs of rosemary or “shrubbery” in reference to the Knights Who Say ‘Ni!’ and their demand for shrubbery, then all of the sudden it takes this deceptively simple looking cake to a whole new level of nerdy awesomeness. I even left a bit of a rim along the top edge of the cake because it reminded me of the shape of the knights’ helmets in the movie. Ha! It’s pretty, delicious AND fun!
It does have coconut in it though which I know can be one of those flavors that not everyone likes, but how can you have a Monty Python cake and NOT have coconut in it? You can’t. You just can’t. Plus I really don’t understand why some people don’t like coconut. Even the smell of it is sooooooo good. It’s like you get to eat the smell of beaches and vacation. 😀
I even found a cake plate that hints at Monty Python. Knights of the round table…knight armor…get it? Ha!
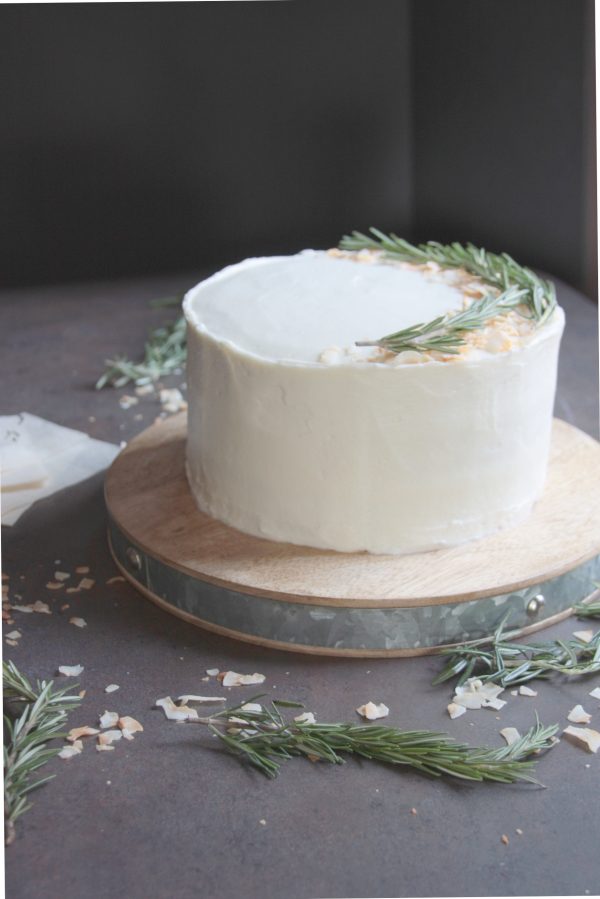
Once again, I slightly altered the recipe after taking these pics so if you make this recipe, the finished cake will be about a quarter of an inch shorter. I did three layers of cake initially but each layer was very thin which made it VERY difficult not to overcook them. I learned this the hard way. I also wasn’t thrilled with the proportion of cake to frosting. I wanted more cake and a little less frosting. So in the recipe I swapped it to two layers of cake instead of three which will make each layer slightly thicker and easier to cook properly, and it will take away one layer of frosting that would have been between the second and third layer of cake which will fix the cake to frosting ratio. Feel free to swap it back if you’d like but be warned, those thin layers are reeeeeally hard to gauge. You pretty much have to take them out when they’re still underdone and hope they finish cooking in the pan while on the cooling rack.

A minor warning about the coconut extract as well. The flavor tends to develop and get stronger over time, even over a few hours. So if you’re tasting your frosting as you mix it and think it needs just a bit more coconut flavor, don’t add it. It will seem stronger by the time you serve it. The chai cake is a pretty potent and flavorful cake on its own but the coconut can easily drown it out. My intention is for the chai to be in the spotlight and just a hint of coconut should complement it. If you’re all about the coconut flavor though then by all means, go wild with the extract, but consider yourself warned.
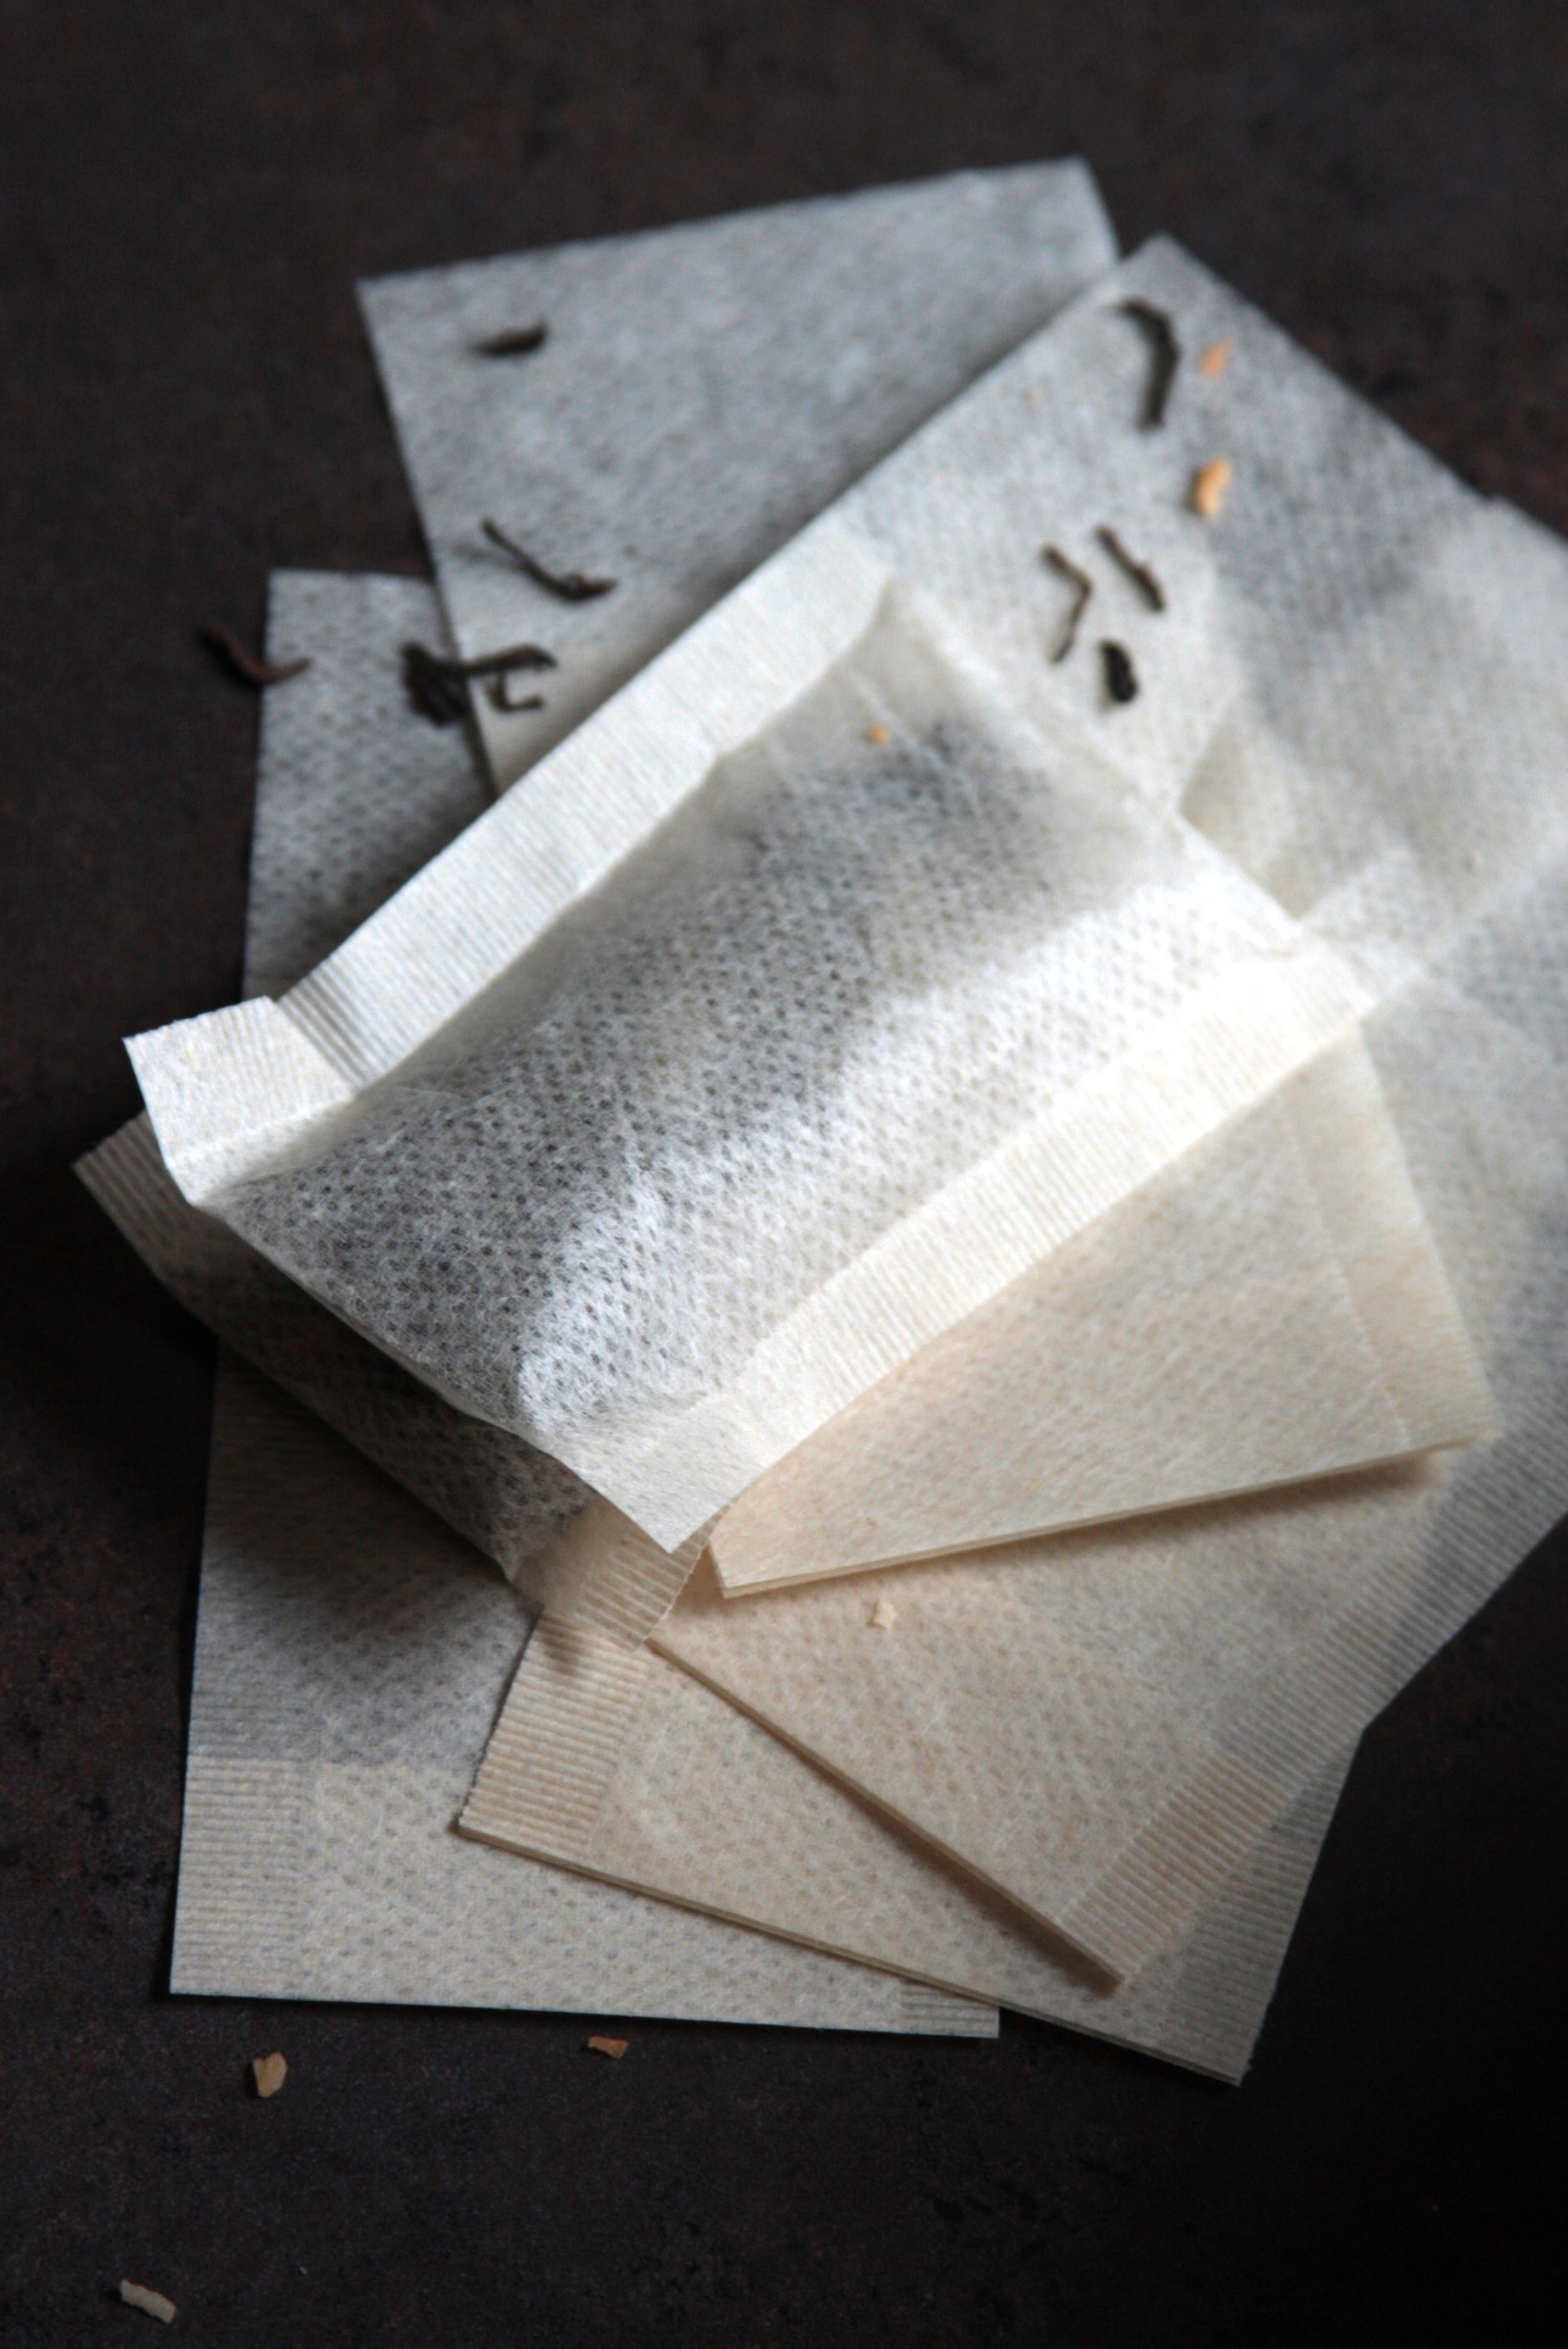
And finally, the tea. Chai tea can come in varying degrees of strength. Some are very mild while others pack a punch. In my opinion, the stronger the better, especially for this cake. There are already a lot of spices added to it but steeping the actual tea in the milk adds a whole other dimension to the flavor. This is the tea I used…
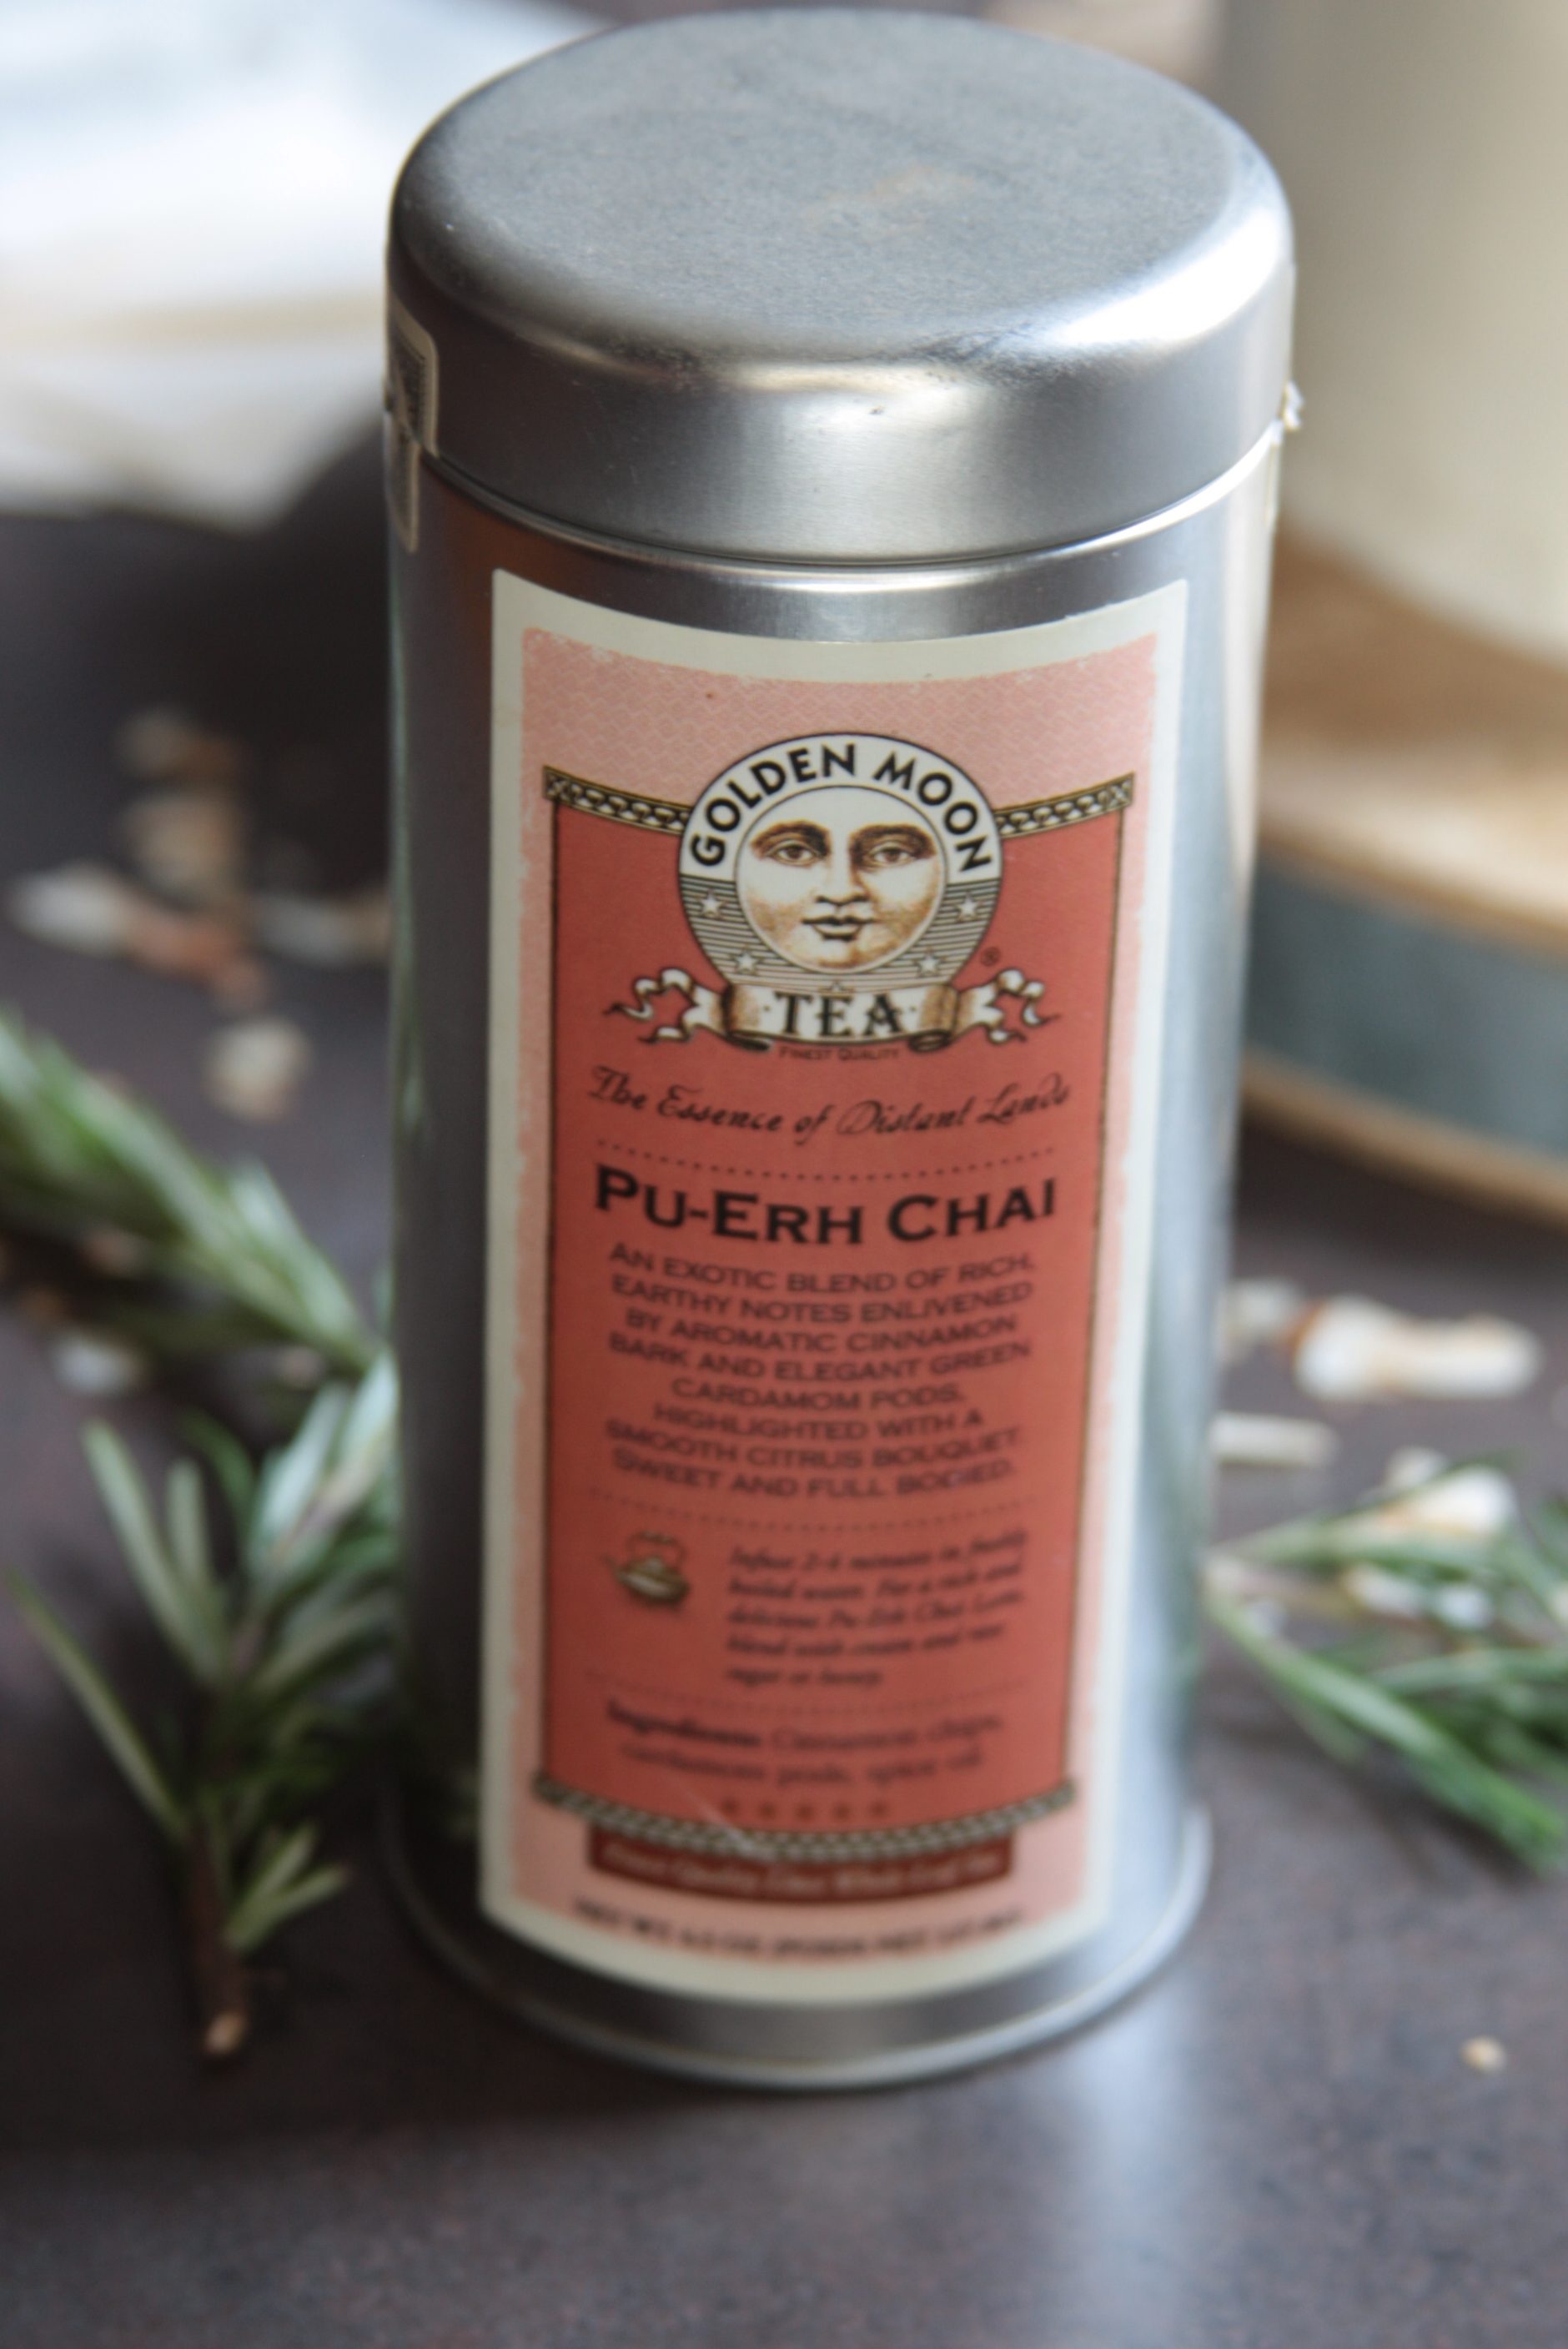
I bought it in a little tea shop we have in town so I don’t think it’s available in your standard grocery store but generally I’ve found that loose leaf tea, at least loose leaf chai tea, is more potent than the pre-filled tea bags. Plus, then you can add as much or as little tea as you’d like to each bag. If you can’t get loose leaf or just don’t care to splurge on it, just add a few extra tea bags to the milk to punch up the flavor.
I’m so excited about my themed desserts in the works! Most of them won’t be obviously themed so they’ll be appropriate to make as-is for any occasion, but for those in the know, they’ll be hiding all sorts of fun references and tid bits. Eeeeeeee! Nerdy desserts! I can’t wait! It’s funny how you can find inspiration in the most unexpected places. Who knew movies and games were really muses for deliciousness in disguise?
| Prep Time | 30 minutes |
| Cook Time | 25 minutes |
| Passive Time | chill cake layers overnight |
| Servings |
servings
|
- 1 1/4 cups whole milk
- 1/4 cup honey
- 1 tablespoon vanilla extract or 1 vanilla bean, seeds scraped
- 3 tablespoons loose leaf chai tea or 4 tea bags
- 4 egg whites save the yolks for frozen custard!
- 1/2 cup butter salted, room temperature
- 1 1/2 cups granulated sugar
- 2 cups All purpose flour
- 1/4 cup cornstarch
- 1 tablespoon baking powder
- 1 teaspoon cinnamon
- 1 teaspoon ground ginger
- 1/2 teaspoon dried orange peel or 1 tsp freshly grated
- 1/4 teaspoon ground cloves
- 1/2 teaspooon ground cardamom
- 1/2 teaspoon salt
- 2 cups butter UNSALTED, room temperature
- 4 cups powdered sugar
- 7 tablespoons coconut cream you can find this in cans in the world foods aisle of the grocery store.
- 1/2 teaspoon coconut extract try to find pure, not imitation. Decrease or increase by 1/4 tsp depending on how subtle or strong you want the coconut flavor to be.
- 1/2 teaspoon vanilla extract
- 1 pinch salt
- 1/2 cup coconut flakes I used Bob's Red Mill coconut flakes* because they're prettier actual flakes rather than the stringy pieces most other brands have.
- 3-4 sprigs fresh rosemary
Ingredients
For the Cake
For the Frosting
For the Decorations
|
|
- Preheat oven to 350 degrees
- I always recommend starting the cake the day before you intend to serve it. Bake the cake part the day before and frost and decorate the day of.
- Cut parchment paper rounds for two 8 inch round pans. Trace the bottom of the pans onto the parchment paper, cut out the circles, flip them upside down so the pencil markings won't touch the cake batter and place them in the bottom of each pan. No need to grease the sides of the pans.
- Add milk, honey and vanilla to a medium sauce pan and cook over medium heat, stirring occasionally, just until the mixture starts to simmer along the edges. You don't want to scald the milk. If using a vanilla bean, add the bean to the mixture along with the scraped seeds before heating as well.
- Once the mixture is hot, remove from heat, add the tea leaves and cover. You can use tea bags like I have pictured above, a tea infuser, or just add the loose leaf tea directly to the mixture and strain it before adding to the cake batter. Straining it may eliminate some of the vanilla bean seeds but most of the flavor will still be there.
- Let the mixture sit for 5 minutes, then pull out or strain out the vanilla bean and tea leaves. Let the mixture cool for a bit. You'll be adding the egg whites and you need it to be cool enough to not cook the whites when you add them.
- Add butter to the bowl of a stand mixer. Beat with the paddle attachment until it starts to lighten in color. About 2-3 minutes. Add the sugar and beat until well combined, scraping the bowl as needed.
- In a separate bowl, combine the remaining dry ingredients and mix together until well combined. I usually just use a whisk and mix by hand.
- Add a third of the flour mixture to the creamed butter and sugar. Beat until thoroughly combined.
- By now the milk mixture should be cool enough to not cook the eggs. Add the egg whites and whisk together. The mixture won't combine very well but that's ok.
- Add half of the milk mixture to the creamed butter mixture and beat until well combined.
- Add another third of the flour mixture. Beat until well combined. Add the remaining milk mixture. Beat until well combined. Add the last of the flour mixture. Beat until well combined and then beat for an additional 3-4 minutes to work as much air into the mixture as possible.
- Separate mixture evenly between the two prepared cake pans. Bake for 15-25 minutes or until the top is golden brown and a few moist crumbs cling to a skewer stuck in the center of the cake. It is very easy to dry this cake out so check it often and remember it will continue to cook slightly as it cools in the pan.
- Cool cakes in the pans for 10 minutes then run a knife along the edges, flip he cakes out, pull off the parchment paper and cool completely on a wire rack.
- At this point I recommend wrapping each layer in plastic wrap and refrigerating overnight. At the very least the layers need to be completely cool before attempting to assemble the cake.
- Depending on how large your mixer is, you may want to make this in two batches. I really packed on the frosting for this cake so alternatively, you could cut the recipe in half and just frost it more scantily.
- Beat the butter in the bowl of a stand mixer fitted with a paddle attachment until light and creamy, 3-5 minutes.
- Pour the can of coconut cream into a small bowl and mix thoroughly. It likely will have separated and you want it back to its liquid, creamy state. It may have a few lumps in it but that's ok.
- Add the sugar to the butter, one cup at a time, and alternate with adding 2 or 3 tablespoons of the coconut cream at a time. Keep the mixer on a lower speed so you don't coat your walls with powdered sugar.
- Add the extracts and salt and mix to combine, then turn the mixer speed up and beat for several minutes to work more air into it. Add more sugar or coconut cream as needed to achieve the desired consistency. You want it to be stiff enough to hold it's shape but still smooth and creamy.
- Add coconut flakes to a medium skillet. Cook over medium heat, stirring/tossing frequently, until the edges begin to turn a golden brown. The coconut will continue to cook and brown even after you remove it from the heat so remove it when it's a few shades lighter than you want it to be. Then continue to stir and flip the coconut even after removing it from the heat until the pan has cooled down a bit or the coconut could burn.
- Select a few perfectly proportioned sprigs of rosemary to use on your cake. Trim them to size if needed.
- Take the cake layers out of the refrigerator and remove plastic wrap. Use a cake leveler* or long serrated knife* to level out any domed tops and ensure each layer is the same height.
- A cake turntable* will make smoothing out the frosting MUCH easier.
- If you're not frosting the cake on the plate you intend to serve it on, use an eight inch cake board* underneath the bottom cake layer. I usually trim it down about a quarter of an inch so it doesn't stick out beyond the edges of the cake and is completely hidden.
- Put a dab of frosting on the cake board. Lay the first layer of cake in the middle. I usually flip the layer upside down so the bottom is facing up. The bottom has fewer crumbs than the trimmed top and the edges are usually more uniform.
- Spread frosting evenly on top of the first layer. I used a piping bag and Wilton 2A tip*. I find it makes frosting cakes much faster to use a piping bag for as much as possible.
- Add the second layer and again, add frosting on top. Spread frosting onto the sides to do a thin crumb coat to seal in all the crumbs and make it easier to work with. Smooth everything out as evenly as possible. Refrigerate for 10-15 minutes or until the frosting has crusted and is not sticky when you gently touch it.
- Pull the cake out of the refrigerator and add another thin layer of frosting to the top and sides. Again, smooth out as much as possible. This layer should cover the color of the cake layers that may be showing through on the sides. I refrigerated the cake once more at this point before adding one more thin layer of frosting. I left a bit of an edge along the top of the cake because it reminded me of the knights' helmets 😛 but you can smooth it out completely if you prefer.
- Decorate with toasted coconut and shrubbery (rosemary). 😉
*I don't recommend buying it online, it's much cheaper at the grocery store, but this is the flaked coconut I used by Bob's Red Mill.
*See images below for links to all of the other asterisked items.
A few items I found useful for this recipe:
Are you a coconut yay-er or a coconut nay-er? Are you a fan of Monty Python? Did you get all of the references before reading about them? Any suggestions for a favorite game or movie that could translate into a delectable treat? Comment below!