
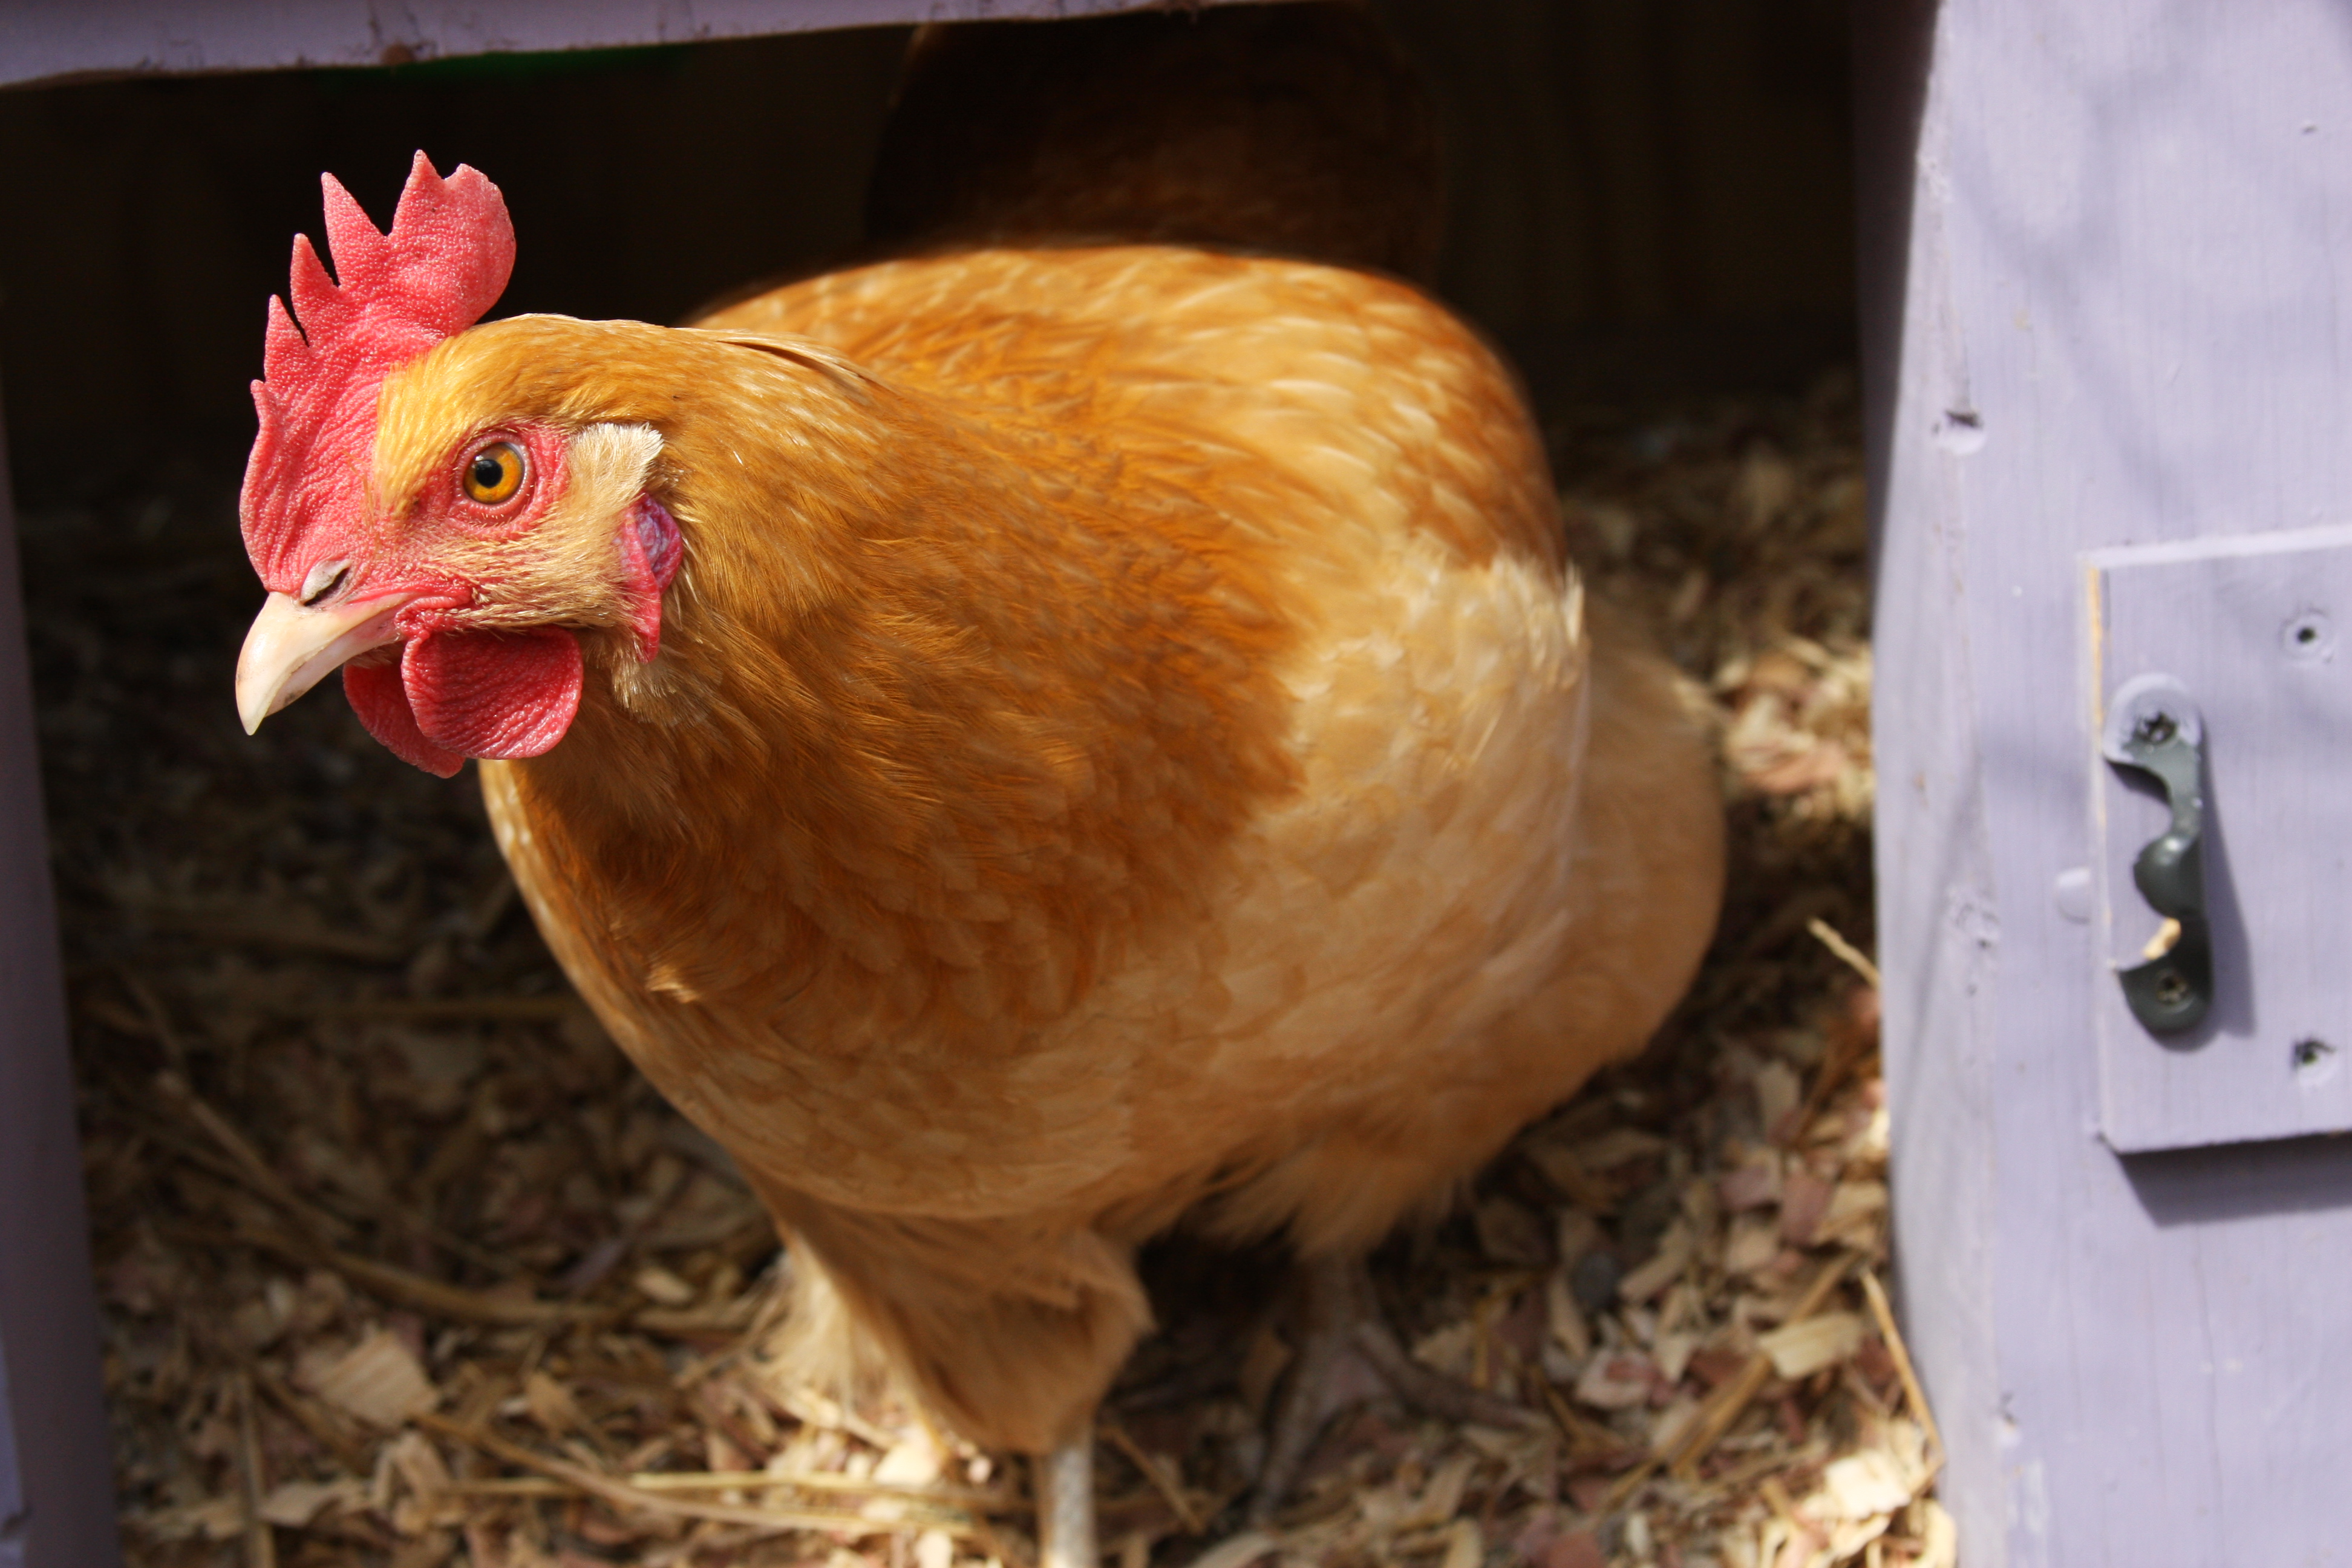
Hot Wing, our Buff Orpington
We’re going into our third year having backyard chickens and we’re often asked how hard it is. I usually say it’s about as hard as having a cat. Make sure they have food and water twice a week, add a layer of wood shavings once a week and you get a ton of eggs out of the deal. All of this is true, but it’s only true because we put in a ton of work up front to ensure it would be this easy for us now. Here’s another scenario to consider…
No Planning Scenario
You were at a farm supply store in the Spring and saw they were selling baby chicks. Spur of the moment, you decided to buy a bunch. You bought the least expensive prefab coop they had which said it would hold the amount of chickens you were buying. You also bought all of the basic food and water supplies. It’s been a year and the coop gets dirty and smelly extremely quickly and you have to completely clean it out once a week. It’s low to the ground, which means when you clean it out, you’re on your hands and knees scraping out chicken poop. There’s no electricity, which means in the winter, you have to change out the water twice a day because it freezes. The chickens are constantly pecking at each other and some have patches of missing feathers. One morning, you wake to find a raccoon has killed more than half of your flock.
That is what backyard chicken keeping could look like if you you don’t plan ahead. In our experience, the most time consuming parts of keeping backyard chickens are feeding, watering and cleaning. You of course have to check for eggs every day too, but we don’t consider that a bad thing. That’s the fun part! When we were planning, we took those three factors into consideration and put a ton of work into building a coop that made our lives easier. Now we get to sit back and enjoy the fruits of our labor. So here’s what you need to consider when trying to make backyard chicken keeping simple.
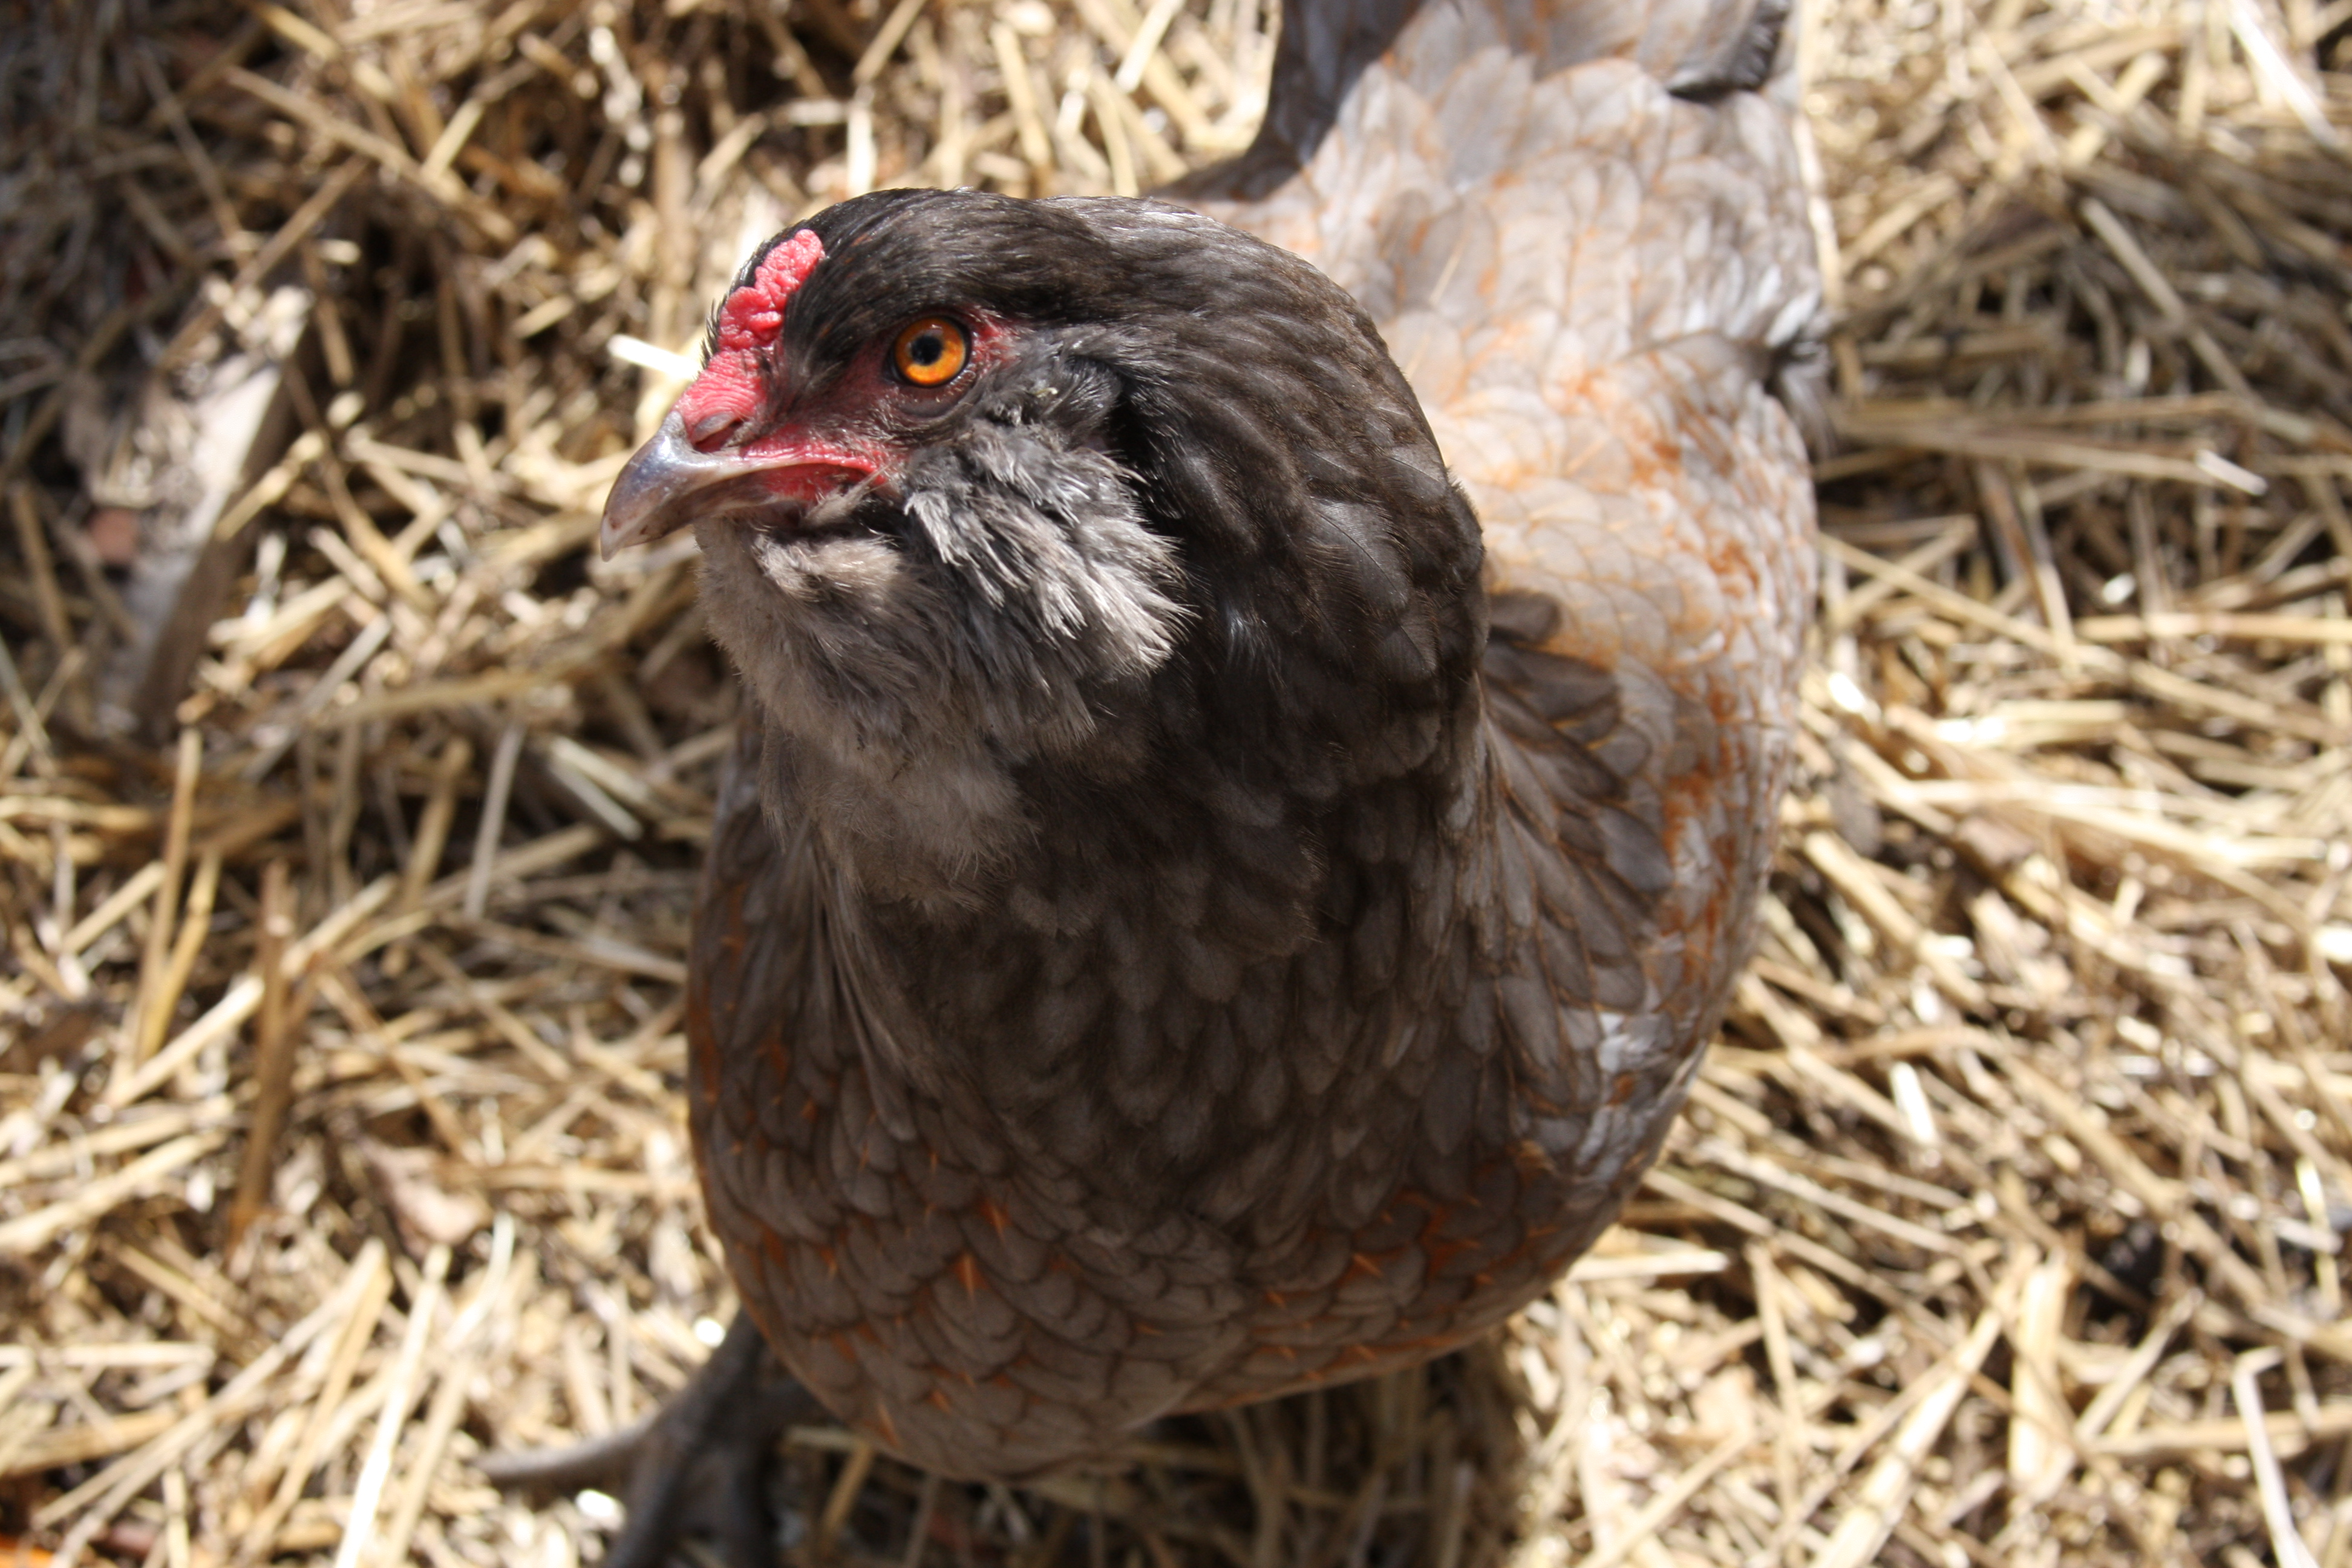
Hilbert, our Easter Egger
Check Your City’s Ordinance
Not all cities allow backyard chickens and every city is different as to what you have to do to keep chickens. Backyard chickens just became legal a few years ago where we live and it’s a huge ordeal to get a license for it. Drawing out maps for where your coop will be located on your property, registering with the Department of Agriculture, getting the paperwork notarized…yeah, it was pretty ridiculous, but we did it! We actually took one Summer to complete all of that nonsense and then actually built the coop and bought the chickens the following Spring. You should be able to go to your city’s website or give them a call to find out if backyard chickens are allowed and what the requirements are.
When Choosing a Coop, Go Bigger
There are a few reasons for this. First, you’ll quickly find that buying chickens can become an addiction. There is always a new, pretty breed that lays a fun colored egg that you’ll want to add to your flock. If you start out with a small coop and the max number of chickens that will fit in it, you’ve got nowhere to expand.
Second, the number of chickens a prefab coop says it will fit is always WAY too small. Cut that number in half and that’s the most you should probably put in there. Sure, they’ll survive in a tiny space, but happy chickens make more eggs and if you’re cramming them into a tiny space where the only thing to do is peck at each other, you’re not going to have happy chickens. They should have nesting boxes, a clean area for food and water (where they can’t perch over it and poop in it or kick shavings into it) and a few different places to roost.
On top of that, chickens poop A LOT. If they’re crammed into a tiny space, the poop piles up in a tiny space. If they have room to spread out, using the deep litter method works beautifully and all you have to do is add a layer of wood shavings every so often (we add a thin layer about once a week) and turn the compost mixture as needed. We do a full clean out once or twice a year, usually in the Spring and sometimes again mid Summer.
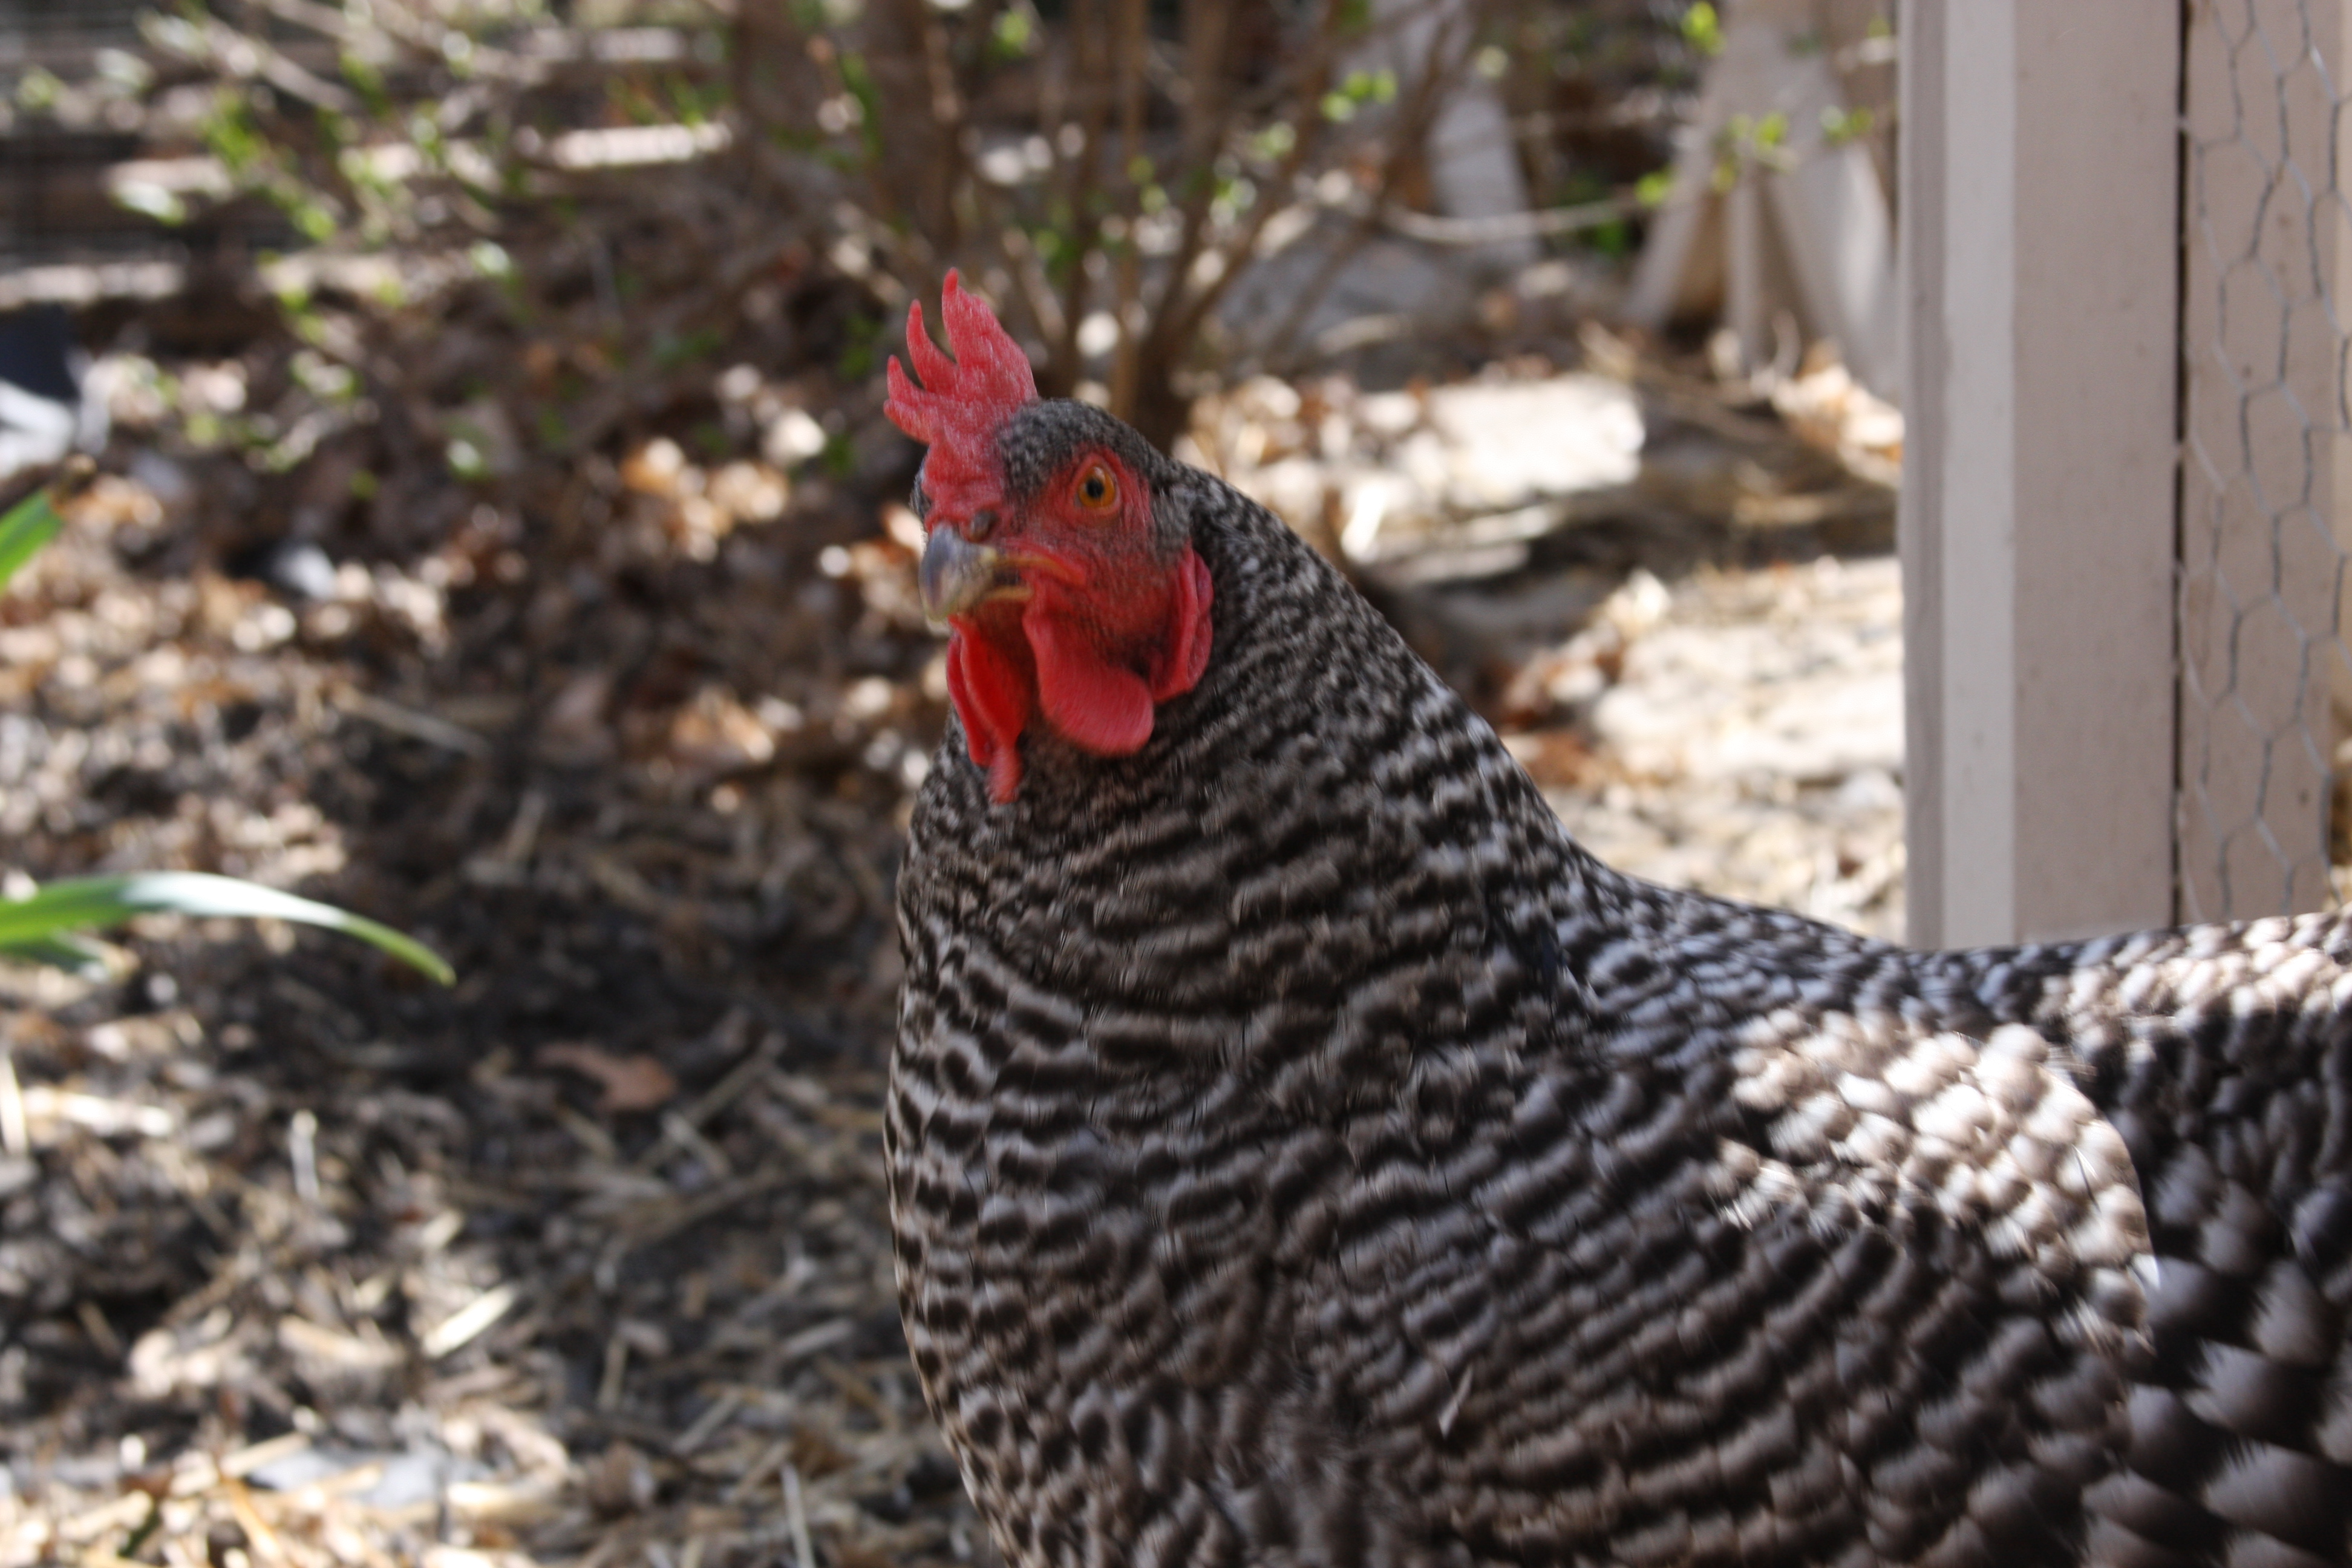
Hen Solo, our Barred Plymouth Rock
Food
You don’t want to have to fill their food container every day. The more chickens you have, the bigger the feeder you’ll need. Or you could have multiple feeders. We have this 3 pound feeder. It’s very small but we only have 2 chickens at the moment (RIP Hen Solo 🙁 ) and we fill it about every 4-5 days. We’ll upgrade to this 12 pound feeder when we add another two hens to our flock this Spring.
Also, the food needs to be in a location where they won’t constantly poop in it or kick debris into it. Same goes for the water. We’ve found the best way to get around this is to hang the food and water from something they can’t perch on. Then it’s above the wood shavings so they can’t kick things into it and it stays clean.


Water
Same as the food, the water fount needs to be big enough so you don’t have to fill it every day and in a location where it won’t get poop and debris all over it. Hanging it somewhere the chickens can’t perch over it is the best option we’ve found and I LOVE the bucket waterers with nipples. This one is actually even better than the one we have because it’s clear so you can see the water level and if it’s getting mildewey inside. We also keep it in the run, instead of in the coop, to avoid raising the humidity level in the coop more than necessary. Humidity can make things smellier and cause respiratory problems for the chickens.

The winter is a different story. If you’re in an area where the temp drops below freezing during the winter, you either need to commit to changing out the water twice a day when it gets below freezing so the chickens have access to thawed water (not fun), or you need to find a way to keep the water thawed. There are a million different ways to do this, but we’ve found the easiest to be this heated waterer. Of course, this means you need to have access to electricity where your coop is. We have an outlet on our pergola that’s about 10 feet from the coop so we’re able to run an outdoor extension cord to the coop from there. However you do it, plan ahead so you know you won’t have to trudge through the snow twice a day during the coldest days of winter.

Cleaning
Not only is it important the coop be spacious enough so there is room to compost the poop, it’s important the coop is easy to clean. You don’t want to have to crawl around on your hands and knees every day trying to clean it out. Same thing goes for the run. You want it tall enough so you can walk through it comfortably. Even though the chickens don’t need that much head room, it’s no fun having to hunch down to walk through their run as you clean it. The extra headroom will also give you more space to place extra bars/branches for them to roost on and hang toys/treats. The more you give them to keep them busy, the happier they’ll be and the less likely they are to do nothing but peck each other’s feathers out.
The Bella Coop from mypetchicken.com has a coop floor that is waist high and has a removable platform under the main roost to catch most of the droppings. The space under this platform also provides a feces free area to hang a small feeder and waterer.
It was $35 for the plans and was definitely worth it to not have to plan out every little cut ourselves. It still wasn’t cheap to build, but we wanted our coop to look nice and for something prefab in this size, it would have been at least twice what we ended up spending. Here is another post about the Bella Coop. It has a ton of pictures of the inside and allows you to see just how much you can customize the plans to fit your style and needs. We painted ours purple and extended the run to give them more square footage outside. We throw wood shavings or straw out there often, especially in the summer, to make sure everything breaks down properly and any odors are controlled.
Safety From Predators
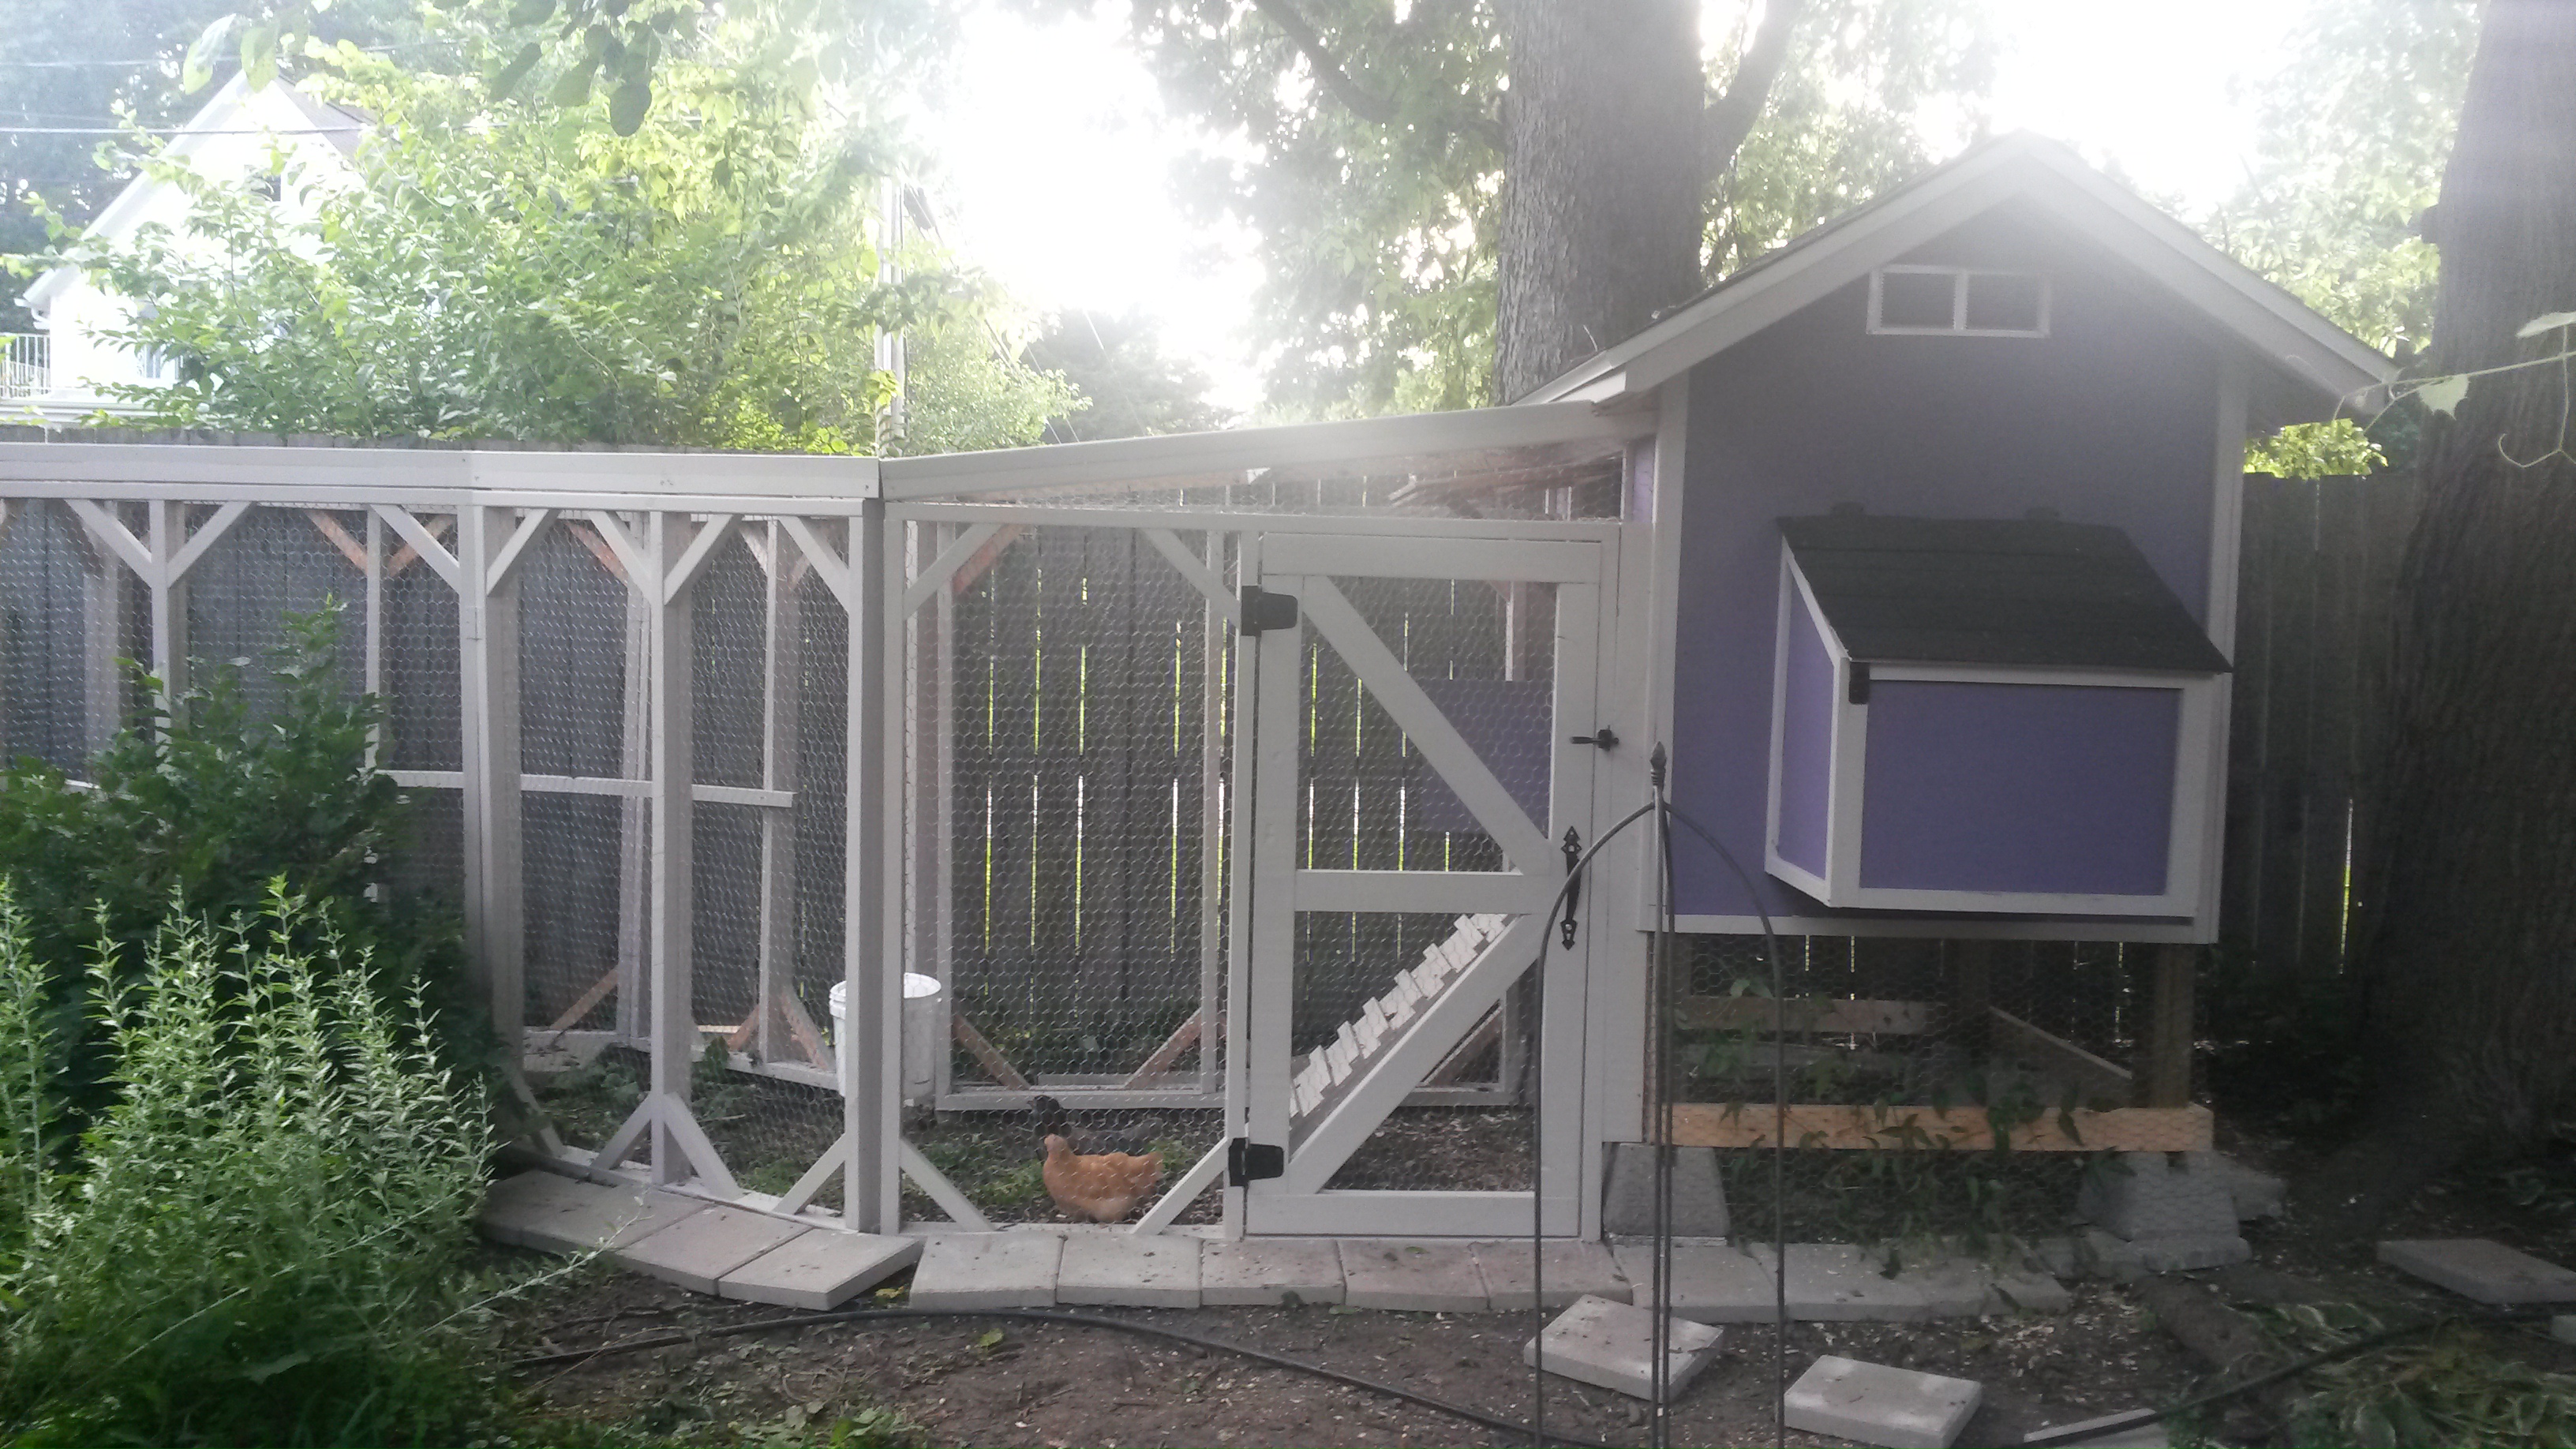
The last thing you want is to spend all of time and money on building a coop that is easy to maintain, only to have a hawk, opossum, coyote or what have you, eliminate your flock in one night. Our coop is completely sealed, all vents are metal, the run has wire running along all four sides AND covers the top. We also buried the chicken wire a few inches into the ground and you can see in the picture above, we surrounded the perimeter with stepping stones as well. Any burrowing predators will have to do quite a bit of digging before they could get under all of that and into the run. We check the perimeter often to see if anything looks like it’s been tampered with.
We did use chicken wire, not the one inch wire mesh pictured below, to surround our run. It definitely would have been safer to use the wire mesh and that’s what everyone recommends, but it was WAY more expensive and much more difficult to work with because it’s harder to cut and harder to bend. Instead, we cut 2×4 planks in half, sandwiched the chicken wire between the two planks, stapling it in place, then screwed the two halves of the 2×4 back together. Animals could still eat through the chicken wire itself, but there’s no way it will pull out from between its wood frame. We may be kicking ourselves in a few years if a predator ever gets in, but we live in town, not in a rural area, so predators are more rare than they might be elsewhere. It’s worked for us thus far (knock on wood) but everyone should take their area into consideration and make decisions on what sort of barrier to use.

Monitoring
While not completely necessary, and not exactly cheap, this wireless thermometer has made our lives so much easier. It has three remote sensors and the main unit is a sensor as well, so really it has four sensors. It tells us the temperature and humidity at the location of each of the sensors. We have one just outside in our backyard, one in our greenhouse, one in the chicken coop and then the main unit is in the house.
Without even going outside we know what the temperature and humidity is outside and how that compares to the temperature and humidity in the coop. In the summer, we know when temps and humidity are rising too high in the coop and we need to open the window or add more ventilation. In the winter, we know when the temps are below freezing and we need to get the heated waterer out there or if it’s already out there, we know when we need to keep an extra close eye on it if the coop temp drops below 0 degrees. It’s really just extra peace of mind. Plus it’s been very interesting to monitor how the temperatures in each sensor location fluctuates as the day progresses. I highly recommend getting one if you’re able.

Plan Ahead!
Everyone’s needs are going to be different according to the area and climate they live in. The points above are just what has made our life easier but you should definitely do a lot more research before investing your time and money into setting up backyard chickens. I absolutely LOVE having fresh eggs available. I know exactly what my chickens are eating so I know exactly what I’m eating when I eat their eggs. I can’t begin to tell you how exciting it is to go out and find your first egg. Priceless! And it’s so much fun to be able to deliver a dozen multicolored eggs, laid by your chickens, to your friends and family. It was absolutely worth the effort but it’s important to be aware of all of the things that could go wrong so you can try to prevent as many of them as possible. Put in the work beforehand, and enjoy an easy to maintain coop later.
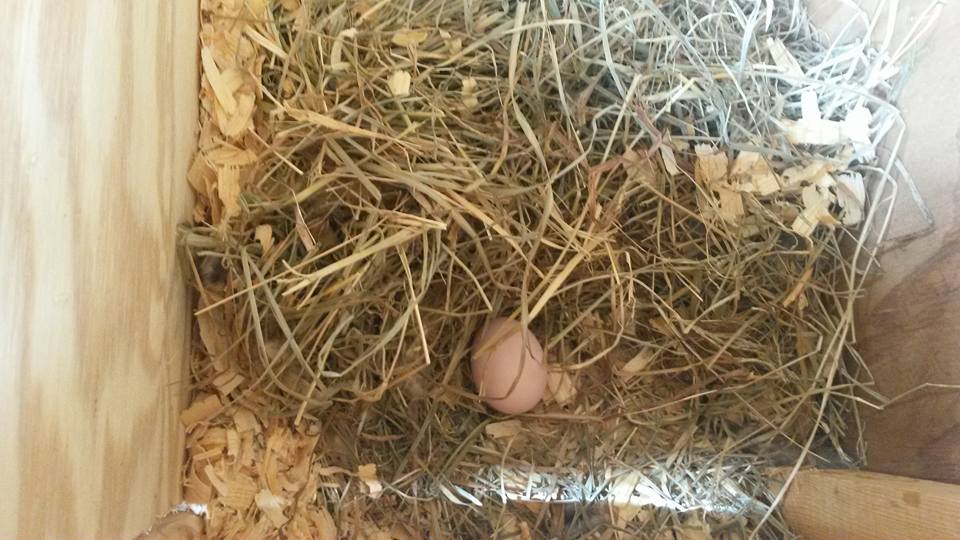
Our very first egg.
Tell Us Your Thoughts!
What other concerns do you have about raising backyard chickens? Do you think it’s worth the effort to have your own eggs? Do you have a favorite breed you’ve been eyeing? Comment below!
This was very helpful, I’m buying a house…hopefully…that has a chicken coop on property already, so I thought if it works out I’d love to raise chickens. A few questions I didn’t see here. I didn’t measure the coop, but I’d guess its around 5’×6’×5’tall. How many chickens would I get for that? What kind of chickens should I start with? Should they all be the same breed? How much should they cost? How long do they live (sorry about hen solo)? Feed cost? How many eggs do you get? Do you need to take them to a vet/give shots (I think chicks are cheap…<$5 so that means no to me). Are they nosey? You don't want a rooster do you?
Hey there, Jeffrey! Sorry about the suuuper late reply, but here goes:
Q: the coop is around 5’×6’×5’tall. How many chickens would I get for that? A: The run is where they do most of their living, so in my opinion, it’s more important for the run to be as large as possible to keep them happy/entertained/busy. The coop size can be smaller, and then it’s easier to keep warm in the winter, but it depends on how much roosting space (bars for them to sleep on) and how many nesting boxes you have. We have about 7 feet of roosting space (between two staggered bars) and 4 nesting boxes. The most chickens I would put in there would be 6 (mainly because that’s the most our permit allows for.) You also have to keep in mind the mess. The more chickens you have to cram into a tiny coop, the stinkier that thing is going to get pretty quickly. We’ve never had more than 4 chickens at a time, currently only have 3, and we top off the bedding in there weekly or it starts to stink when you open the coop door. If we ever do have 6 at one time, we’ll probably need to go to freshening the bedding twice a week. (With the deep litter method this just means throwing a thin fresh layer of bedding on top of everything, but still.)
Q: What kind of chickens should I start with? A: I tend to focus more on breeds that are well suited for our climate. We get really cold winters and pretty hot summers so all of our girls can handle both. We have (or have had in the past) Barred Rock, Buff Orpington, Easter Egger, and Cuckoo Maran and they’ve all done well. Some breed can’t handle snow/cold, and others don’t do well in heat. A quick google search online can go into much more detail about which breeds work for which climates.
Q: Should they all be the same breed? A: They definitely don’t need to be and I prefer that they aren’t so we get a variety in our egg colors.
Q: How much should they cost? A: That depends on the breed and where you buy from. Where we are, you can go to the Rural King and get the common breeds they have in stock for something like $6. The local feed store is a bit more expensive, between $7-$10, but I like supporting them. We also purchased chicks online a few years ago because I really wanted a Maran but the local stores couldn’t get them. That was much more expensive, one of the chicks ended up being a rooster, and the Maran is the worst layer we’ve ever had so I’d avoid ordering online if you have a local option.
Q: How long do they live (sorry about hen solo)? A: Google says 5-10 years. We’ve got one girl left from the first batch we brought home about 5 years ago (the other two passed from unnatural causes…a car and a dog) and she’s still alive and kicking, though she rarely lays eggs anymore, which we expected would happen.
Q: Feed cost? A: We buy a 50lb bag of Purina layena crumbles from our local feed store for about $18. Depending on the season, it lasts us quite a while with only 3 chickens. There’s a mulberry tree right over there coop so when the tree is dropping fruit, they eat pretty much nothing but berries for a month straight. We also give them whatever food scraps we can (rather than throw them in the trash) so I think that helps too, and they enjoy the variety.
Q: How many eggs do you get? A: When they were all young, they’d each lay about 5 eggs a week. Though when they go broody, they don’t lay, and when they start molting, they don’t lay, so finding breeds that are less likely to go broody is good to look for if you want more eggs. Now that our three are older, we get one egg every day or so, and none in the winter. We’ll probably be adding a few new chicks to the flock in the Spring.
Q: Do you need to take them to a vet/give shots (I think chicks are cheap…<$5 so that means no to me). A: We've never taken ours to the vet for shots. We had one who quite literally dropped dead when she was a few months old and we took her to the vet to have a necropsy done so we could be sure she didn't have anything that could've been contagious to the other chickens. (she didn't). A dog we were pet sitting got to one of our other chickens and we took her to the vet to see if they could help her (they couldn't but were able to keep her comfortable when they put her down) but other than that, we've never taken ours for regular checkups or anything like that. Q: Are they nosey? A: If I'm out there gardening and we let them out of the run, they will eventually come over to see what I'm doing, but will quickly get bored and go back to whatever they can dig up in the yard. They all run to the door when they see us coming though because it usually means they're about to get some food scraps or meal worms. Q: You don't want a rooster do you? A: Definitely not. They're not allowed in the area we live anyway, but even if they were, I wouldn't want one. From what I've seen, roosters just get the hens all worked up and they tend to peck at each other a lot more (hormones going crazy making them establish a pecking order.) All of our girls have always been fully feathered and friendly with one another and I want to keep it that way. 🙂