
I’ve said it before and I’ll say it a million times more, things are better when they’re made from scratch…HOWEVER, there are sometimes those few things that no matter how hard you try, you can never seem to perfectly replicate the taste that the super processed factory made versions create. I’ve had this conversation with a few different groups of people and it always seems that if you grew up eating a certain version of something as a child and you loved it, you will forever love that version. Sort of a sentimental flavor preference.
A big one for me is the milk chocolate frosting you get in the little tubs in the baking aisle at the grocery store. As much as I LOVE dark chocolate now, there is nothing like a butter yellow cake with that fake chocolate frosting that starts to get crusty if you leave it out for too long. I swear they put something in it to make you crave it. Evil chocolate frosting overlords.
Another one are those Entenmann’s coffee cakes. There are several flavors where I could sit and eat the whole thing in one sitting. No joke. I do it on an annual basis. Usually on my birthday. It’s kind of become a sickness. 😉 Anyway, the raspberry, blueberry or cheese danish twist are all recurring flavors in this house but there is also the amazing cheese filled crumb coffee cake. I just started day-dream-singing Frank Sinatra’s ‘Cheek To Cheek’ a little. “Heaven, I’m in heaven. And my heart beats so that I can hardly speeeeeeeeak”…because my mouth is full of coffee cake. 😀 That’s how much I love that cake.
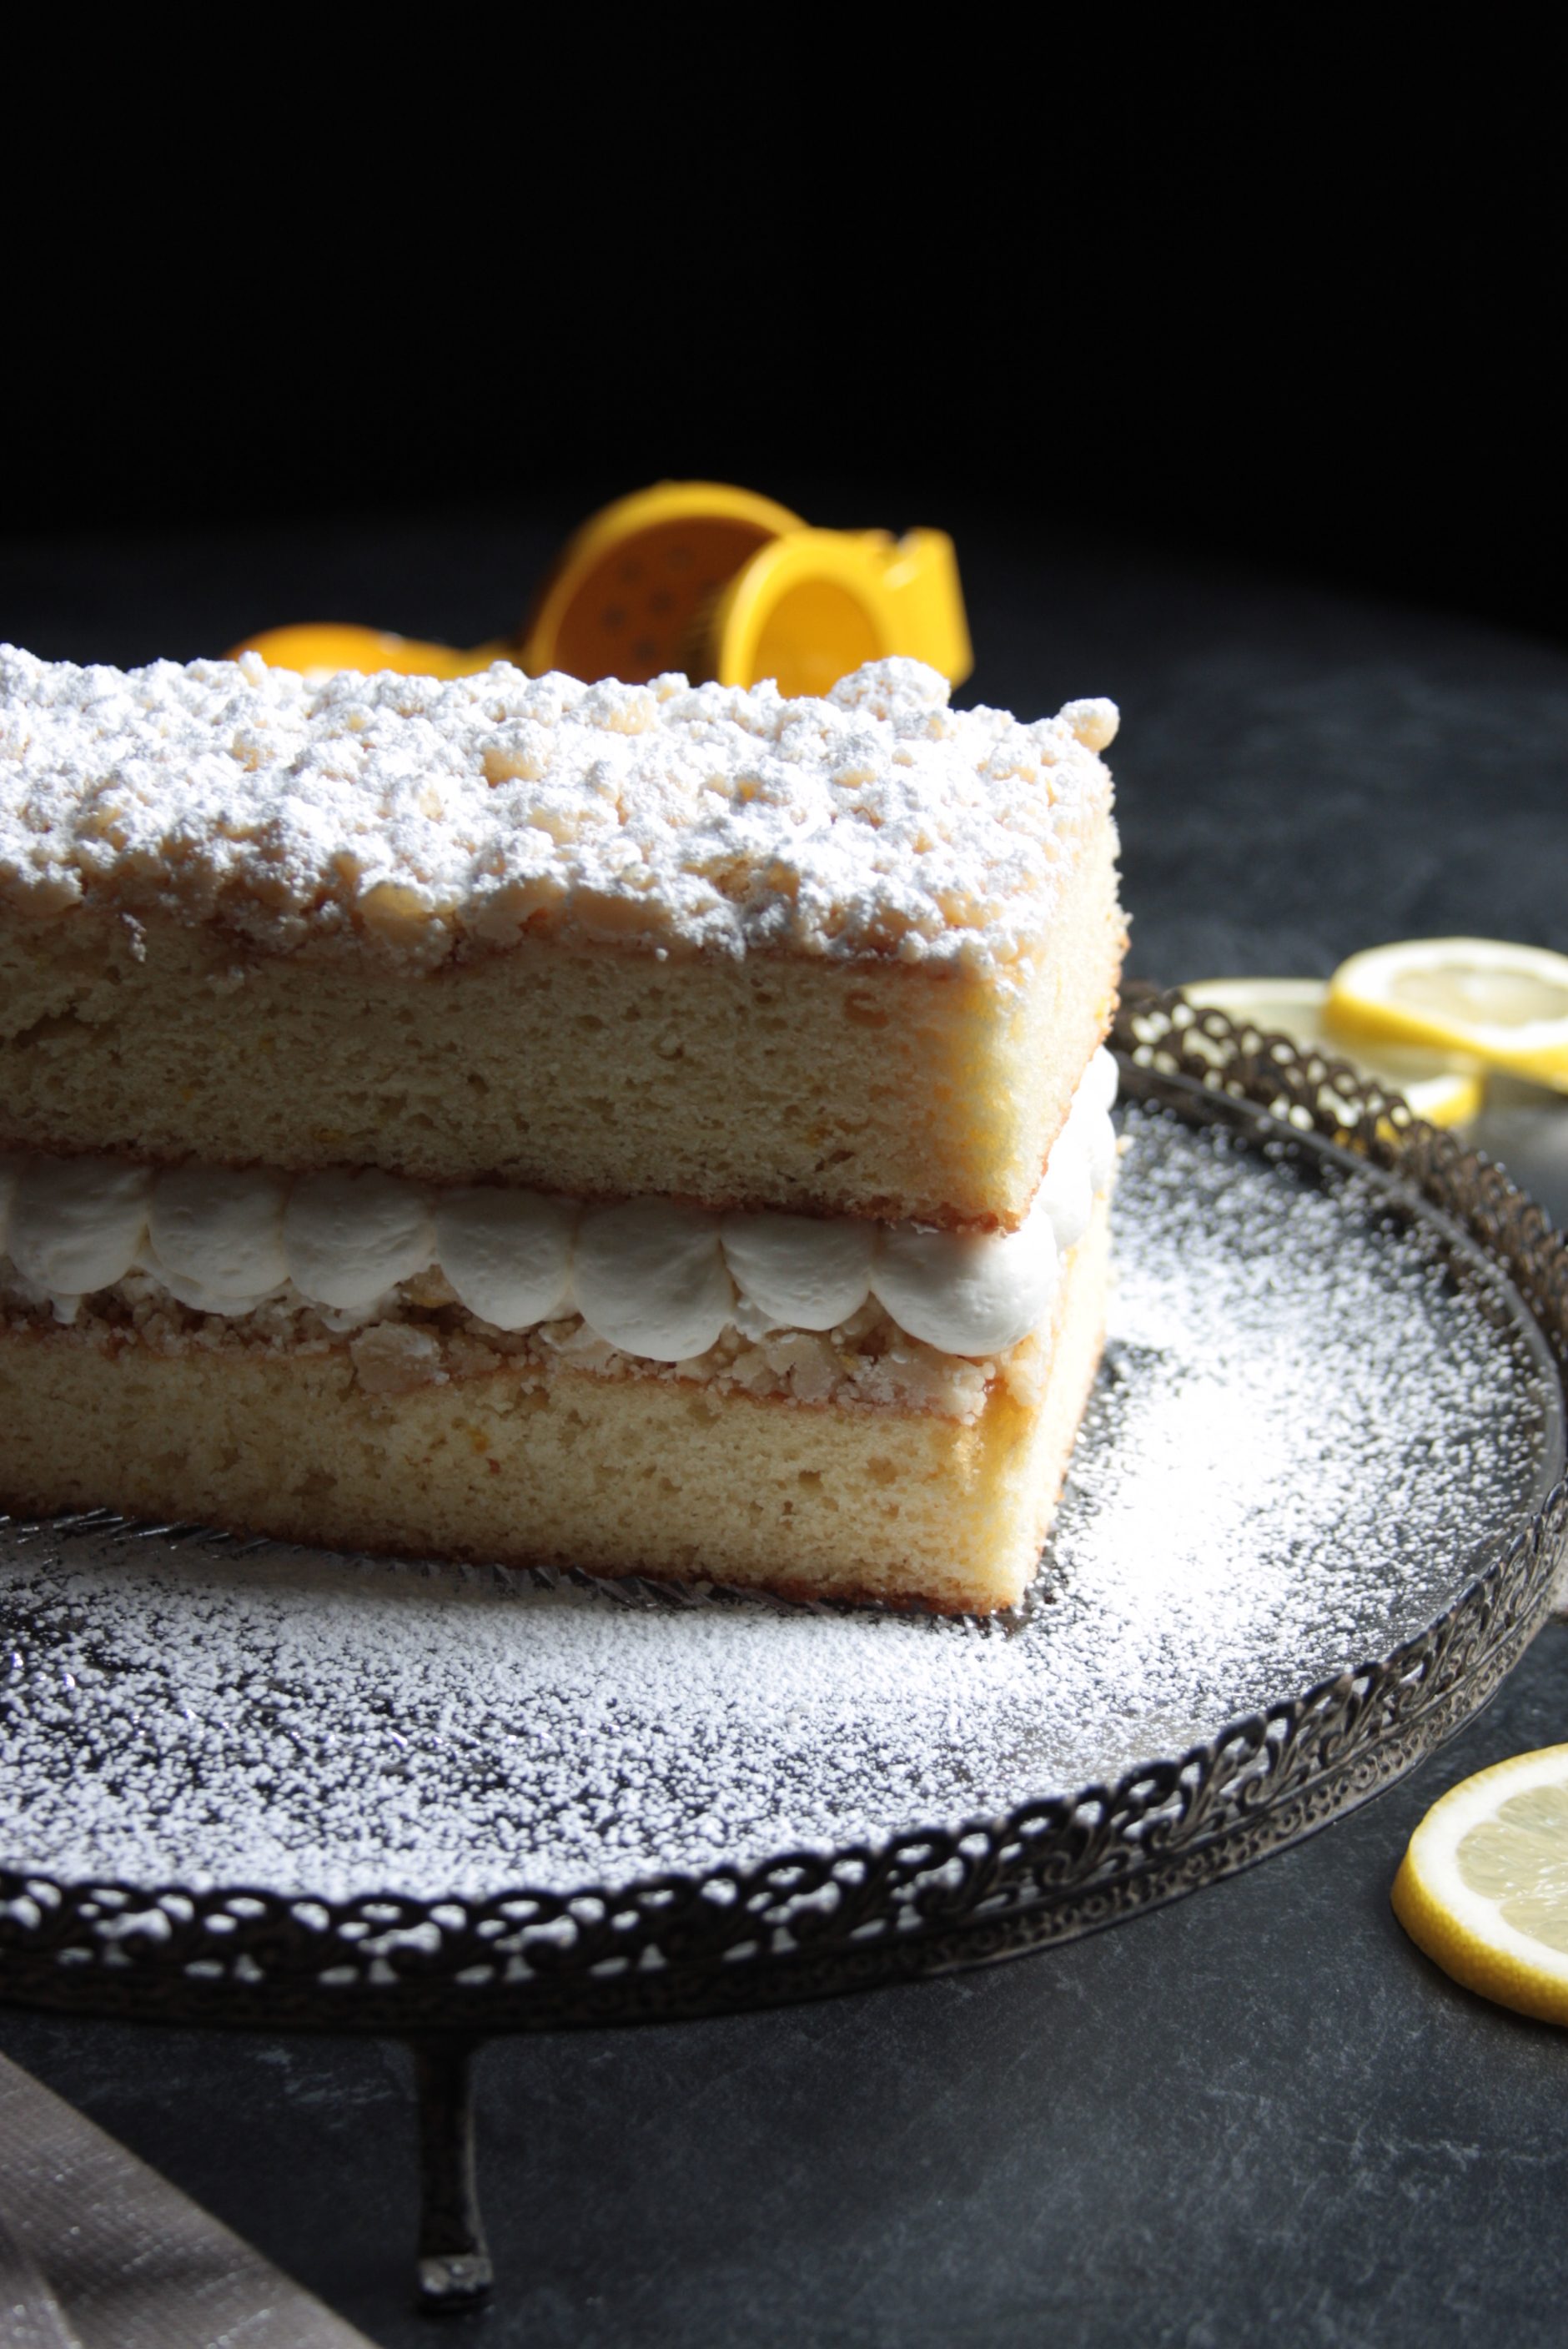
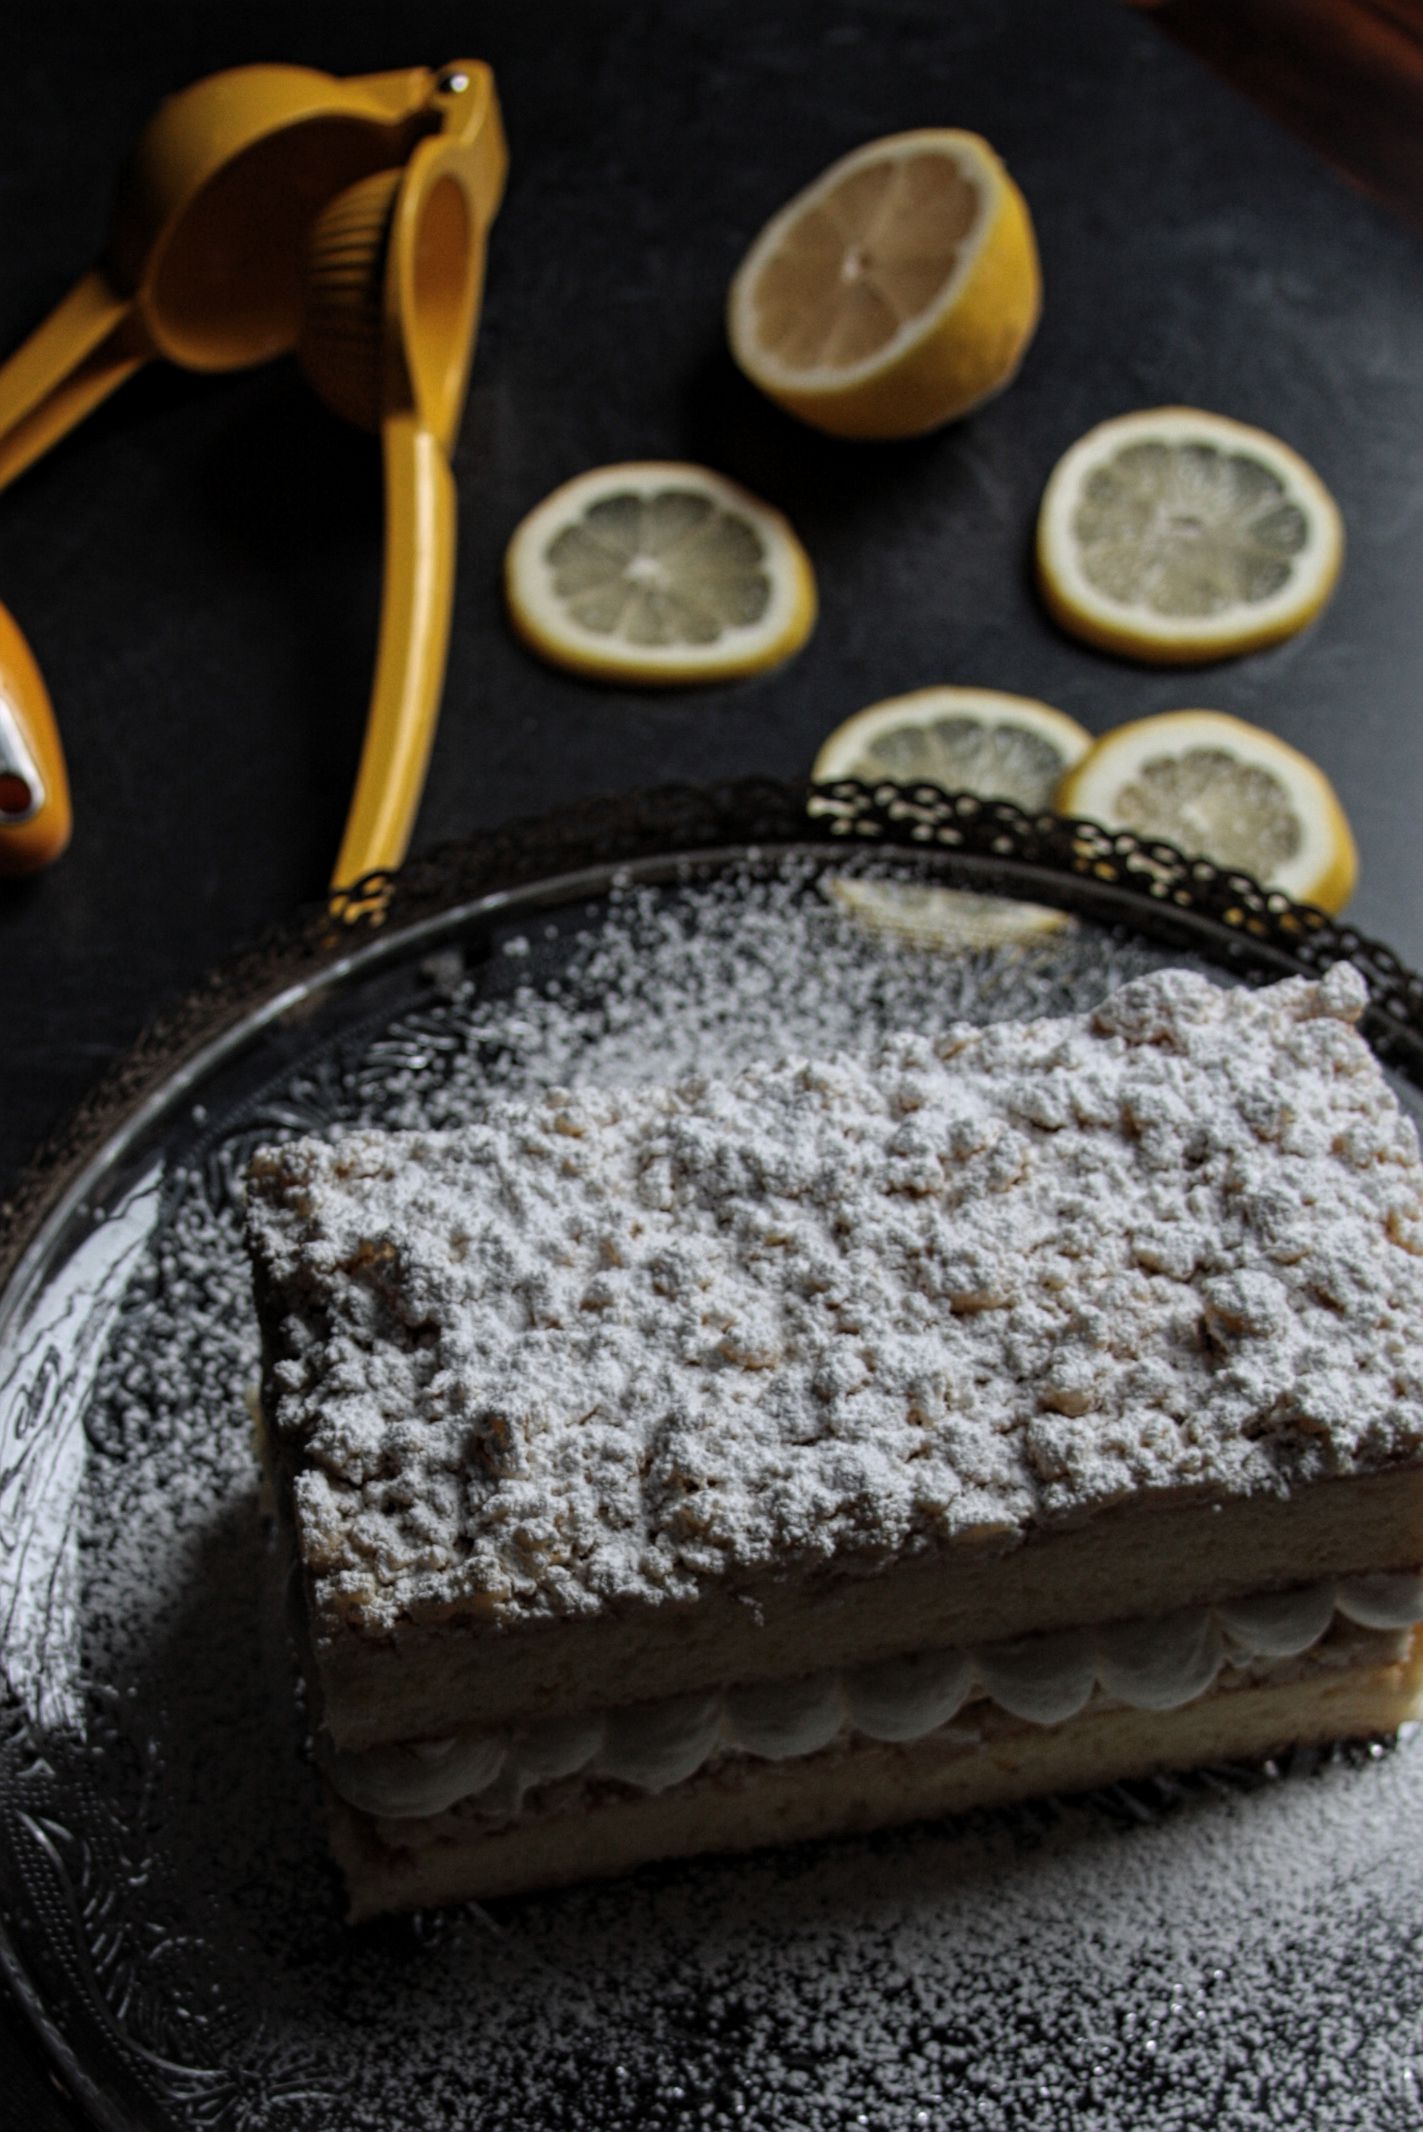
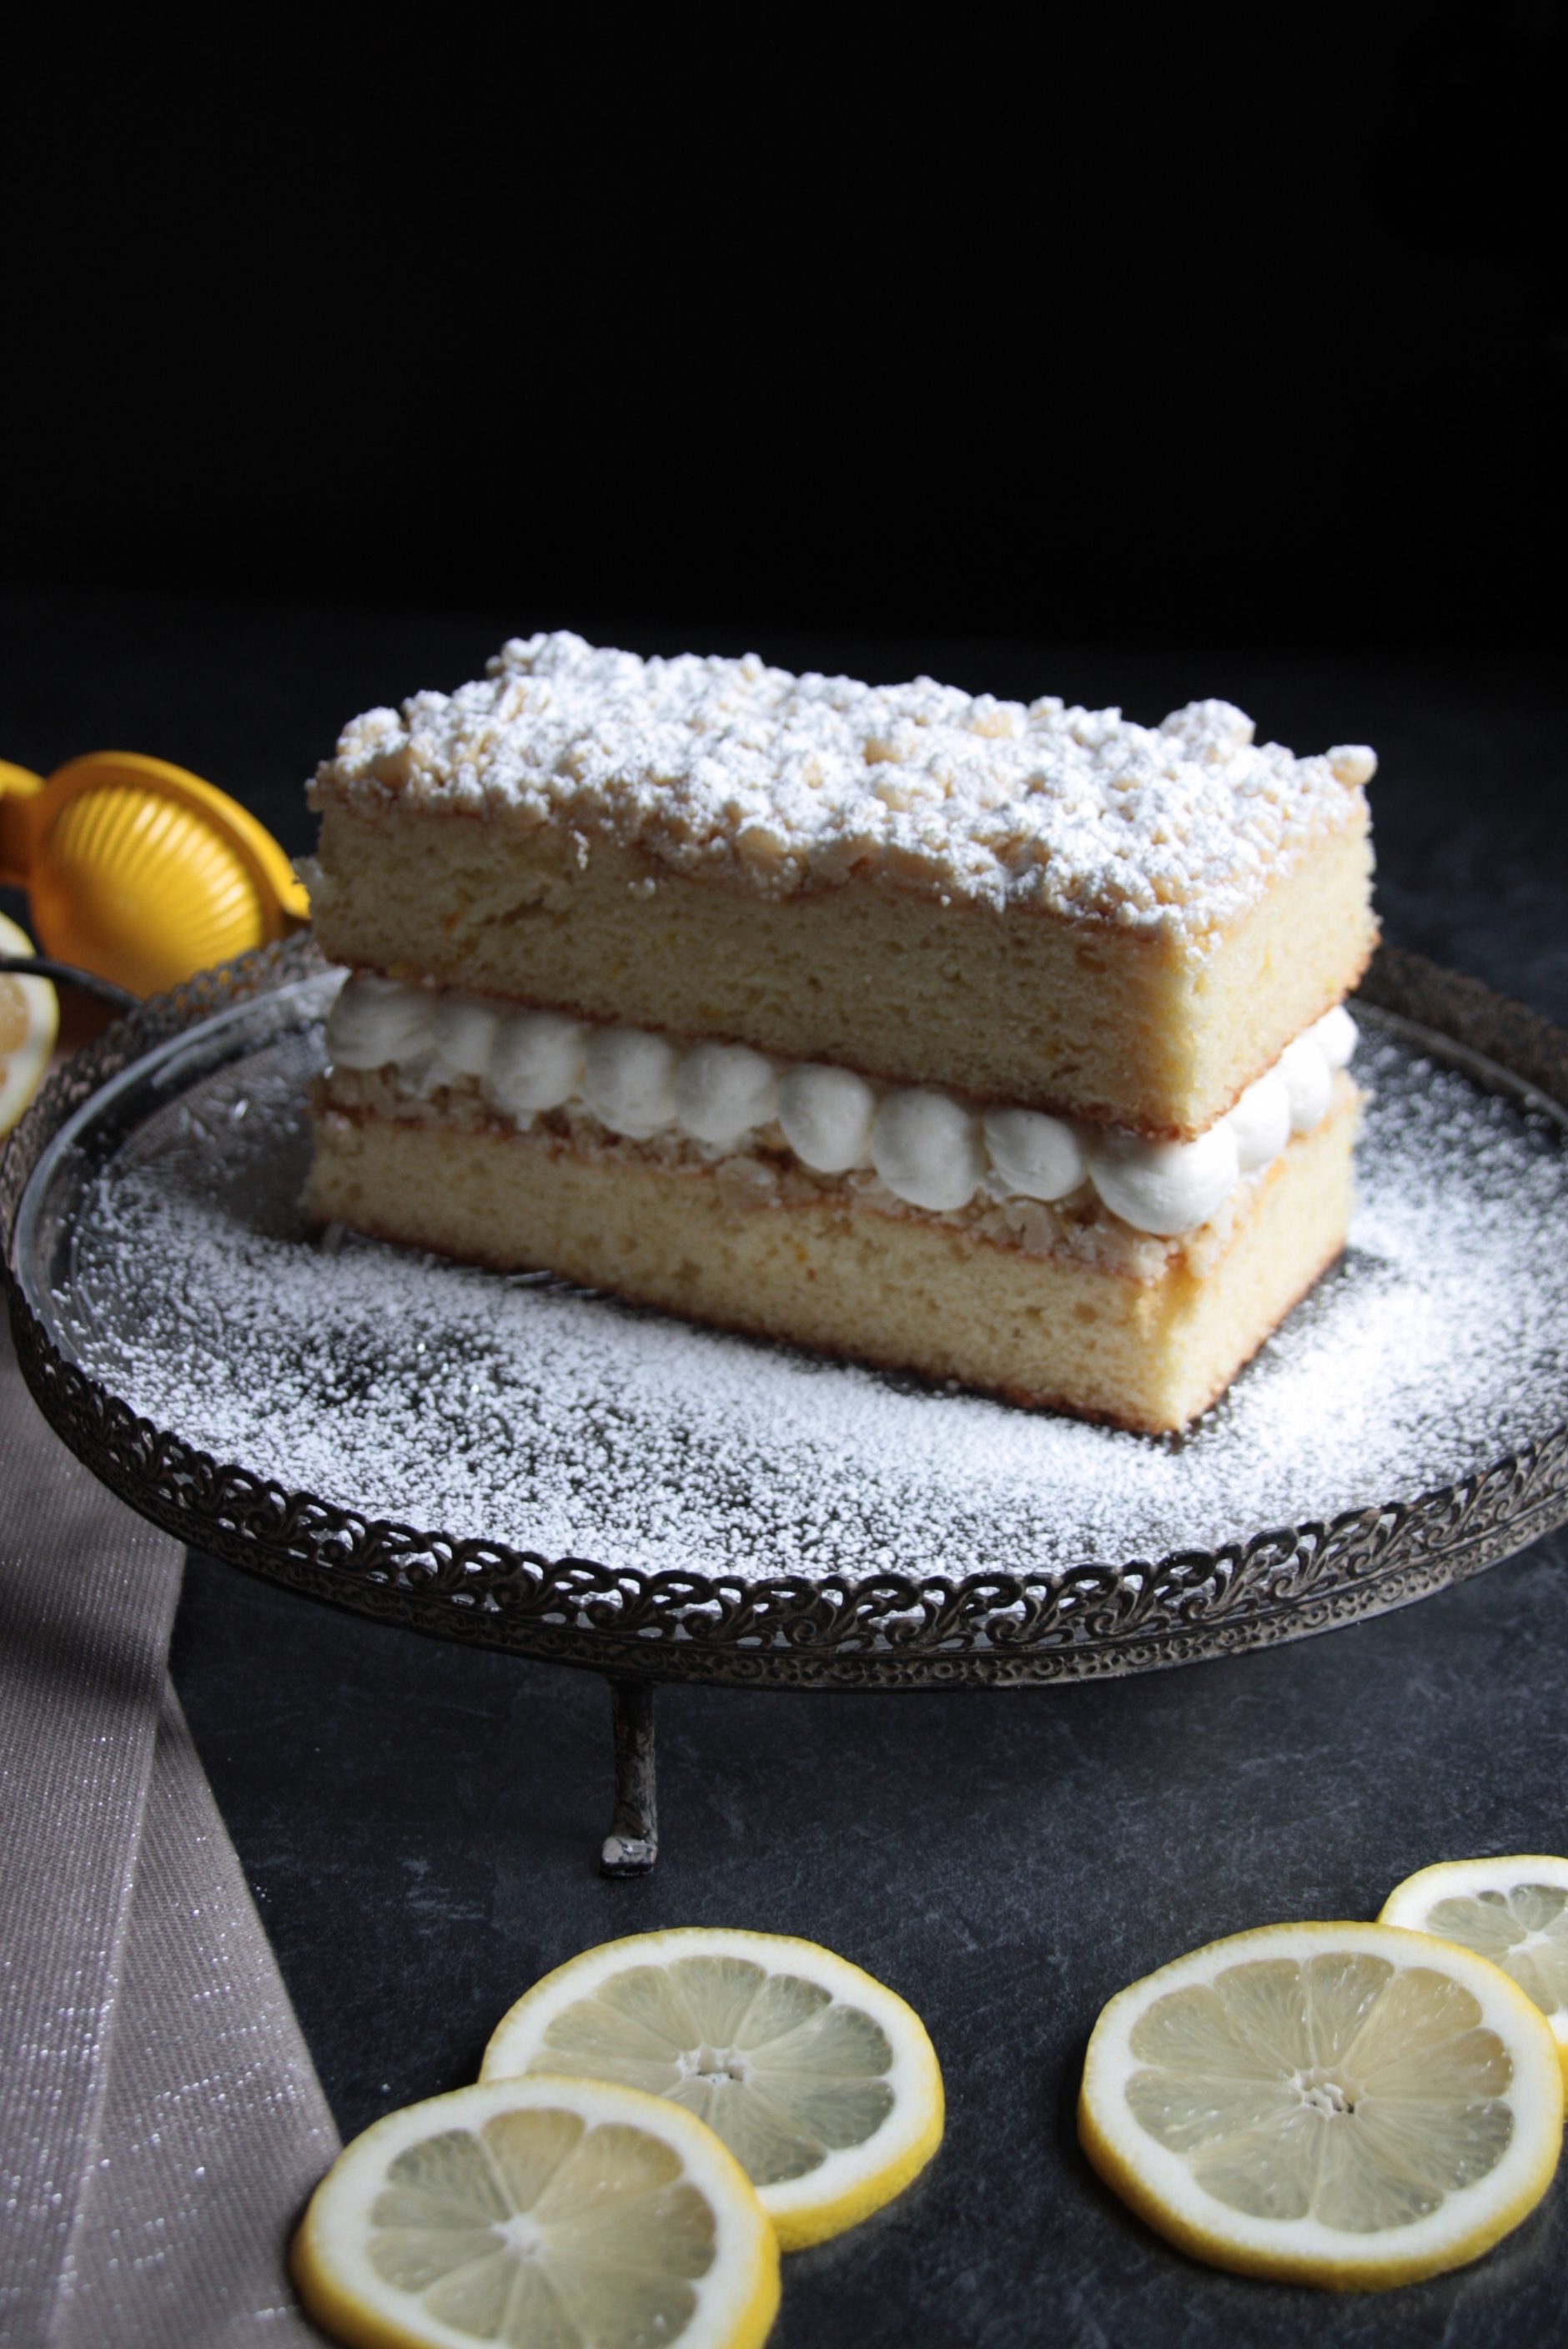
Because of my sentimental fondness of these Entenmann’s crumb cakes, I’m always drawn to crumb toppings of any kind which is where this cake comes in. It has a very similar appearance on top, the cream is to die for and the cake is perfectly light and airy.
Heads up, the cake part in the pictures is actually a different recipe from what’s listed below. I thought I was happy with it when taking the pics but the more I ate it afterward, the more I thought it was just too dense, especially when combined with the cream. So I trashed that version of the recipe and tried another one and struck gold. I’ve listed the “gold” recipe here because that’s the one I intend to use anytime I make this in the future.
The only difference visually is the cake is a slightly paler yellow because there are no egg yolks in the improved recipe. Other than that, the improved recipe has a much better texture and even cuts more evenly/doesn’t crumble as much so your cake will turn out even better than the pictures here.
Somehow I feel like in the last few months, everything I’ve been cooking has had lemons or limes in it. I used to despise having to use fresh lemons or limes because I hated squeezing them so much. And trying to zest a lemon with a grater that isn’t perfectly sharp is torture, mainly on your knuckles from the citrus slipping off the dull grater and leaving your knuckles in its place.
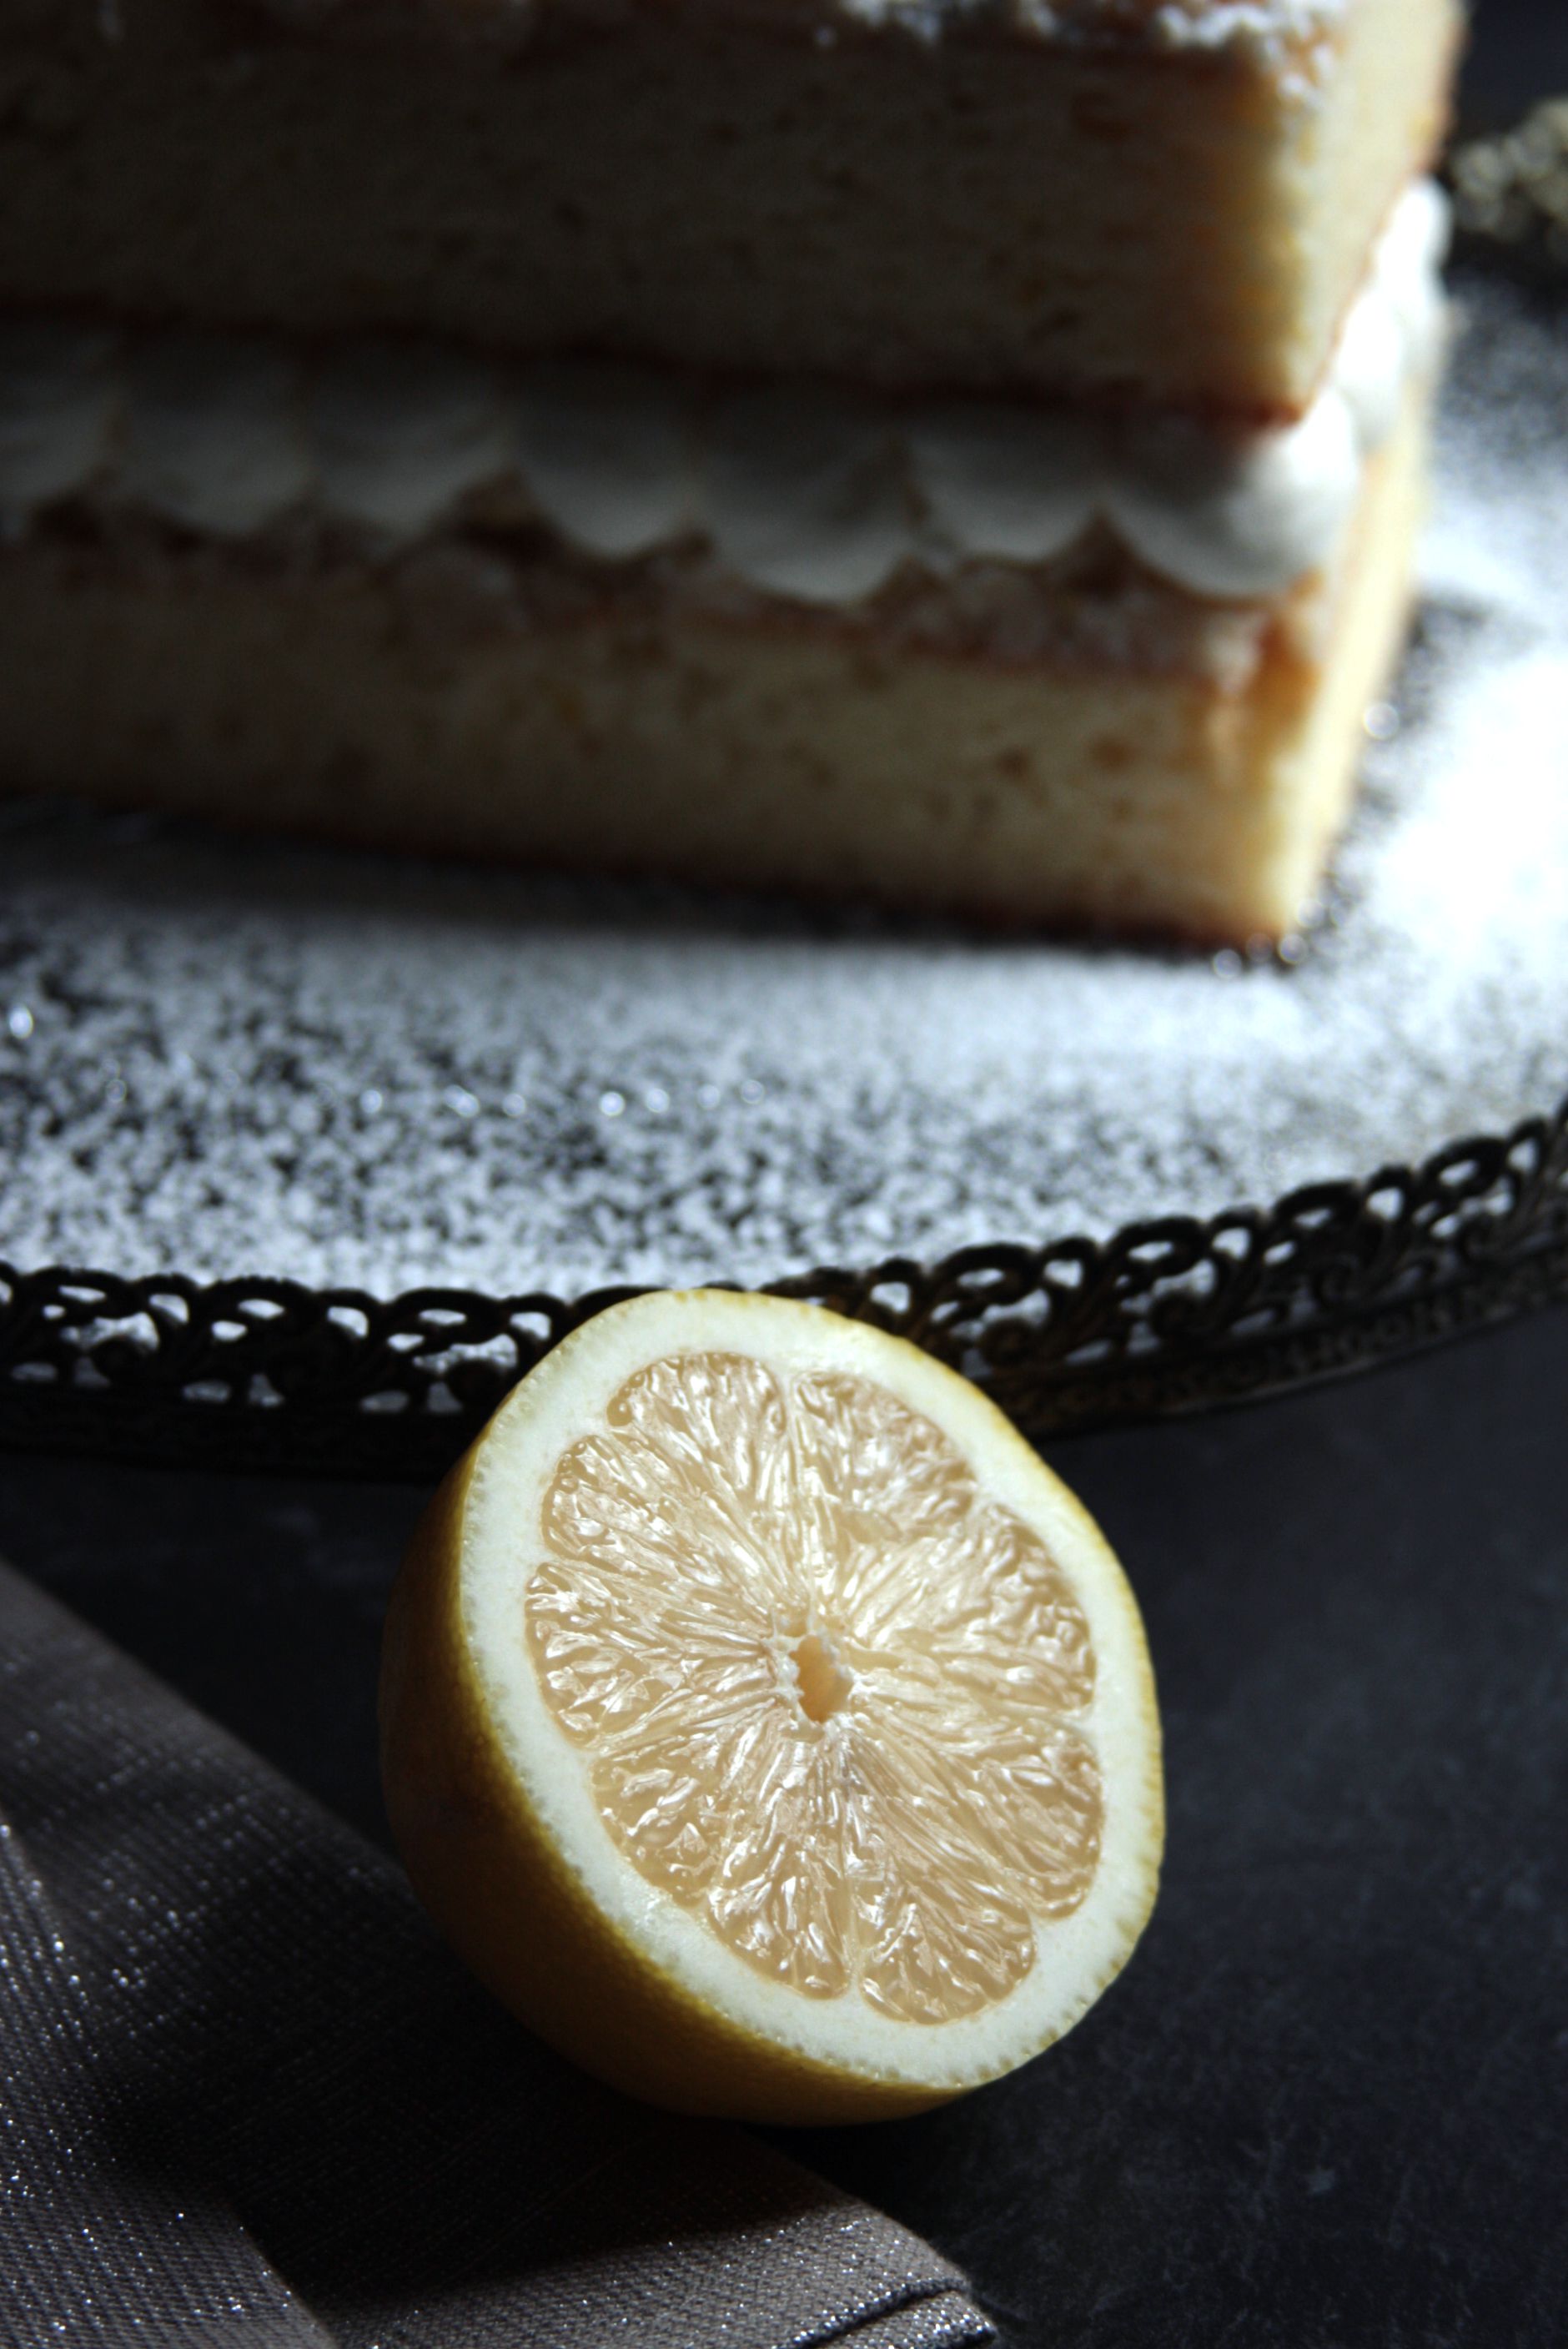
Having a lemon squeezer and a lemon zester makes the jobs so much easier that I no longer dread cooking with fresh citrus. I definitely recommend getting a metal, enameled squeezer. Plastic isn’t strong enough for the amount of force you may need for a tough piece of fruit.
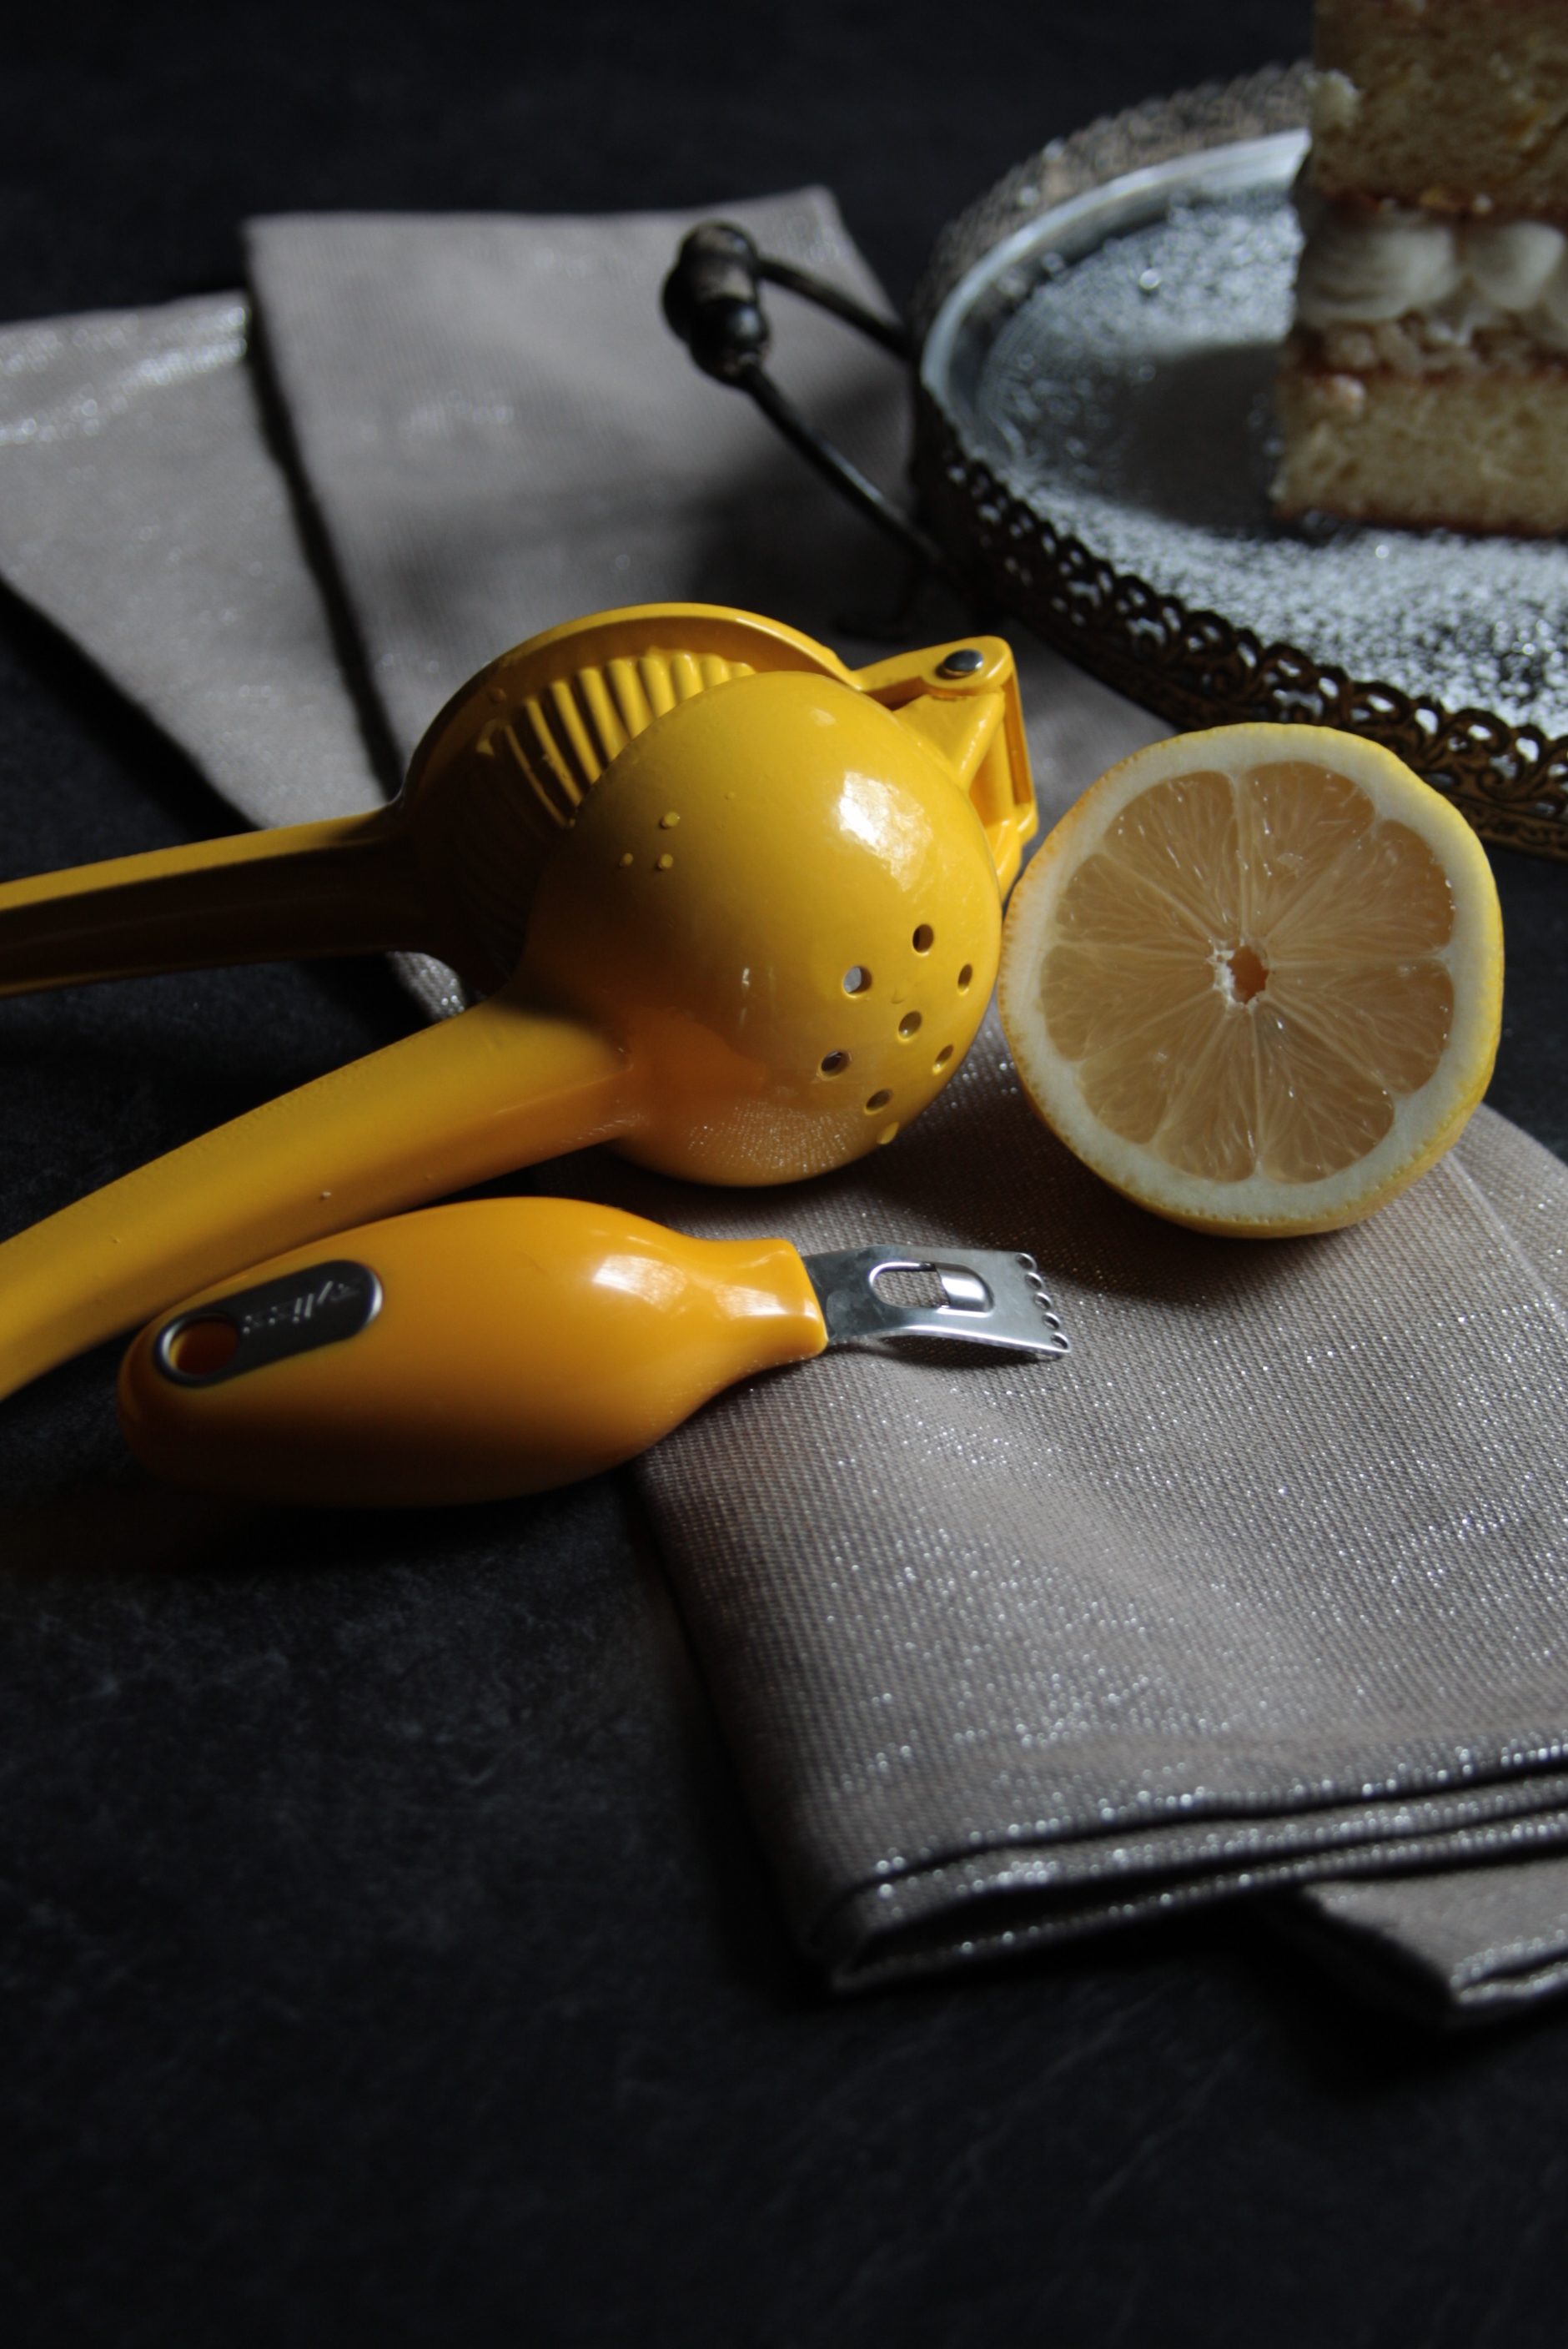
As for the zester, I’m sure there have to be good versions of the long, narrow, metal graters out there, but every one I tried would work the first time or two, but then the grater would seem so dull and I’d have to grind the lemon onto it so hard that I would rather have picked off small chips of the rind with my fingernail than mess with trying to get those things to grate. I’ve been using this version of a zester for probably two years now and it works just as well now as it did the day I got it. PLUS it has the additional blade on it to make long, wider strips of zest for making citrus curls. Bonus points! Both tools are under $10 and if you by them with Amazon Prime, you can get them delivered to your house for free!
Try Amazon Prime 30-Day Free Trial
Once again, don’t be scared off by my long winded recipe. It’s actually a pretty simple cake to put together.
| Prep Time | 30 minutes |
| Cook Time | 25-35 minutes |
| Passive Time | chill cake layers overnight |
| Servings |
servings
|
- 1/4 cup granulated sugar
- 1/4 cup butter melted, unsalted
- 3/4 cups flour all purpose
- 1 teaspoons lemon zest finely grated, about 1 lemon worth
- 1/8 teaspoon salt
- powdered sugar for dusting
- 2 1/4 cups cake flour
- 1 tablespoon baking powder
- 1/2 teaspoon salt
- 1 1/4 cups buttermilk
- 4 egg whites save the yolks for frozen custard!
- 1 1/2 cups granulated sugar
- 2 teaspoons lemon zest finely grated, about 2 lemons worth
- 8 tablespoons butter UNSALTED. normally I put salted in everything but salted butter will kill this recipe.
- 1/4 cup lemon juice about 2 lemons worth
- 8 ounces cream cheese FULL FAT, low fat versions will make the cream too runny.
- 2 cups powdered sugar
- 1/4 cup lemon juice about 2 lemons worth
- 1 cup heavy whipping cream
Ingredients
For the Crumb Topping
For the Cake
For the Cream
|
|
- The cake and crumb part should be started at least several hours but preferably the day before you intend to serve it so it has time to stiffen up in the refrigerator before you cut it into sections. This makes for much cleaner cuts and a cleaner appearance.
- Mix all crumb ingredients together in a bowl with a fork until crumbly. The mixture may want to form a giant ball. This is fine as long as it is still fairly dry and can be crumbled between your fingers into small pea sized pieces. Set mixture aside.
- Preheat oven to 350 degrees
- Grease a 9x13 baking pan. I always use parchment paper instead to guarantee nothing will stick. Cut two strips, one that is exactly the width of the bottom of the pan but add about 4 inches to the length dimension, the other that is exactly the length of the bottom of the pan but add about 4 inches to the width dimension. The two pieces will cross on top of one another, fitting perfectly over the bottom of the pan and hanging over the sides. When the cake is done you just lift it out and pull the parchment off. Cake will NEVER stick.
- Add sugar and zest to the bowl of a stand mixer fitted with a paddle attachment. rub the sugar and zest together to infuse sugar with the lemon flavor.
- Add butter and beat until light and fluffy, about 2-3 minutes. Add lemon juice and beat to incorporate.
- In a separate bowl, mix flour, baking powder and salt until well combined.
- In a separate bowl, whisk egg whites and buttermilk until well combined.
- With the mixer on medium-low speed, add one third of the flour mixture to the creamed butter and mix until incorporated. Then add half of the buttermilk mixture and mix until incorporated. Add another third of the flour mixture, mix, add the remaining buttermilk mixture, mix, add the last of the flour mixture and mix until combined.
- Turn the mixer speed up a few notches and mix for a good 2-3 minutes until the batter is smooth, light and airy.
- Pour batter into the prepared pan and smooth out the top.
- Bake for 20-25 minutes or until the cake has just barely started to set but is still slightly jiggly in the middle. You're adding the crumb topping now, instead of before baking, to ensure the crumbs don't sink into the cake while baking so the cake should be set enough to hold the crumbs on top. Gently slide the oven rack out and sprinkle the crumble topping over half of the cake. This should separate the cake into two rough squares, not two long, narrow rectangles. Gently slide the rack back in and continue baking for another 5-10 minutes or until a skewer stuck in the center comes out clean. The cake won't brown much so do not rely on color.
- Let the cake cool in the pan for 10 minutes, then lift the cake out of the pan, pull off parchment paper and cool completely on a cooling rack.
- Wrap the cake in plastic wrap and refrigerate overnight or at least for a few hours.
- Mix cream cheese, powdered sugar and lemon juice until well combined and fairly smooth. I used cold cream cheese and didn't sift the powdered sugar so I had to beat it for a while on high to get it to smooth out but it eventually got there.
- In a separate bowl, beat the heavy cream on a stand mixer with the whisk attachment until smooth, light and fluffy. WATCH THE CREAM CLOSELY! You just want it stiff enough so when you lift the arm of the mixer, the cream clings to the whisk without dripping. You want it smooth and stiff to hold its shape, not chunky.
- Gently fold the whipped cream into the cream cheese mixture. Cover and set in the refrigerator to keep it cold while you prepare the cake
- Remove cake from refrigerator and use a long serrated knife to carefully cut the browned edges off of all 4 sides of the cake. Use a back and forth sawing motion when cutting. Do not press straight down and crush the cake. Keep the blade perpendicular to the work surface and make sure your cuts are as clean as possible as these edges will show on the outside of your cake.
- Using the same long serrated knife, cut the cake in half or in thirds. The cake isn't really stable enough to stack three layers so if you cut it into thirds you'll have an extra layer to snack on beforehand 😉 I preferred the look of the small, narrow rectangles as well but if you prefer more of a square or need to serve more people you can just cut it in half. Use a tape measure or ruler here. Your layers need to be exactly the same size. There will not be icing on the exterior to cover up flaws.
- At this point you should let your cake come to room temperature. A cold cake will dull the lemon flavor. The next few steps can be done shortly before serving so your cake is room temperature but your cream is still cold. Cover the cake layers so they don't dry out in the meantime.
- Set your first layer (the one without crumb topping) on your serving plate. Use a piping bag (or the corner cut off of a zip lock bag) to pipe the cream on top of the first layer. I used a Wilton 2A tip. A Wilton 2D closed star tip would probably be very pretty as well.
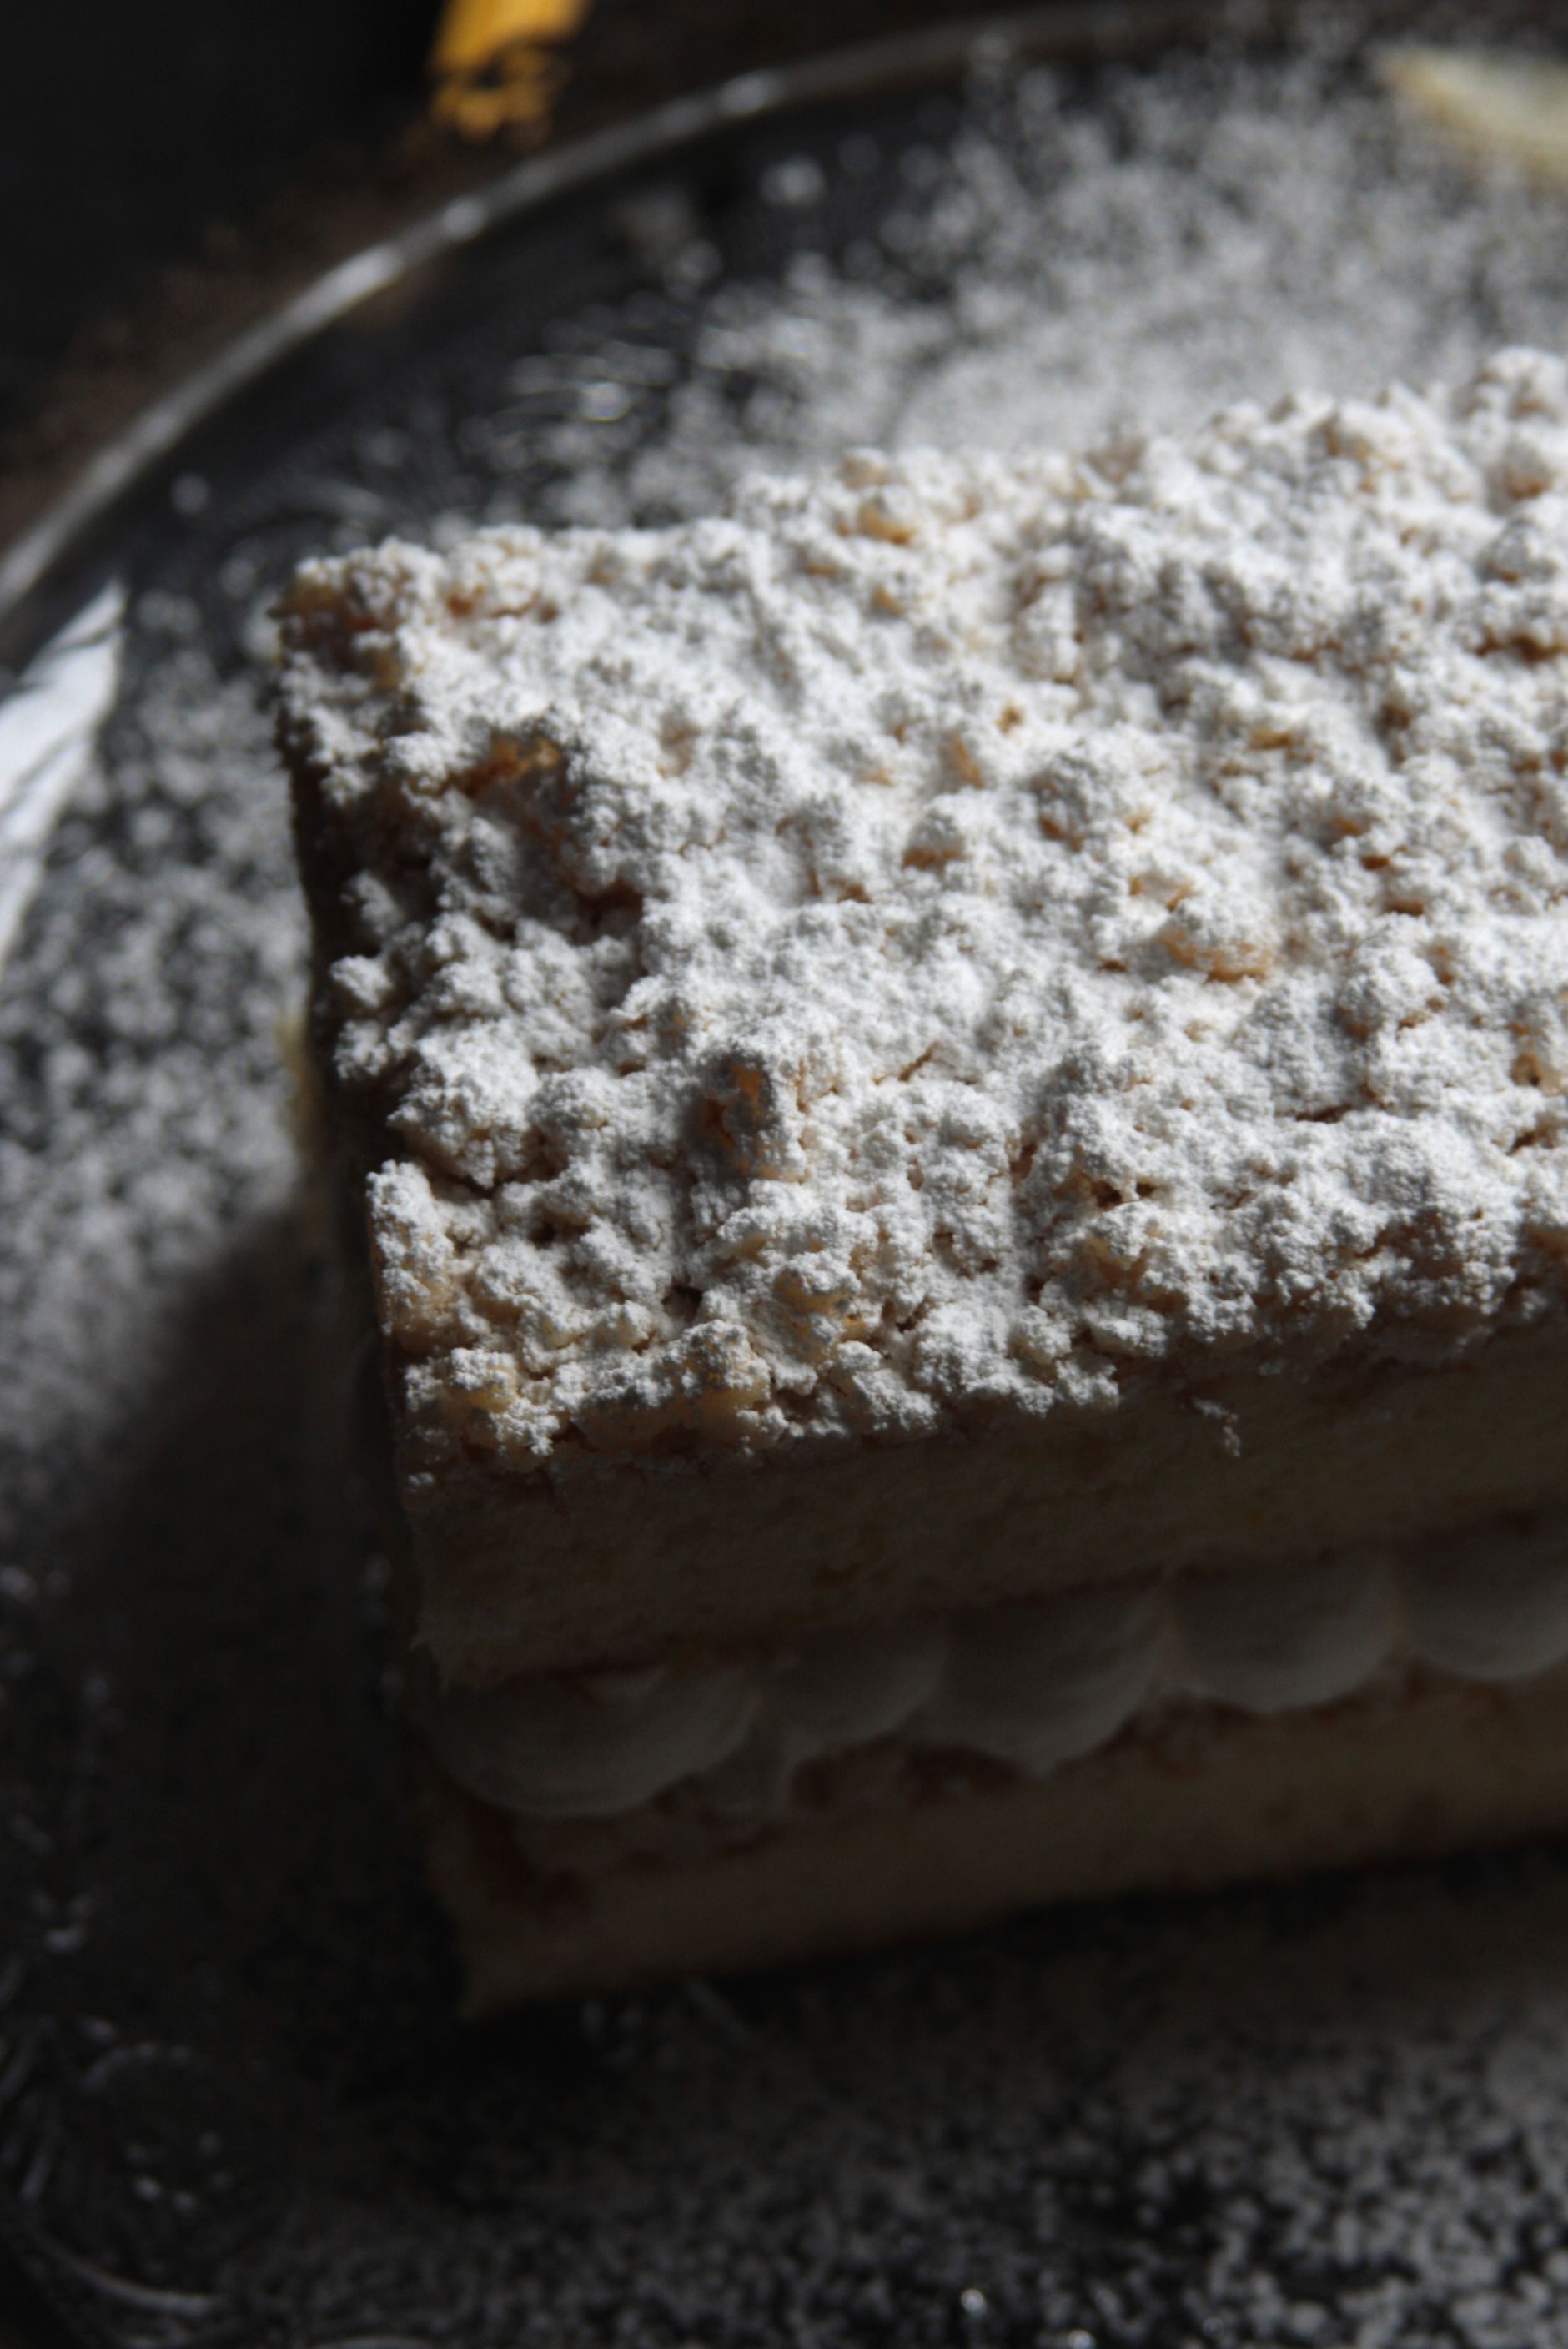
- Gently set your second layer (the one with the crumb topping) on top of the piped cream. Use a sifter to dust powdered sugar all over the top of the cake.
It just now dawned on me that this cake would probably also be amazing if made with oranges in place of the lemons. Orange Dreamsicle Crumb Cake! Or maybe lime and coconut for a margarita crumb cake. I may need to put those on my list for this summer. If someone tries either of those variations you’ve GOT to let me know how they turn out. Do you have favorite citrus squeezing and zesting tools? What’s your guilty pleasure processed food that you remember from your childhood and just can’t seem to replicate from scratch? Comment below!