
Easter is just around the corner! Not only that, but our game night group has decided to have a deviled egg competition just before Easter, so there will be twice the egg consumption this year. I’ll definitely post pics/results/recipes after all of those shenanigans.
I’m not sure why I don’t make deviled eggs more often. I love deviled eggs so much that for a few years in a row, it seemed like everyone got me deviled egg serving plates as a Christmas gift. I must have been talking about them a lot or inhaling them in front of people or something because I have several plates now, which is great because ALL of them will get used this year. 😉
There are just so many deviled egg recipes out there, most of which I’ve never tried, so I’m really excited to delve into some of the crazier recipes this year and see how they turn out. I usually stick to the pretty standard deviled egg recipes, but not this year! I’m going for color and flavor explosions this time!
One of the biggest catches to making deviled eggs though, is peeling the shell off without taking any of the white with it. If you’re just eating the hard boiled egg or making egg salad out of them, it’s not as much of a problem, but with deviled eggs, every tear and imperfection of your egg white is hanging out there for all to see. Of course, it doesn’t really affect the flavor at all, and your family and friends are likely just happy to be eating the food you lovingly made for them, but for so long it made me crazy that some years, the eggs would peel perfectly and other years, I’d serve a plate full of mangled egg whites.
I tried so many different tactics that were supposed to make the shell come off more easily: add vinegar to the water, add baking soda, add salt, combinations of the three, different cooking times, different cooling methods. Some would work some of the time, but I needed a method that would work without fail so I could be confident that my deviled eggs would not only taste good, but would also look good.
I have yet to have this tip fail me and the biggest down side to it is that you basically need to start “preparing” the eggs 3 weeks in advance. The secret weapon to cleanly peeled eggs every time, regardless of the method you’re using, is to use older eggs. This is probably why I had trouble for so many years. Especially when making food for other people, you’d think the fresher the better. Not so when it comes to hard boiled eggs. I’m not saying to go out and serve your guests spoiled eggs, but the closer to the expiration date, the better. With most methods, don’t even bother trying to peel eggs that your backyard chickens laid a few days ago. They come out looking like you just put them through the blender. It ain’t pretty.
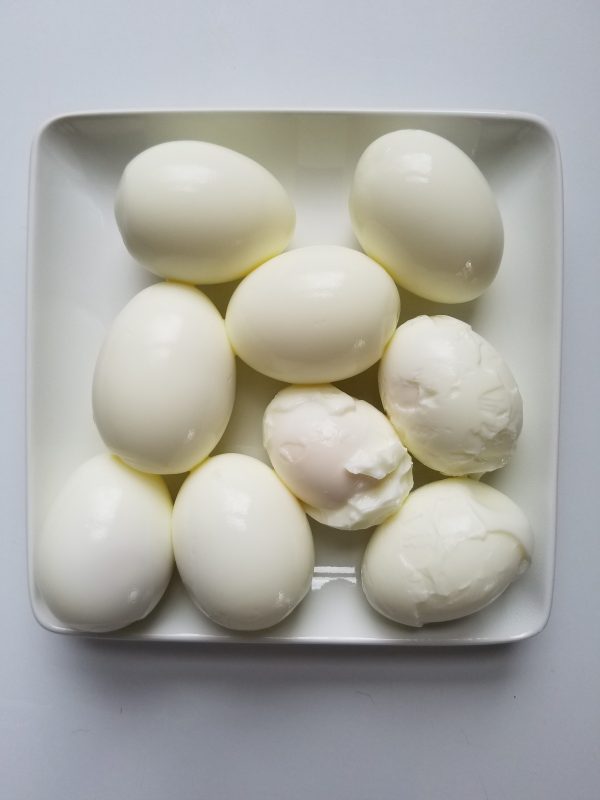
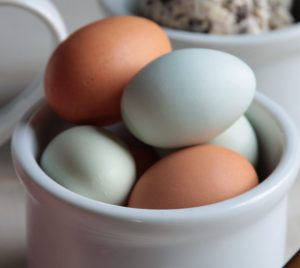
The three eggs in the lower right corner were fresh from our backyard chickens. The rest were from the grocery store and were 1 week from their expiration date.
The reason this happens is because fresh eggs start out with a lower pH which makes the egg white bond to the shell and thus makes it a pain in the butt to peel. The older the egg gets, the more the pH rises and the easier it is to peel. This is why some methods suggest adding baking soda to raise the pH level of a fresh egg quickly. That method has worked for me some of the time, but has failed several times as well.
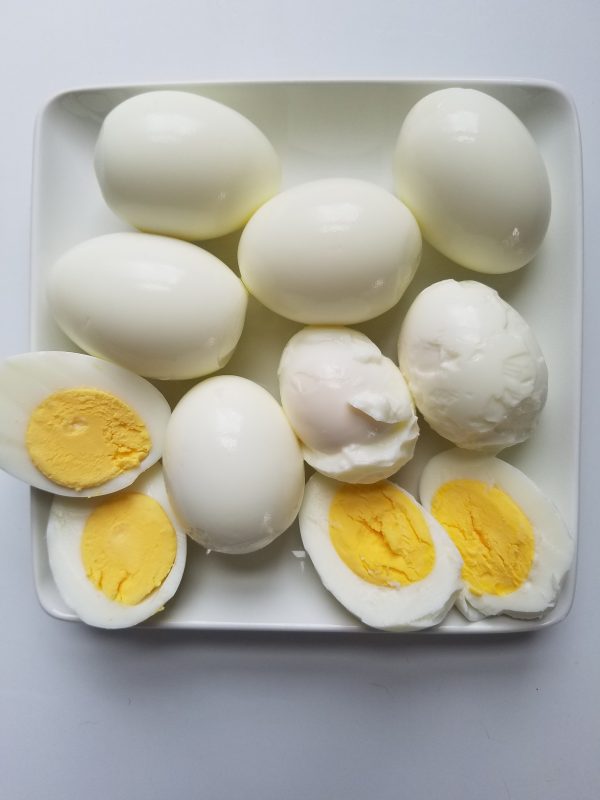
If you’re doing your Easter grocery shopping a few days before the big event and can’t find eggs that are close to their expiration date, then you need to bust out the big guns and use a method that will work regardless of the eggs’ pH level. I just discovered this method, thanks to my MIL. (Thanks Debbie!) I’ve used it twice so far, even with eggs that were literally laid earlier in the day, and it worked like a charm. So never fear! This year your hard boiled eggs will turn out perfectly! No gray yolks and no torn whites.
- This method will work with eggs of any age. I've tried it even with eggs that were laid earlier that day and they still peel perfectly. If using any other method though, the key will be to use older eggs. Not spoiled-old but close-to-the-expiration-date-old. The fresher the egg, the harder/more impossible it will be to peel. Helpful tip: if your egg floats when you add it to the pot, you've likely crossed the line into spoiled-old territory.
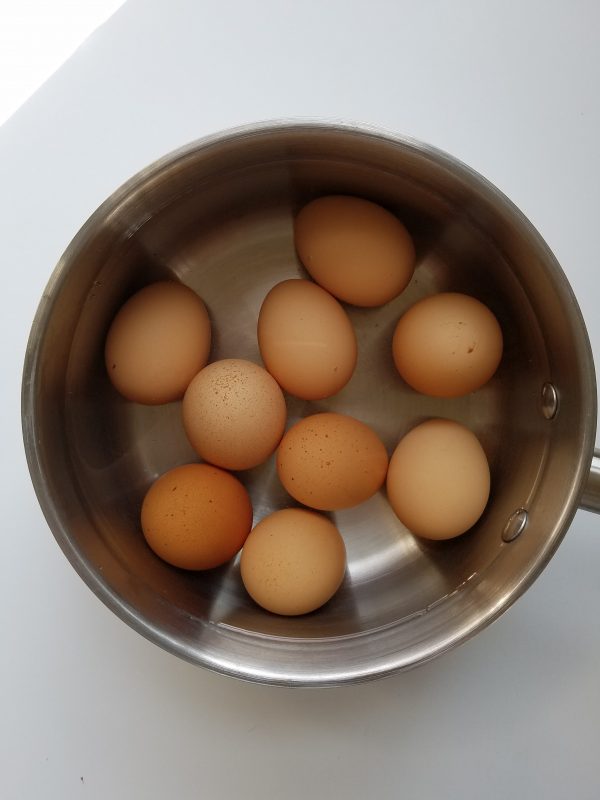
- Fill a medium sauce pan with water and heat to a rolling boil.
- Gently lower the eggs into the water one at a time using a slotted spoon. A spaghetti server works great as well. Boil for 15 minutes.
- Remove from heat and run pot under cold water for 1-2 minutes or add eggs to an ice bath to halt cooking and cool eggs.
- Peel!
Are there other methods you’ve used for easy to peel eggs that have never failed you? Do you have any hard boiled egg horror stories? What are your favorite flavors to add to your deviled eggs? Comment below!