
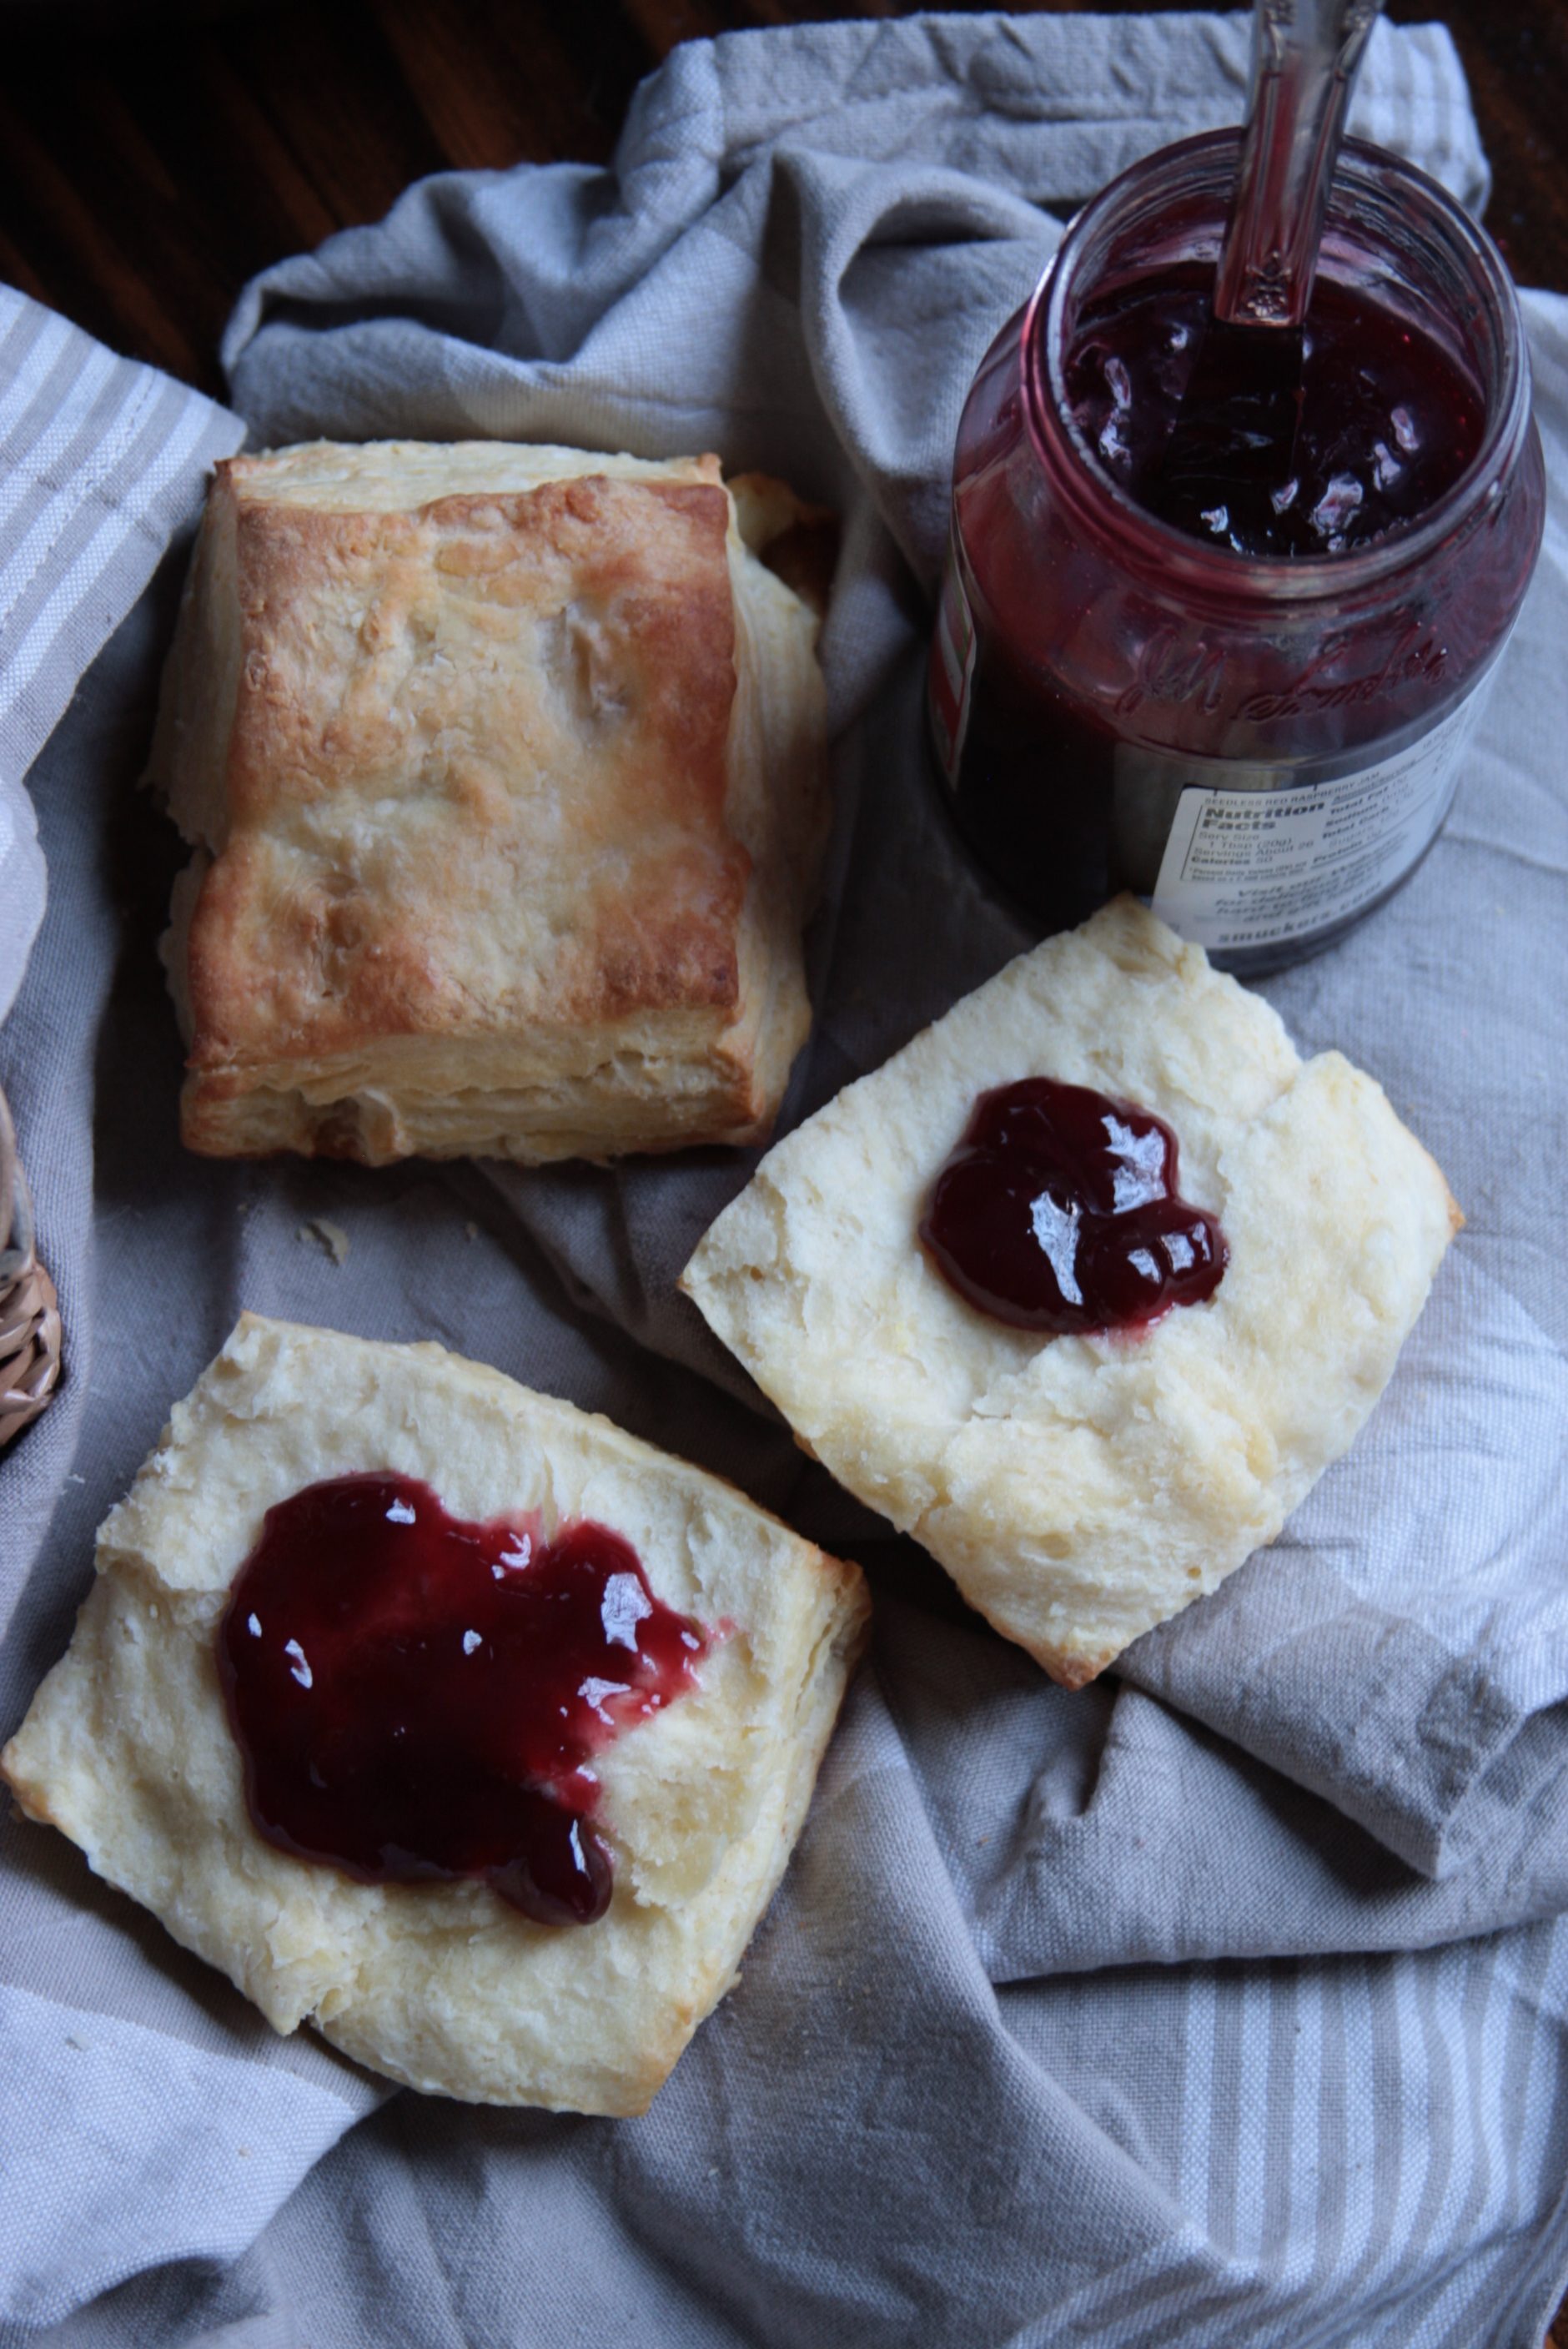
Do you know what my favorite part of eating out at any of those fried chicken restaurants is? The buttermilk biscuits. A few of those and some honey and I could pass on the chicken altogether. On top of that, breakfast food is by far my favorite meal category. Now that we have our own backyard chickens and therefore have a pretty steady supply of eggs on hand, bacon egg and cheese sandwiches is a recurring meal around here. Put it all together and it was pretty much a no-brainer that I had to find the best, most buttery buttermilk biscuit recipe for my arsenal. This took a lot of trial and error. I knew I wanted them to taste super buttery, but I also wanted them to have those flaky layers so you could pull them apart easily. Then even after I figured those parts out, I tried several different methods of cooking them. It was all worth it though because they’re now exactly how I pictured them.

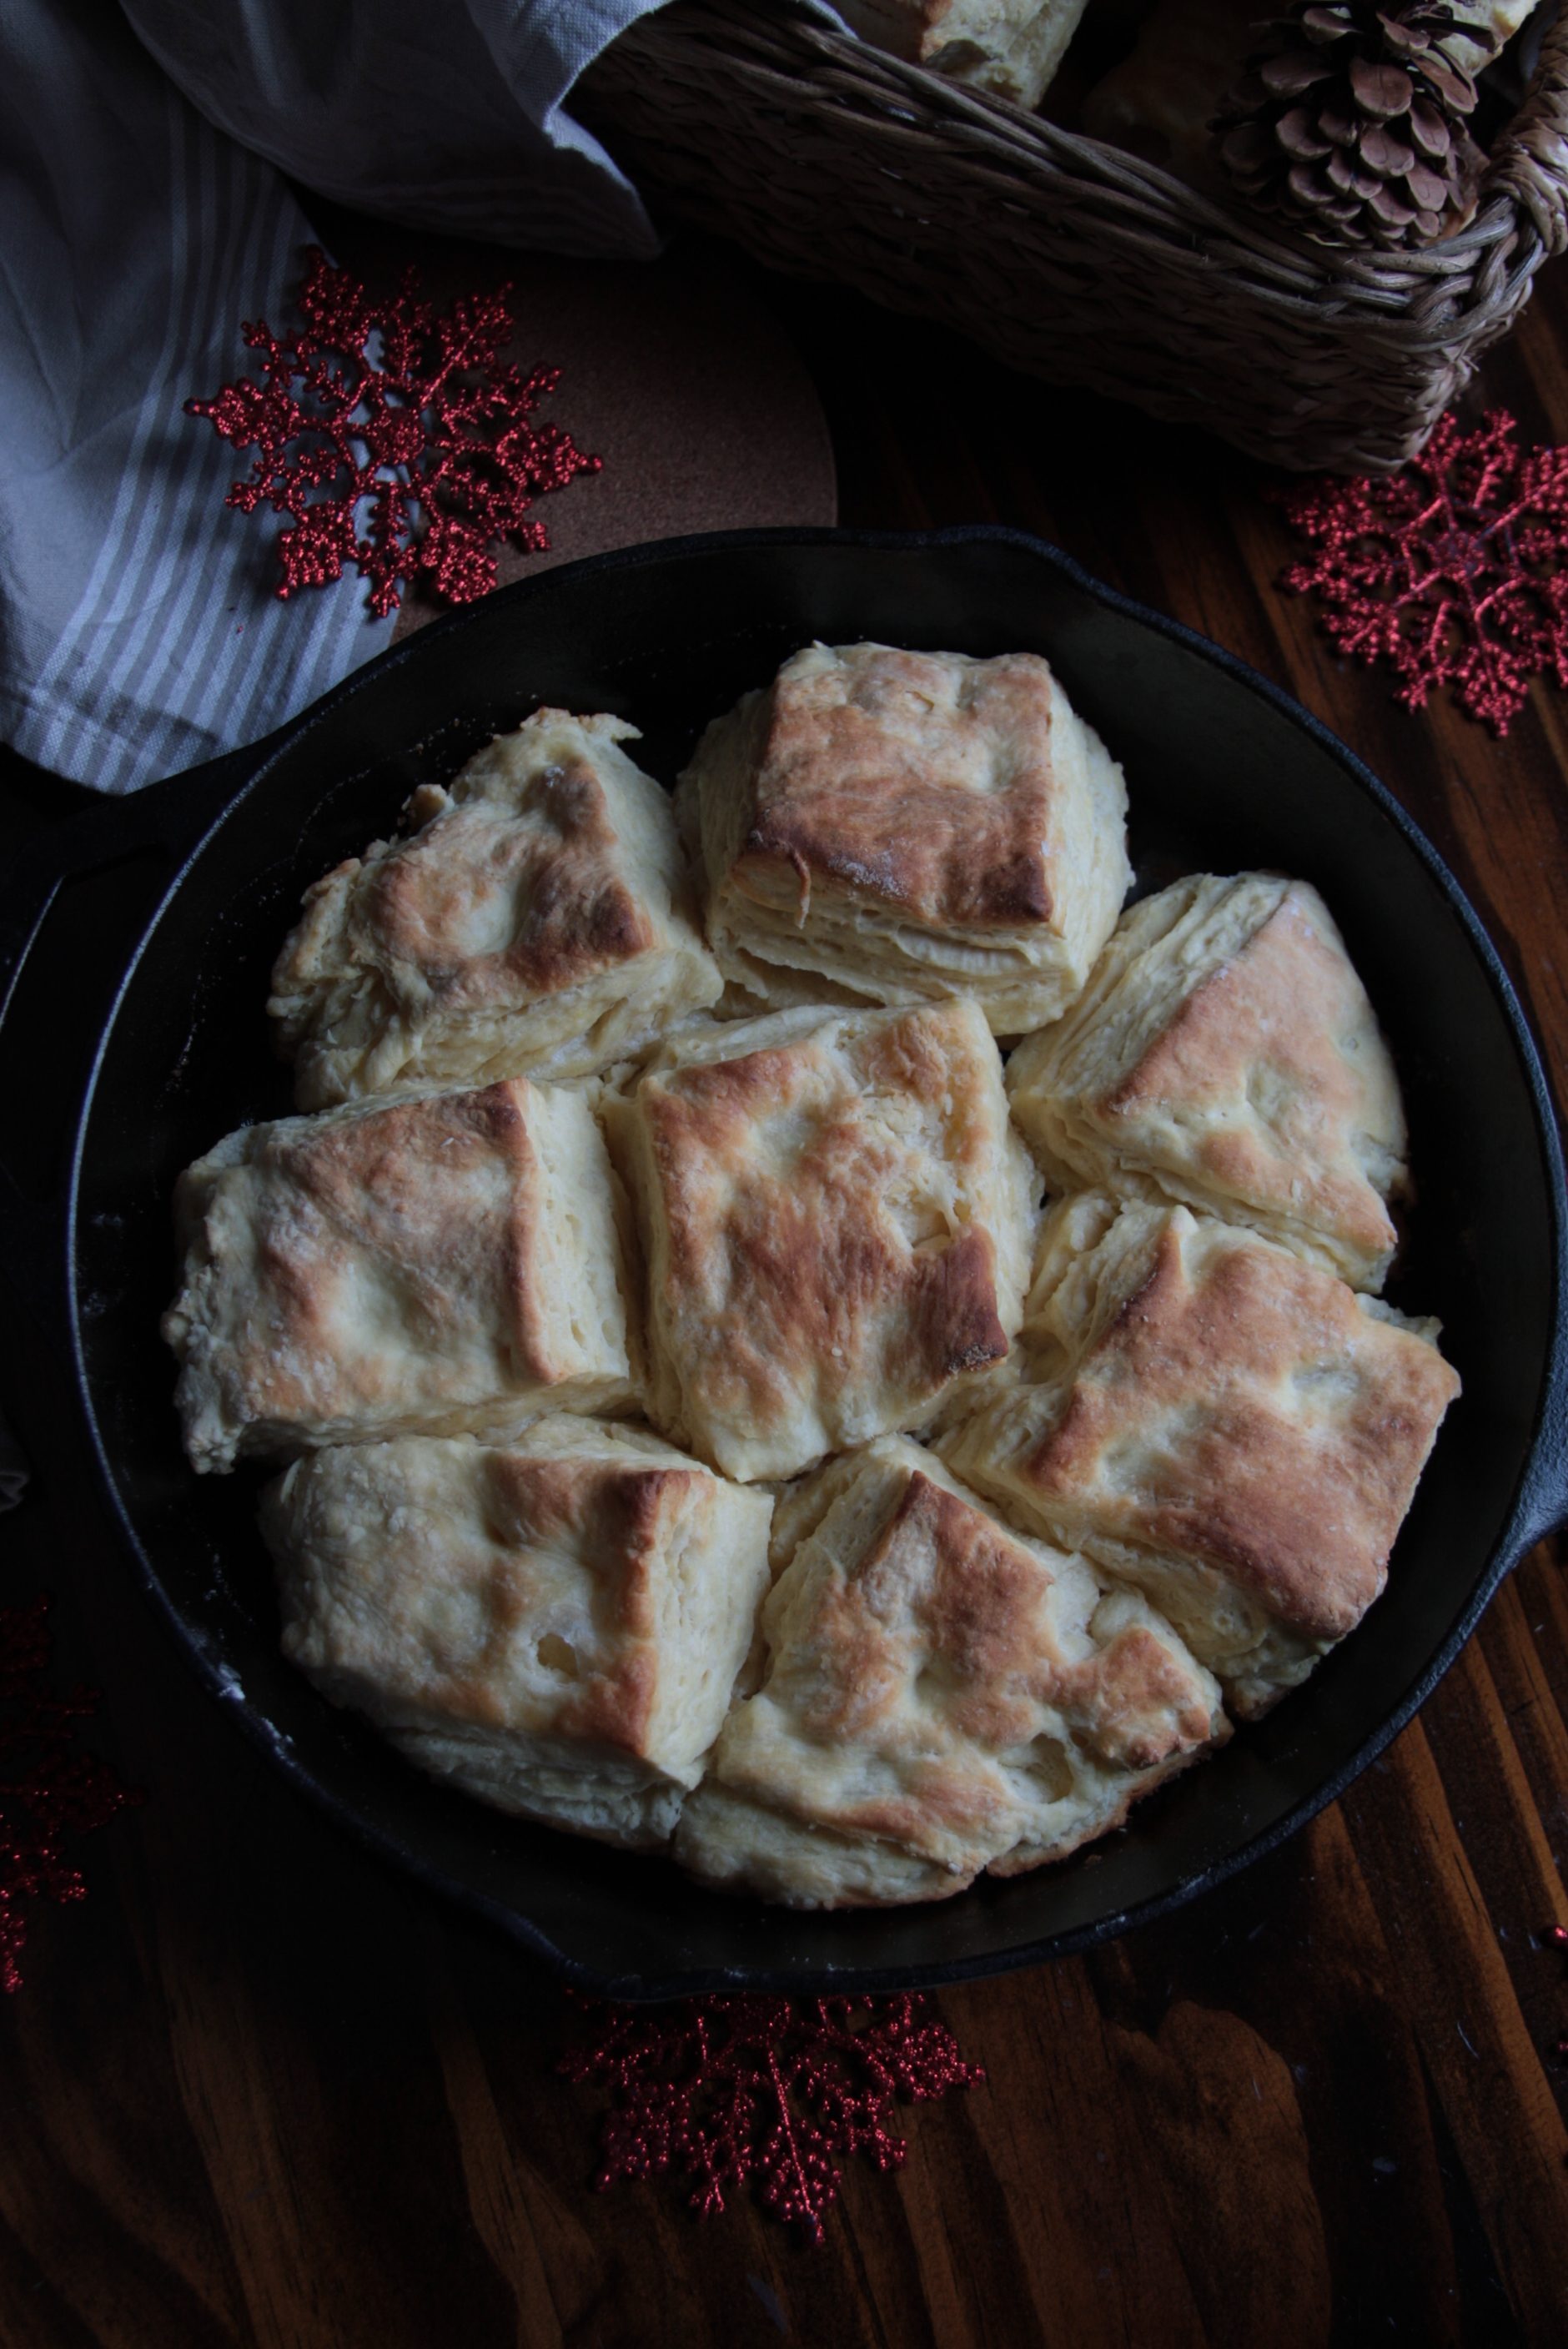
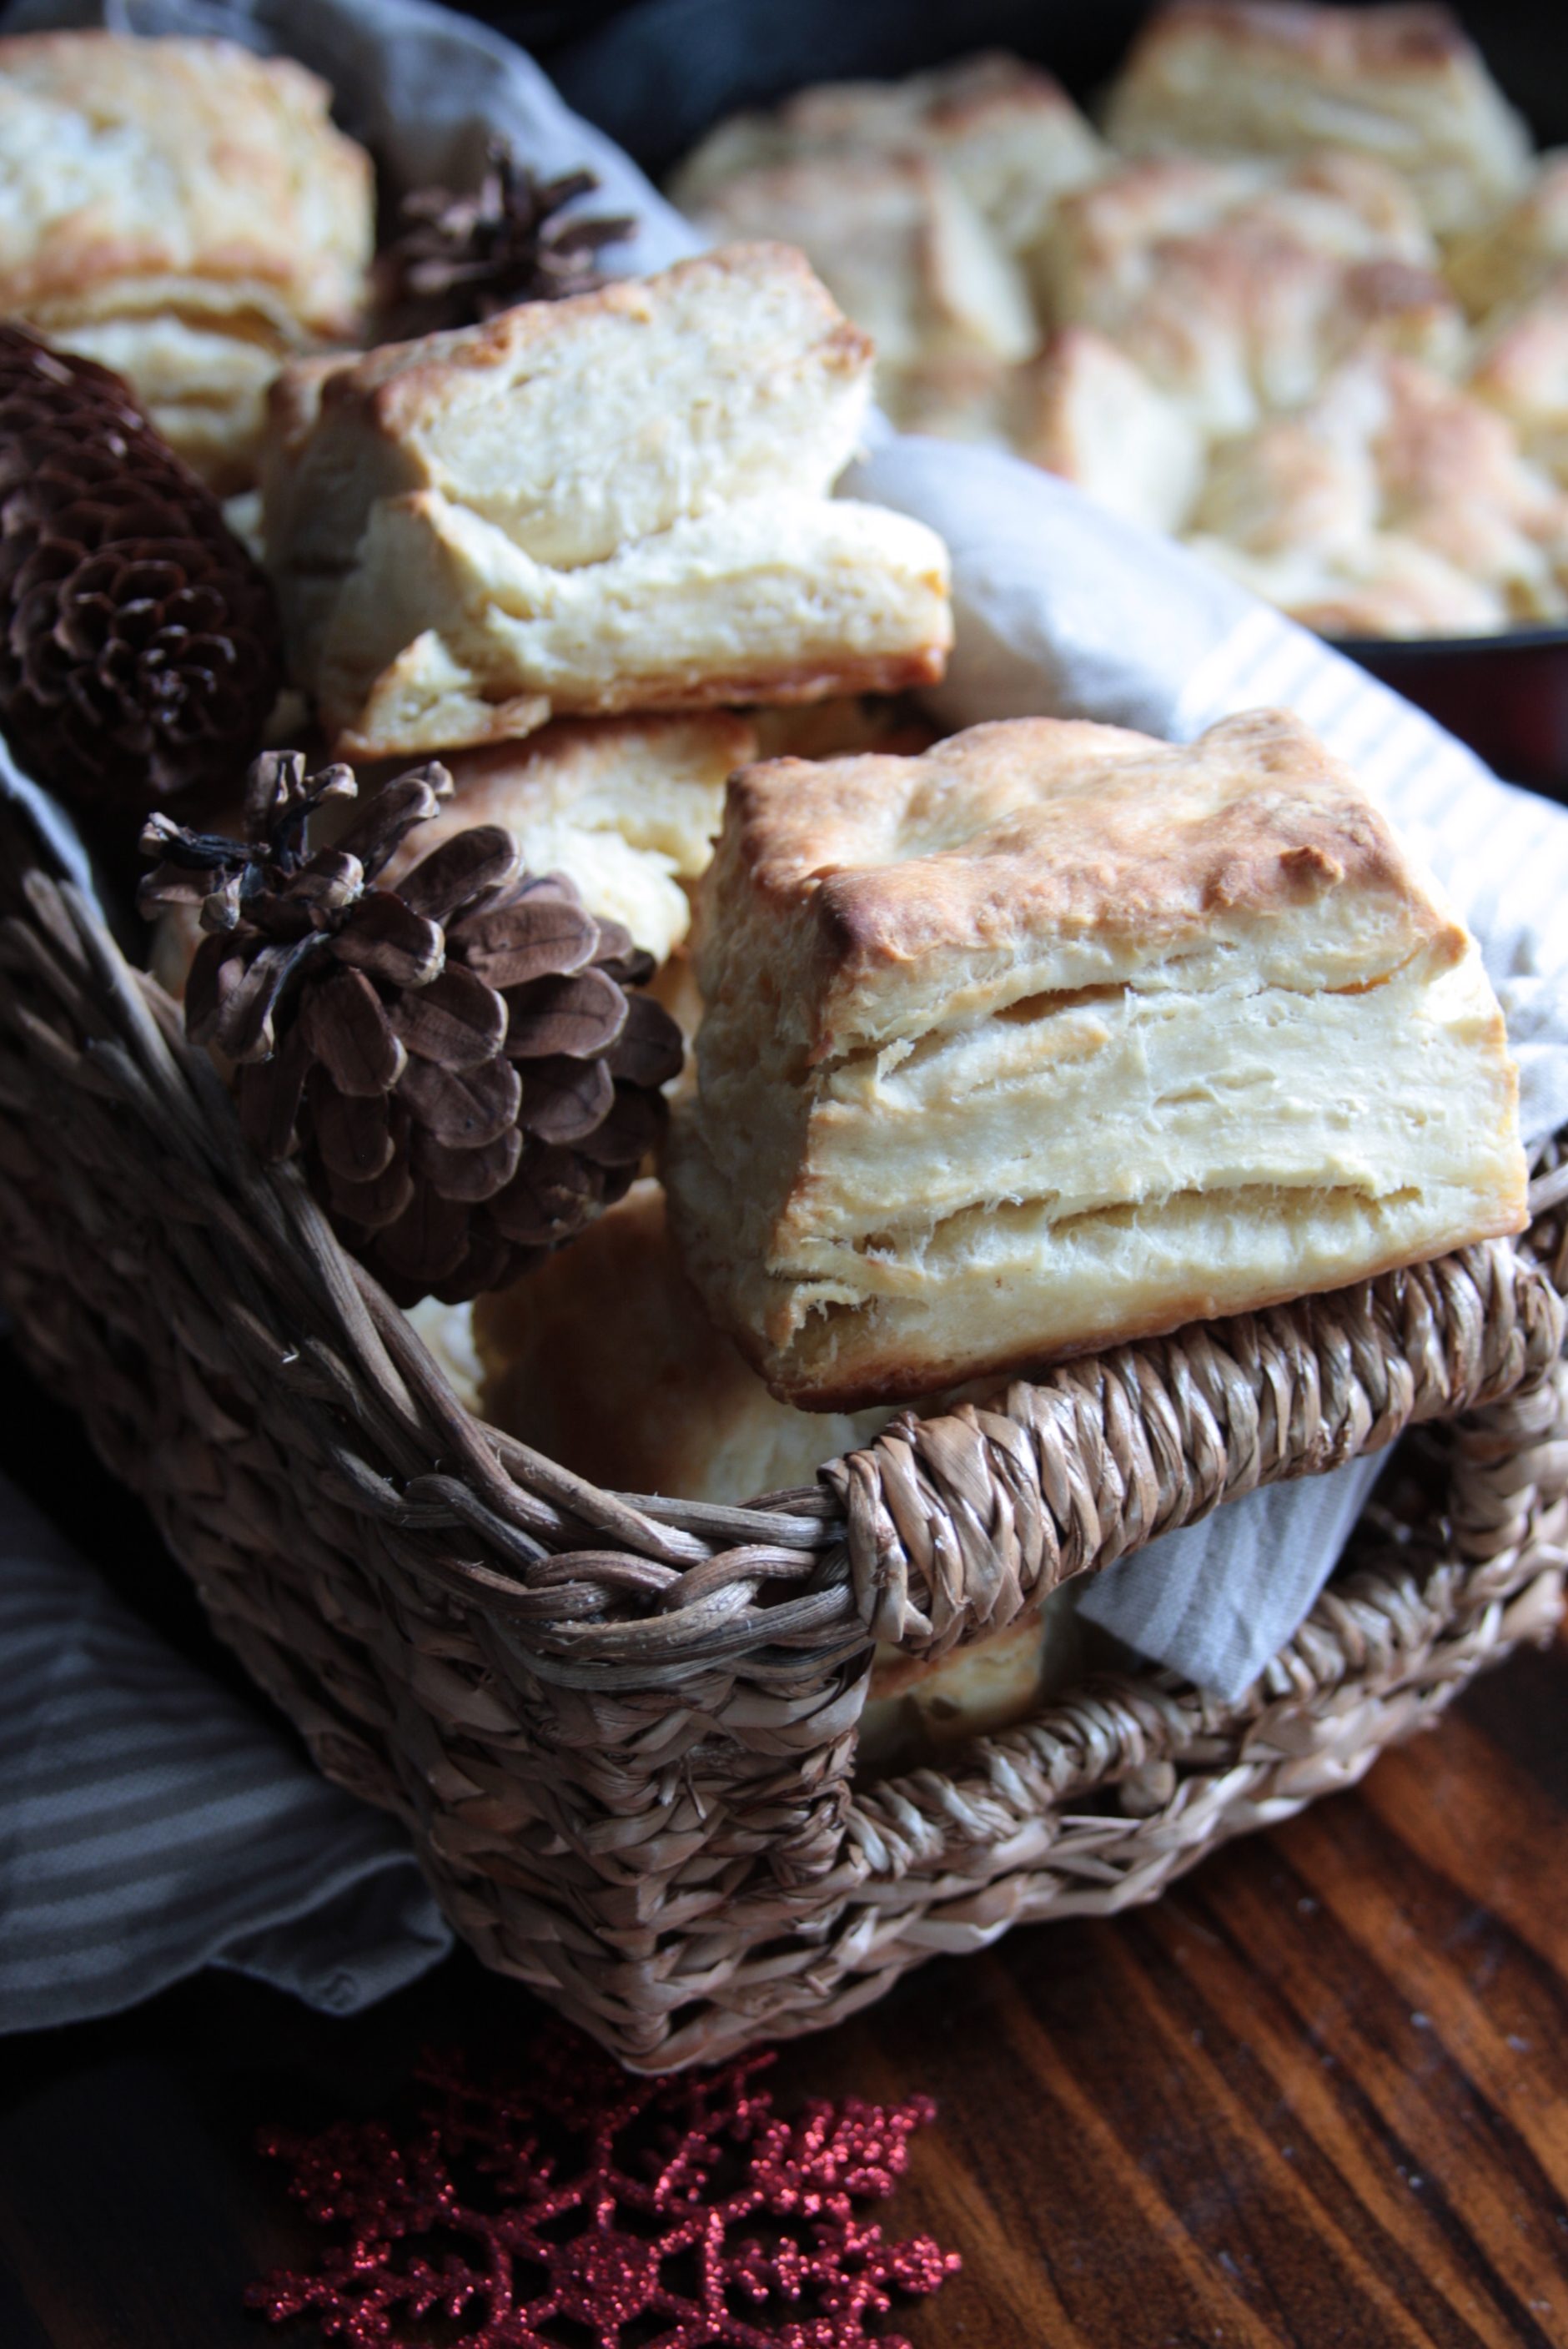
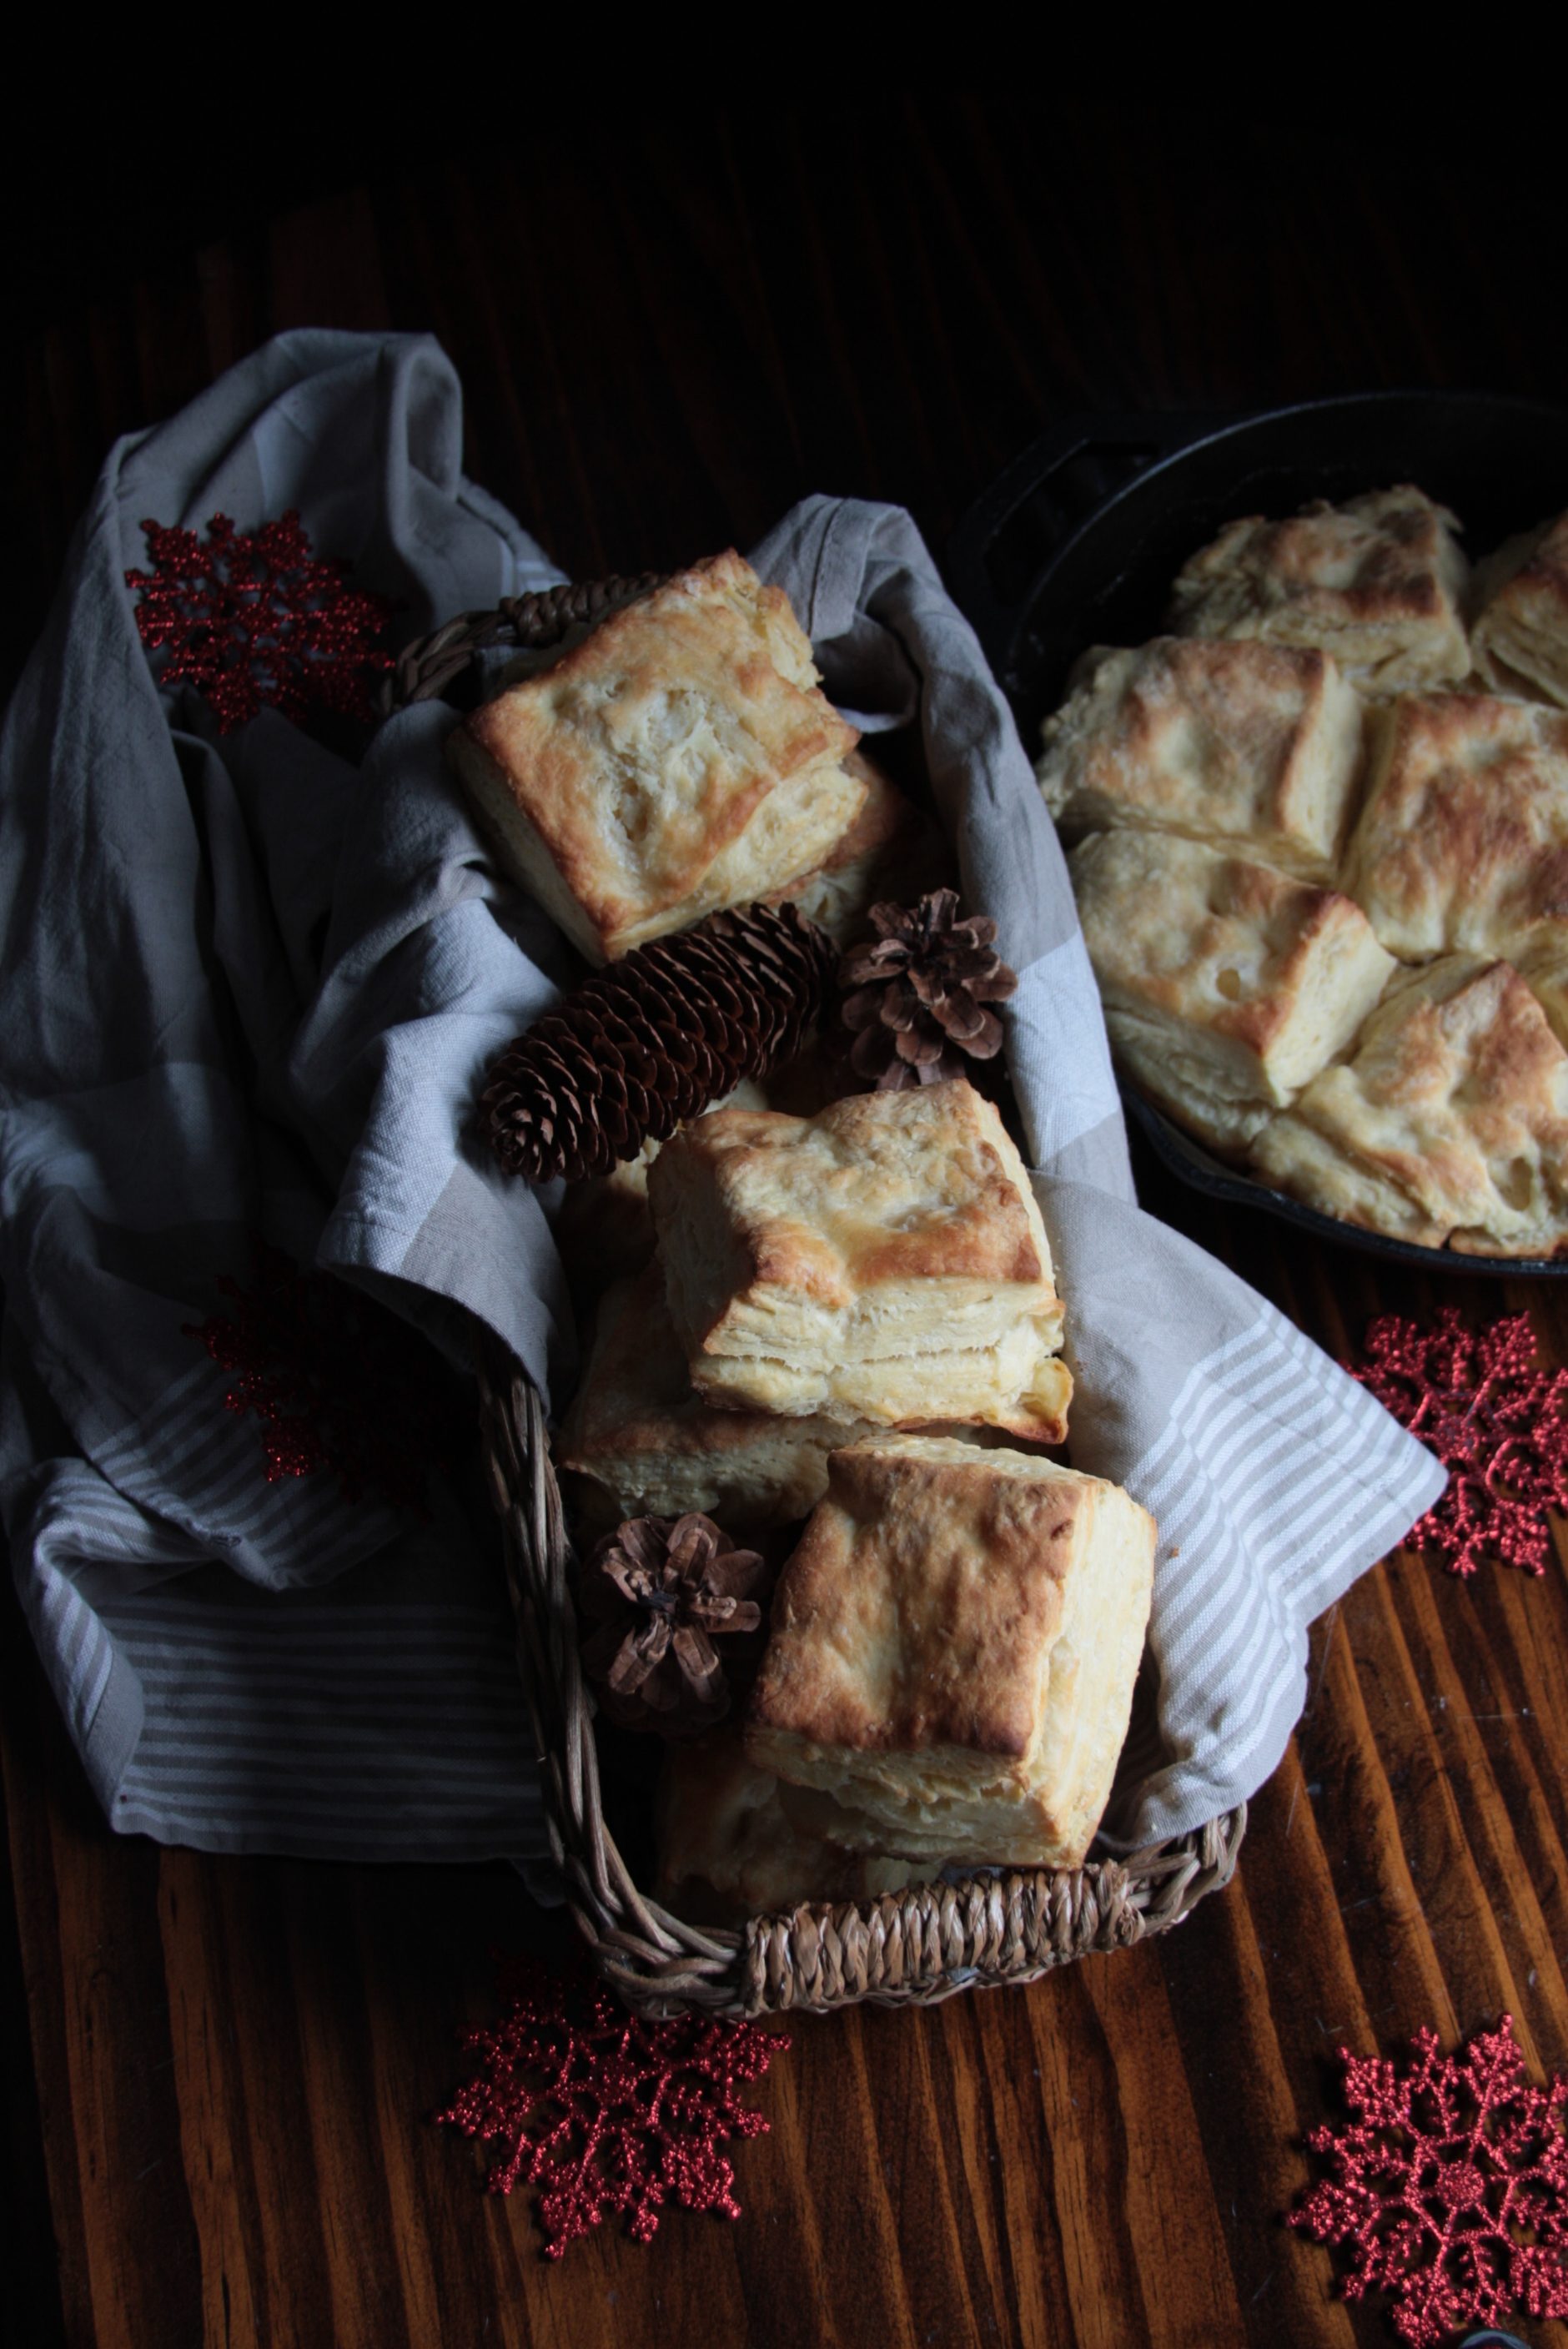
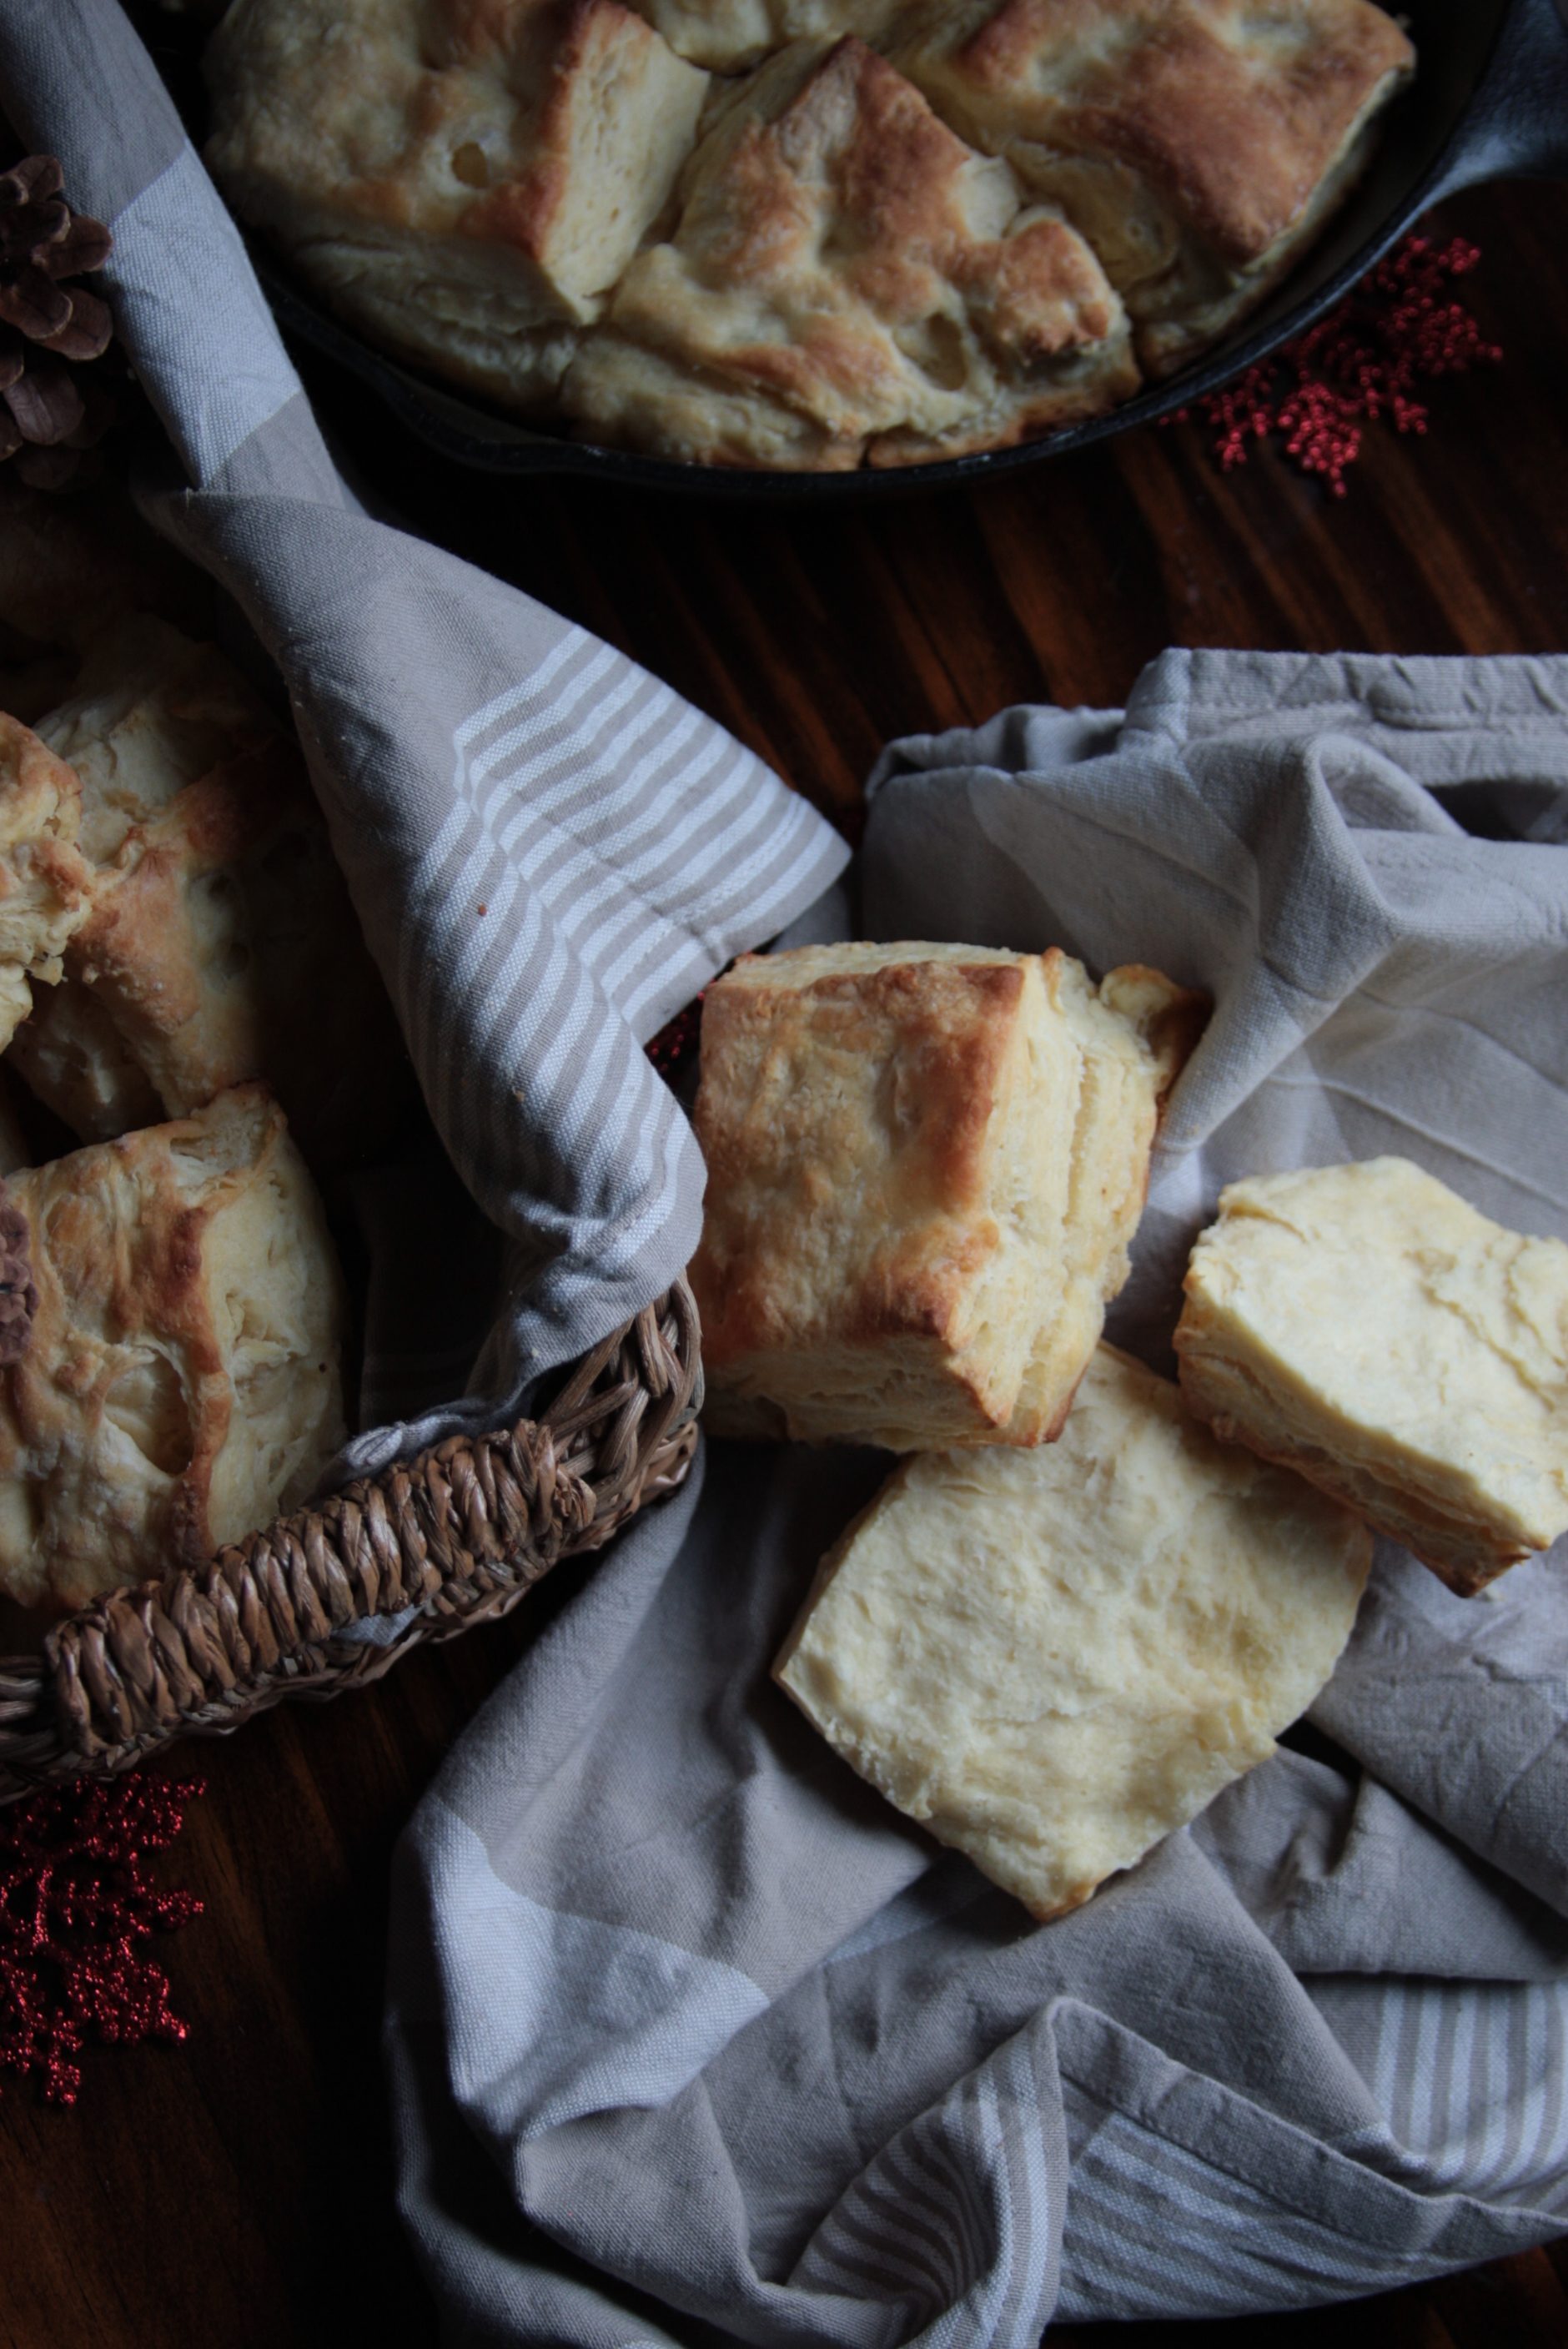
The first thing you notice when you start trying out biscuit recipes is pretty much all of them tell you to get your circular biscuit cutter out and cut out your biscuits when you’re finished making the dough. This was the first thing I did away with. You either end up wasting all of the dough scraps from between each of your perfectly round biscuits, or if you try to re-roll it out and get a few more biscuits out of it, those last few are never the right texture because you’ve worked the dough too much. So I say forget the biscuit cutter. Savor every last buttery corner of your organically shaped, rustic biscuits. I also kind of like having a few different sizes because sometimes you just want a little snack biscuit and other times you want a monster biscuit sandwich.
The buttery flavor was the next issue I tackled. Basically it was just a matter of working in a much butter as possible, and the bonus secret was using Crisco butter flavor baking sticks instead of unflavored shortening. The sticks are so much easier to measure and that little bit of extra butter flavor seals the deal.
Then there were the layers. Rolling the dough into a rectangle and then folding both short ends to the middle, as you would a letter you’re putting into an envelope, turned out to be the best way to get the height and the layering I was looking for. You can still get a light fluffy biscuit solely relying on the cold chunks of butter in the dough to do their thing, but you won’t get the same height. 2-3 rounds of the letter fold is the way to go.
Then, finally, I tested cooking methods. They come out just fine on a standard baking sheet, though they’re so buttery, you can make a mess of your oven if you don’t use a sheet with a lip all the way around the edge. The butter just drips right off the edge. I also tried making them a few times in our cast iron skillet and that is my favorite method to date. We have a large, 12″ skillet so I needed to make a double batch to fill it properly but an 8 or possibly even a 10 inch skillet would have been perfect for a single batch. The cast iron makes them extra crispy on the bottom and keeps the butter contained around the biscuits as they cook. Soooooo delicious.
| Prep Time | 10 minutes |
| Cook Time | 15 minutes |
| Passive Time | 30 minutes |
| Servings |
servings
|
- 3 cups flour all purpose, 380 grams
- 1 tsp salt
- 1 Tbsp baking powder
- 1 Tbsp granulated sugar
- 1/4 cup shortening I use Crisco butter flavored
- 1 eggs
- 3/4 cup buttermilk
- 6 Tbsp water ice cold
- 8 Tbsp butter salted, very cold
Ingredients
|
|
- Preheat oven to 425 degrees. If using a baking sheet, line it with parchment paper. If using a cast iron skillet, no need to grease it. If you're using a 12 inch cast iron skillet or larger, you'll need to double the recipe if you want the biscuits to fill the skillet.
- Mix flour, salt, baking powder, sugar and shortening together in a medium sized bowl. Use a fork or a pastry blender* to cut shortening into dry ingredients until it's broken up into pea sized crumbs.
- Add egg, buttermilk and half of the water. Beat the egg slightly to break it down before mixing everything together. I usually need all 6 tablespoons of water but it will depend on how you measure your flour. Do not over mix the dough. It should be slightly sticky. You'll be adding more flour as you roll it out. Add remaining water a tablespoon at a time if the dough seems too dry.
- Cut butter into small cubes. I usually cut the stick in half lengthwise, roll it over onto it's next side and cut it in half lengthwise again. Then slice it 7 or 8 times width wise to make perfectly sized cubes.
- Break apart the butter cubes and add them to the dough. Mix them in just enough to incorporate them. Do not over mix the dough.
- Cover and refrigerate your dough for 20-30 minutes. You can skip this step if you don't care if the biscuits don't rise perfectly even. They'll still be delicious. The butter and shortening need to be VERY cold if you want an even rise.
- Flour your work surface and roll the dough out into roughly a 9"x5" rectangle. Continue to lightly flour as needed so the dough isn't too sticky to work with. Cut the dough across the shortest length of the rectangle into 3 equal sections and stack them on top of each other.
- Roll the dough out again to about a 9"x5" rectangle and again cut the dough across the shortest length into 3 equal sections and stack them on top of each other as before. Roll the dough out one final time to the desired size. I generally just stick with a 9"x5" which makes about 6-8 biscuits but if you want more biscuits that are not as tall, you could roll it into a larger rectangle.
- Cut out your biscuits. You could use the standard round biscuit shape but I don't like to waste the edges. I just slice the rectangle once down the middle going in the longest direction, then 2-3 times across the shortest side.
- Place your biscuits on a baking sheet or in a cast iron skillet. Leave about an inch between the biscuits if cooking on a baking sheet. If using the skillet, you don't need to leave much space between them. Just don't pack them together tightly.
- Bake in the oven for about 15-20 minutes, depending on how cold your dough was to start. The tops should be golden brown and the sides shouldn't be doughy.
- A pastry blender makes quick work of cutting butter into flour for biscuits and pie crusts. They're pretty inexpensive and I highly recommend having one if you ever make pies or any sort of short crust pastry.
What is your favorite way to eat biscuits? In a breakfast sandwich? With fried chicken? Au naturel with butter and honey? Have you ever tried baking bread in a cast iron skillet? Comment below!