
I recently wrote a post on the importance of weighing recipe ingredients, so it seemed appropriate to post a recipe that by definition, requires you to weigh its ingredients. Pound cake is called pound cake specifically because the recipe calls for a pound of each of the ingredients: butter, sugar, eggs and flour. Well, at least it did originally. Nowadays, you can find all sorts of extras added into pound cake recipes to make them lighter and more often than not, the base ingredients are not in equal proportions.
I can still remember eating my Grandma Noreen’s pound cake when I was little, and I remember it being a heavy and dense yet moist cake that was amazingly delicious. It was all about the butter with just a dusting of powdered sugar. I’m convinced her pound cake is why I prefer to eat a naked cake with no icing to this day. It works out perfectly because my husband prefers to eat a bowl of icing with no cake. 😉
There are plenty of light and airy cakes out there that are meant to be that way. Why go and change something that is meant to be dense and is delicious as-is? If you want a light and airy cake, make a light and airy cake, but don’t try to call it pound cake. If you want a dense, yet tender and rich cake, then pound cake is what you are after. It seems silly to me to change a recipe to lighten it up but still call it pound cake. That’d be like taking the eggs out of frozen custard to lighten it up, but still wanting to call it frozen custard. Just call it what it is: ice cream.
I think the beauty of a true pound cake recipe is how simple it is. It’s easy to remember the recipe, easy to add whatever flavor you like and easy to cut the recipe in half or double it depending on the size pan you have. Everything is in 1:1 ratios so however much you’re using of one ingredient, use the same weight for everything else. Add in your flavorings and you’re good to go!
The exceptions to this would be if your flavoring adds a significant amount of dry or wet ingredients to the batter. I wanted to create a chocolate pound cake and knew I’d be adding a significant amount of cocoa powder, so I reduced the flour by the exact weight of the cocoa powder that I added. This way, I knew the batter would still be the same consistency.
To really take the chocolate flavor over the top, I also added a tablespoon of instant coffee crystals, 1 1/4 teaspoons of salt and a full pound of chopped up chocolate bars. Hey, go big or go home, right? 😛 I actually made this recipe three times before I got it how I liked it and I can tell you with certainty that if you want the best result possible, it really does need to be good quality chocolate bars that you chop up, not chocolate chips. I tried two different kinds of chocolate chips and the texture of the chips in the cake just aren’t right. Chopped up bars of chocolate, however, leave you with varying sizes, some of which melt into the batter, others remain but are thinner and stay softer than the chips do. It is a chocolate lover’s dream.
That said, if texture isn’t that big of a deal to you or if you’re in a pinch, you could get away with chocolate chips. It will still be sinfully chocolaty and rich. It just won’t fully reach its heavenly chocolate potential. 😉
Also, if you’ve never made a chocolate cake with hot coffee, then the instant coffee crystals might sound strange. You just have to trust me on this one. I actually hate the taste of coffee. I wish I didn’t, because I’d love to have another source of caffeine in my life but alas, my tooth is too sweet and will not tolerate the bitter of coffee.
So if you’re thinking, “no way I’m putting coffee of any kind in my chocolate cake. I hate the taste of coffee.” I need you to just take a deep breath, and trust me. Yes, you’re putting coffee into the batter and yes, the batter will taste slightly of coffee but once you bake it something magical happens and absolutely no coffee flavor will be left behind. You will be left only with a rich, chocolaty cake that has so much more depth than it would have otherwise had. Live on the edge. Try it once. Please. Don’t deprive yourself of this mysterious chocolaty miracle.
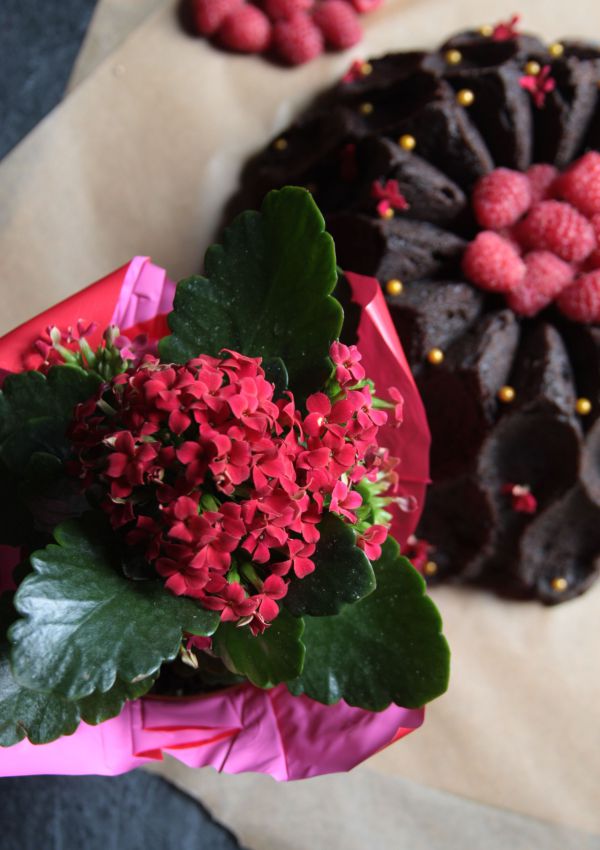
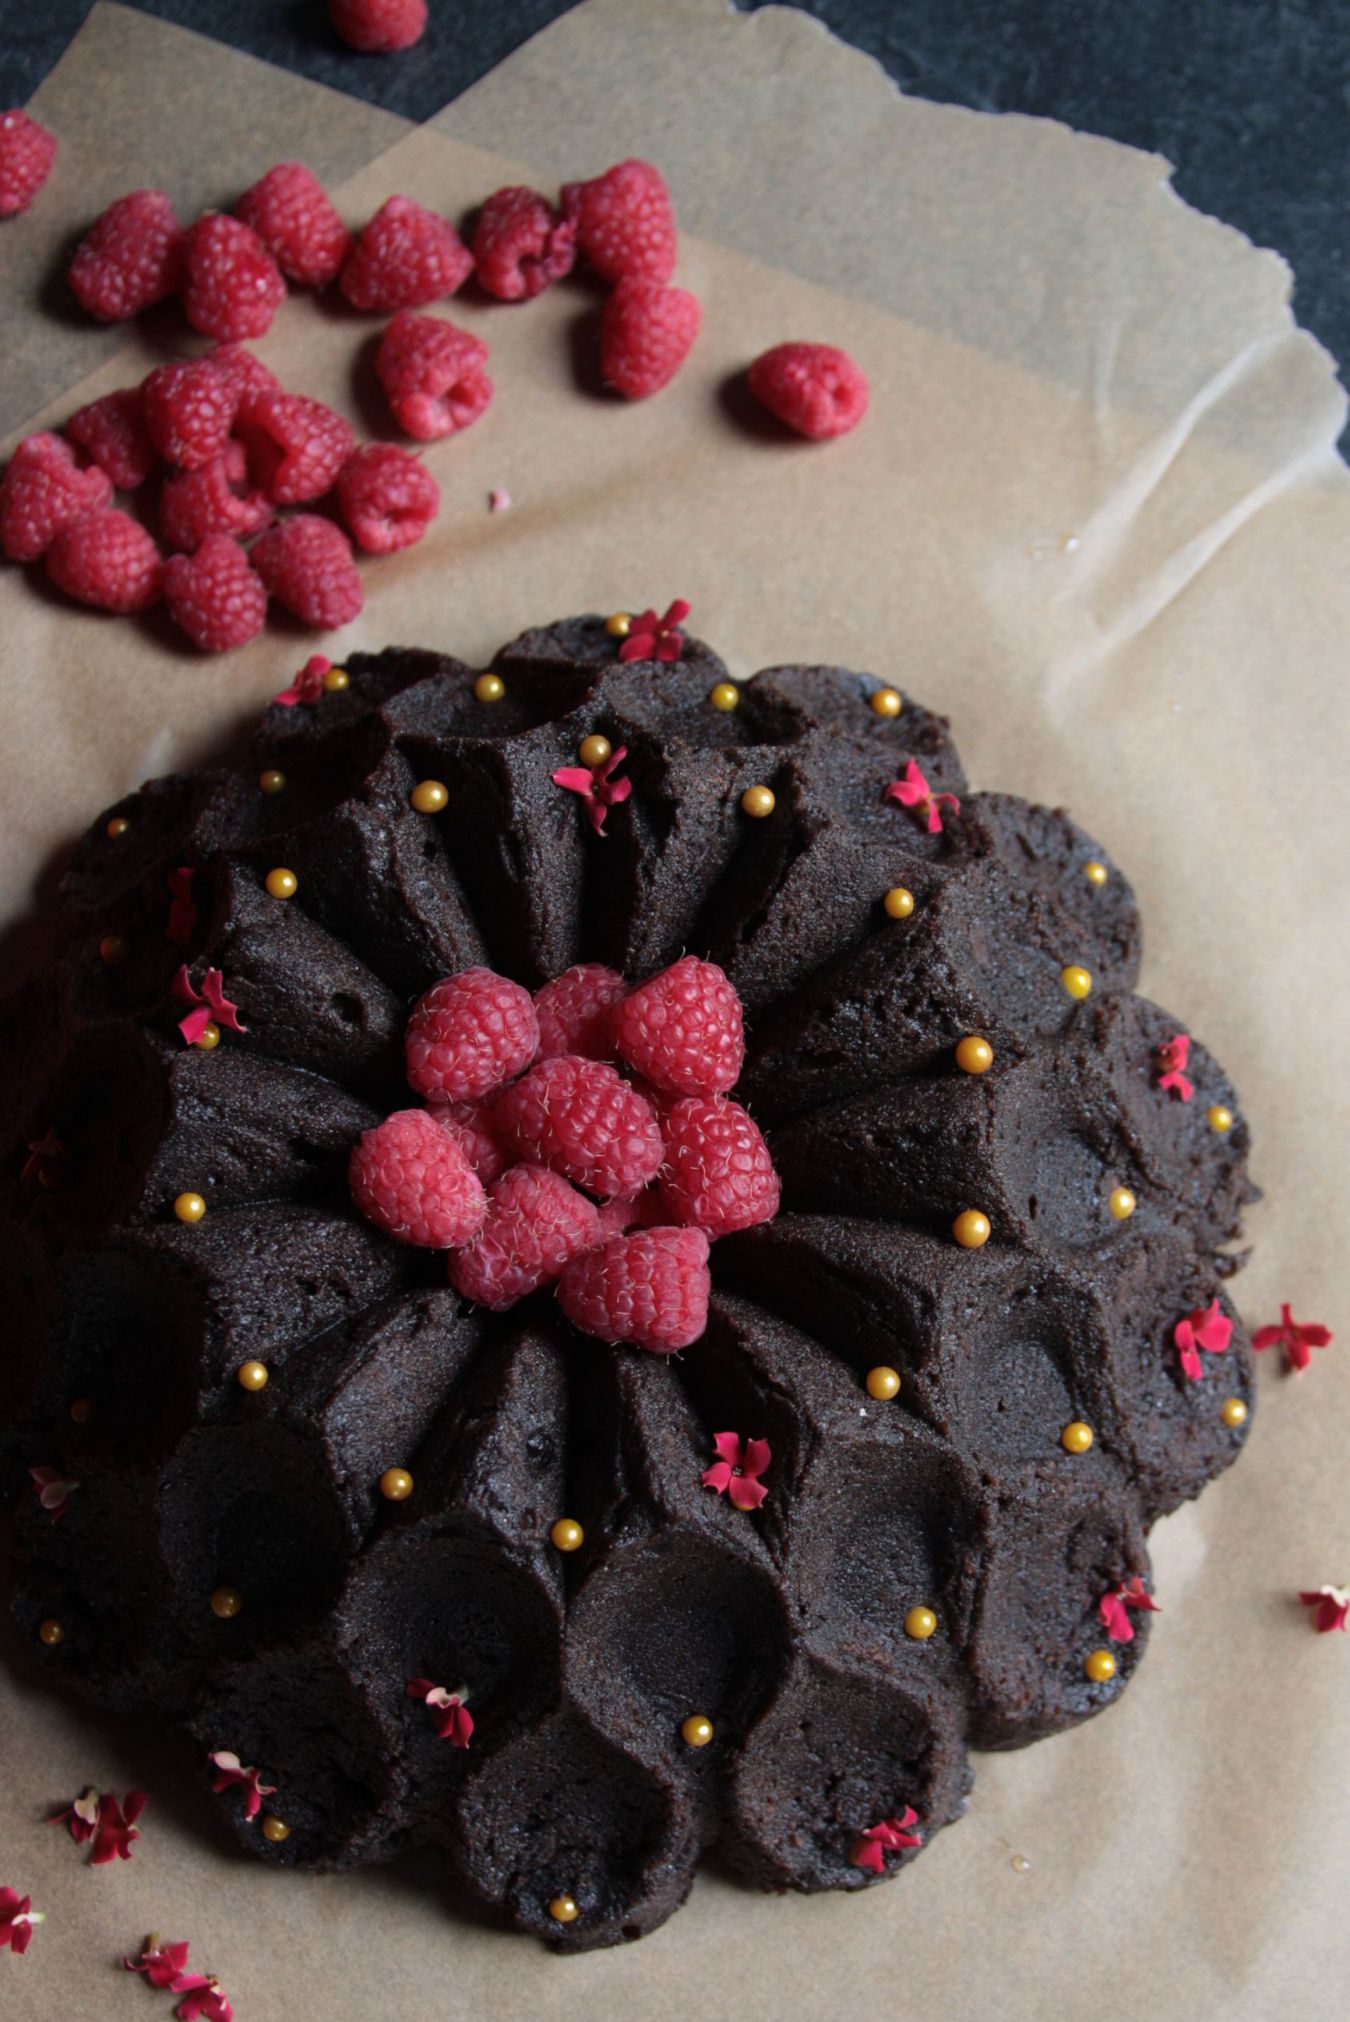
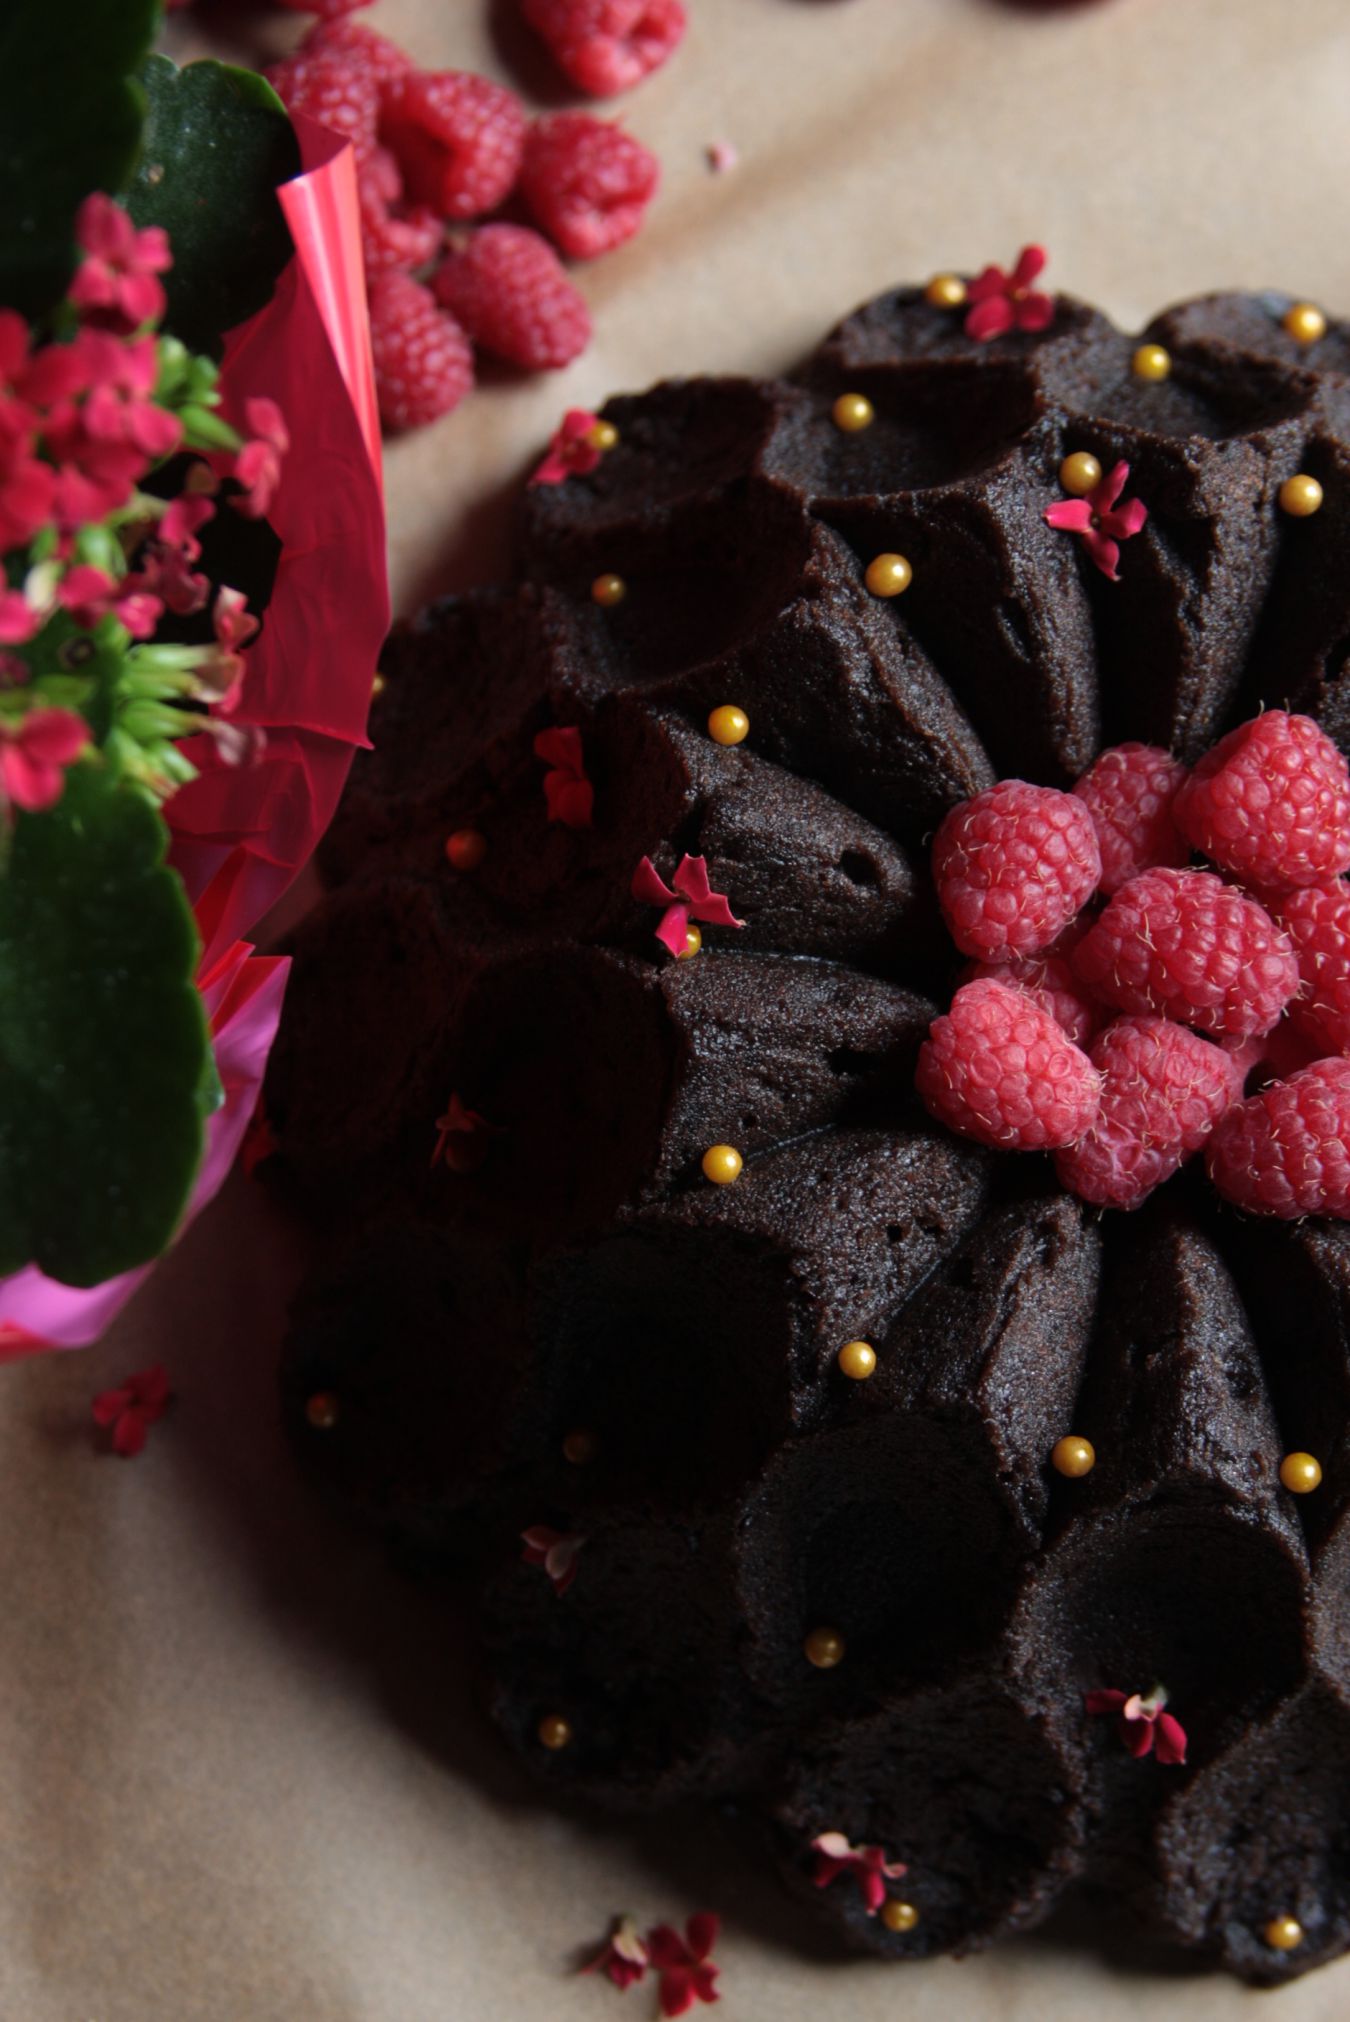
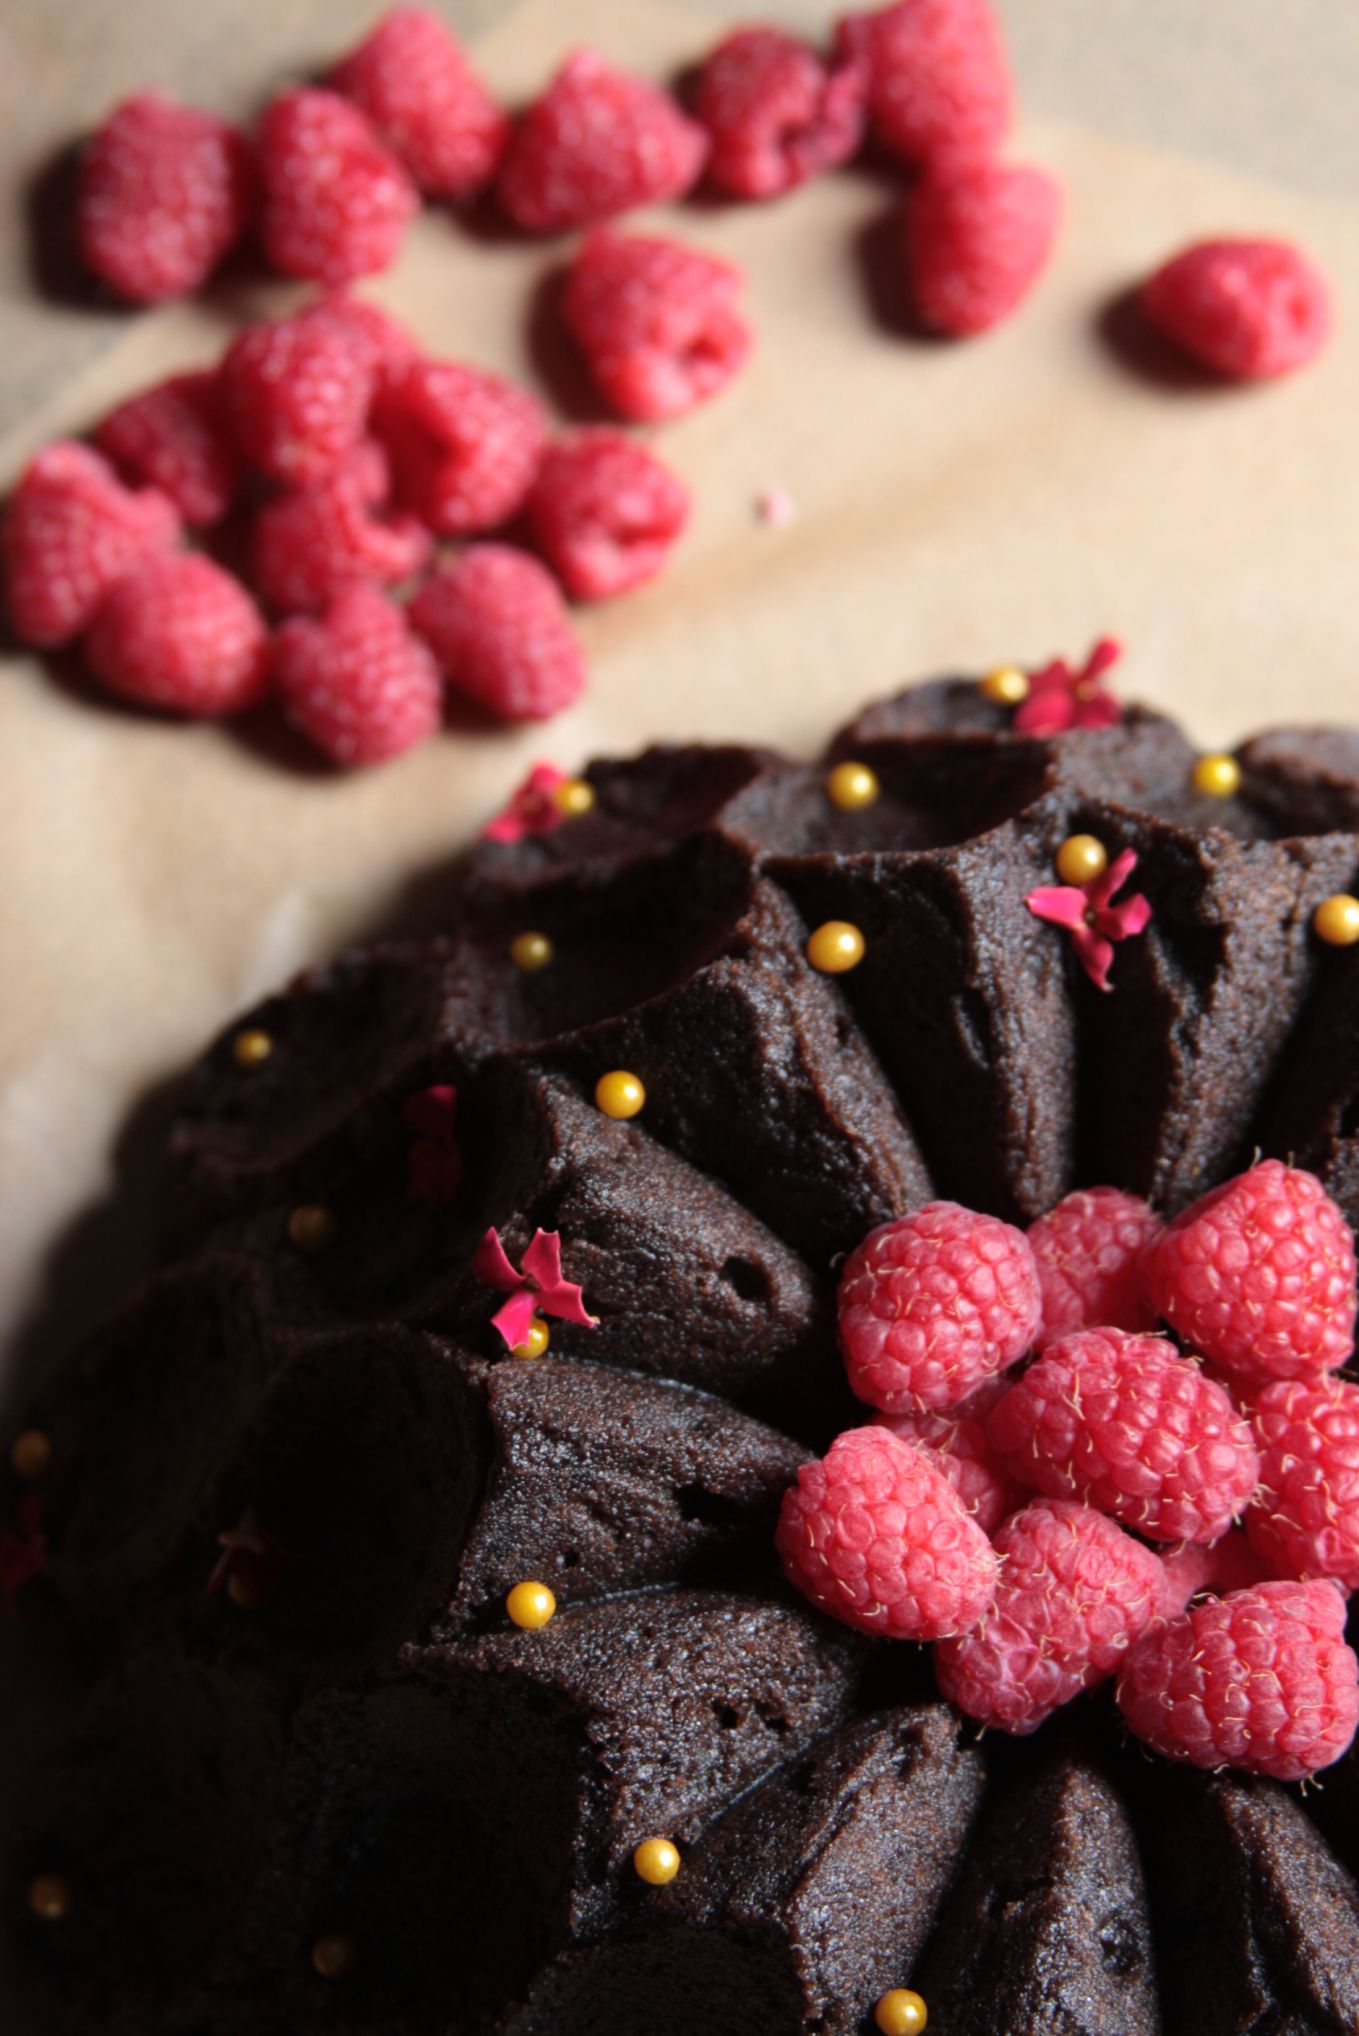
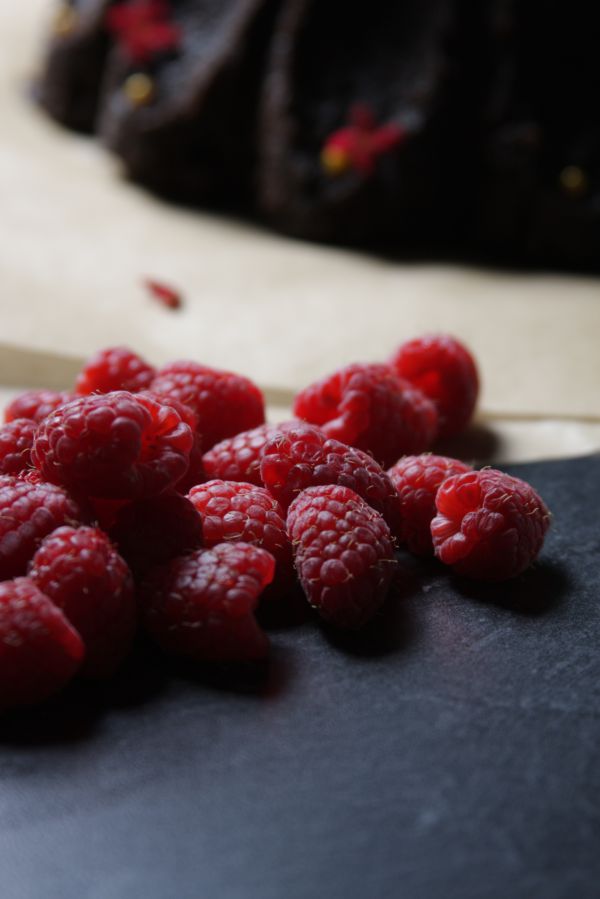
The Kalanchoe flowers I used to adorn the bundt are technically not poisonous to humans, but I also didn’t get them from a florist who could tell me if they safe to eat (not chemically treated) so I wouldn’t take the chance. I washed them before placing them on the cake but I’d suggest just brushing them to the side as you eat the cake, or removing them altogether before serving the cake.
Also, the Kalanchoe plant is poisonous to pets and livestock, so be sure to keep it away from all of your animals.
| Prep Time | 15 minutes |
| Cook Time | 70 minutes |
| Passive Time | 20 minutes |
| Servings |
servings
|
- 1 pound unsalted butter room temperature, 2 cups, 454 grams
- 1 pound powdered sugar 4 cups, 452 grams
- 1 pound eggs ROOM TEMPERATURE, 8-9 eggs, 454 grams
- 2 teaspoons vanilla extract 10 ml
- 1 tablespoon Instant coffee crystals 4 grams, I used Folder's classic roast
- 1.8 ounces cocoa powder 1/2 cup, 50 grams
- 14.2 ounces All purpose flour 3 1/3 cups, 400 grams
- 1 1/4 teaspoons salt about 6 grams, I used pink Himalayan salt but any fine salt will work.
- 1 pound chocolate bars chopped, I used Ghirardelli 70% but use your favorite good quality chocolate.
- 2 ounces Raspberry Liqueur 1/4 cup, 59 ml, can substitute water
- 2 ounces water 1/4 cup, 59 ml
- 3.5 ounces granulated sugar 1/2 cup, 198 grams
Ingredients
For the Pound Cake
For the Raspberry Liqueur Simple Syrup
|
|
- Preheat oven to 300 degrees. The chocolate pound cake, I found, needs to be cooked at this lower temp to avoid creating a crunchy exterior crust.
- Add the butter and sugar to the bowl of a stand mixer fitted with a paddle attachment. Start on the lowest setting until they combine so you don't coat your walls in sugar. Then, increase the speed to high and beat for a full 4 minutes. This should be long enough so the butter is light and almost white in color but not so long that the butter starts to warm up and melt. The air you work into the butter is the main source of rise in the cake so this step is crucial to get right. Scrape down the sides of the bowl as needed.
- With the mixer on medium speed, add the vanilla, coffee, and then the room temperature eggs, one at a time, scraping down the sides of the bowl as needed. After each addition, mix until the egg is fully incorporated. When all of the eggs were added, I turned the mixer back up to high for another minute. This is the last chance you'll have to work air into the batter. If your eggs are cold, the butter will seize up and you'll lose all of the air you just worked into it. The eggs must be at the same temperature as the butter.
- In a separate bowl, whisk together the cocoa powder, flour and salt. Fold the flour mixture into the butter mixture. I actually turned the mixer on low, slowly poured the flour mixture in but turned off the mixer before it was completely incorporated and finished folding it in by hand. You don't want to knock any air out of the butter.
- Add the chopped chocolate a little before you're finished mixing the flour in so you're not having to mix the batter any longer than necessary, but long enough so the chocolate is evenly dispersed. Mixing the batter too much after the flour is added can not only knock all of the air out of your butter, but it can also give your cake a chewy or dry texture. Fold with care!
- Grease and flour a 10 cup or larger bundt pan, or two loaf pans. I tried out PAM cooking spray with flour (the spray has flour already in it, I didn't add flour after spraying it) and I was surprised that even with my ornate bundt pan, it came out clean every time. Don't spray it until right before you add the batter or it will have time to slide down the sides of the pan. Otherwise, you can grease and flour as usual.
- Carefully pour the batter into the prepared pan/pans, filling it/them most of the way.*
- Bake on the middle rack for 60-70 minutes or until the cake doesn't jiggle and a skewer inserted in the center comes out with melted chocolate on it but no wet batter. There may be a few moist crumbs.
- Cool in the pan on a cooling rack for 20 minutes, then remove from pan to finish cooling. The simple syrup can be poured/brushed on the cake while it's cooling or after it's cool, but only one of the two should be warm when you do this.*
- Add liqueur, water and sugar to a sauce pan. Heat on high, stirring constantly, until sugar is completely dissolved. 2-3 minutes.
- Remove from heat and cool slightly before pouring over/brushing on cooled cake or cool completely before pouring over/brushing on warm cake.*
*If you're adding the syrup while the cake is warm, make the syrup right when you put the cake in the oven so the syrup has time to cool before you add it to the warm cake. If you're adding the syrup after the cake has completely cooled (if you make the cake the day before, for instance), add the syrup while the syrup is still warm. Don't let it cool. If both are cold, not much will absorb into the cake. If both are warm, the syrup will flow right through the cake. If one of the two is warm, the syrup will absorb and mostly stay in the cake where it belongs.
*I used the Nordic Ware 70th Anniversary Crown Bundt Pan to make this cake. Getting such a heavy batter into every nook and cranny of such an ornate pan was quite challenging (as you can see by the bottom edges of this cake). This particular pound cake will not rise as much as other cakes. The pan instructions tell you to only fill it 3/4 full to avoid the cake spilling over the edges but if you do this, the cake will not rise enough to fill in the bottom row of the design. I filled the pan almost all the way, spreading the batter into all of the edges of that bottom row.
What are your thoughts on pound cake? Do you enjoy the original dense, yet tender cake? Do you prefer to alter the ingredients to get it closer to a standard cake texture? Comment below!